Icebox Cakes are a no-brainer when you need an easy dessert, and this Chocolate And Peppermint one is perfect for the holidays. With only 5 ingredients, you can make a delicious dessert without even turning your oven on!
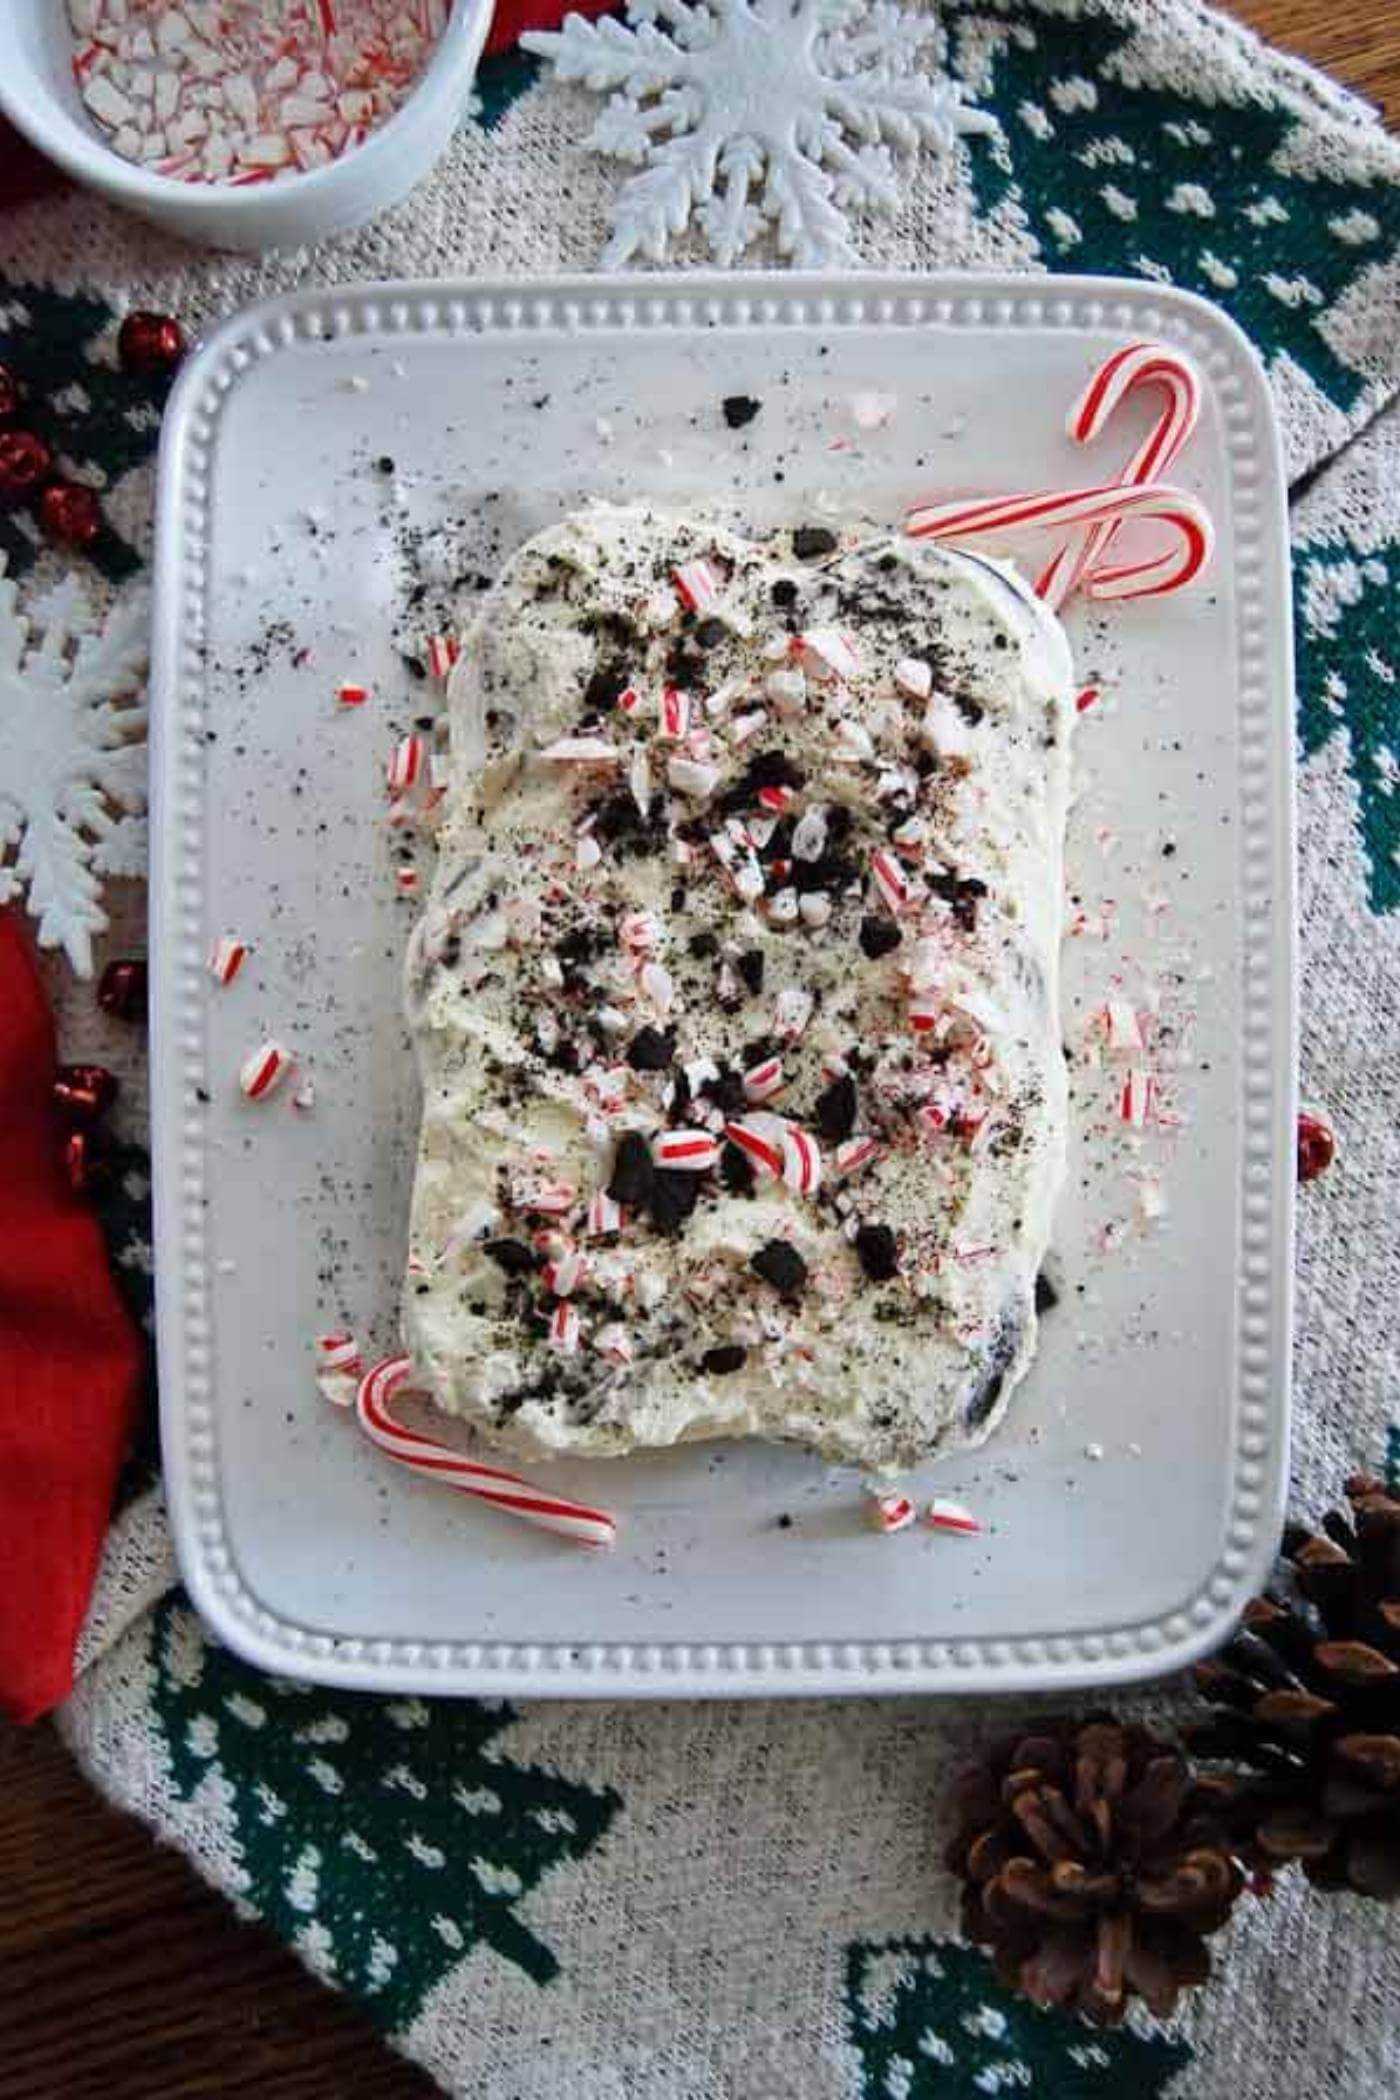
Hello friends – coming to you today with a bit of a treat! The good old-fashioned icebox cake!
This is the first time I’ve ever made an icebox cake and now that I’ve done it I’m scratching my head wondering how it ever took me so long to discover them! I was looking for an easy dessert and turned to my Grandmother’s old recipe books for some inspiration. After pilfering through recipes for about a million pies and cookies for half an hour, I came across this little gem.
Why This Recipe Works
- Easy. This no bake cake is one of the easiest ways to wow everyone at your holiday party. It comes together quickly and you don't even have to turn the oven on. (Also a winner: these adorable Grinch Pretzels.)
- Delicious. I love the flavors of this cake - chocolate and peppermint are a no-fail combination!
- Perfect for the holidays. This is such a great dessert to serve at the holidays.
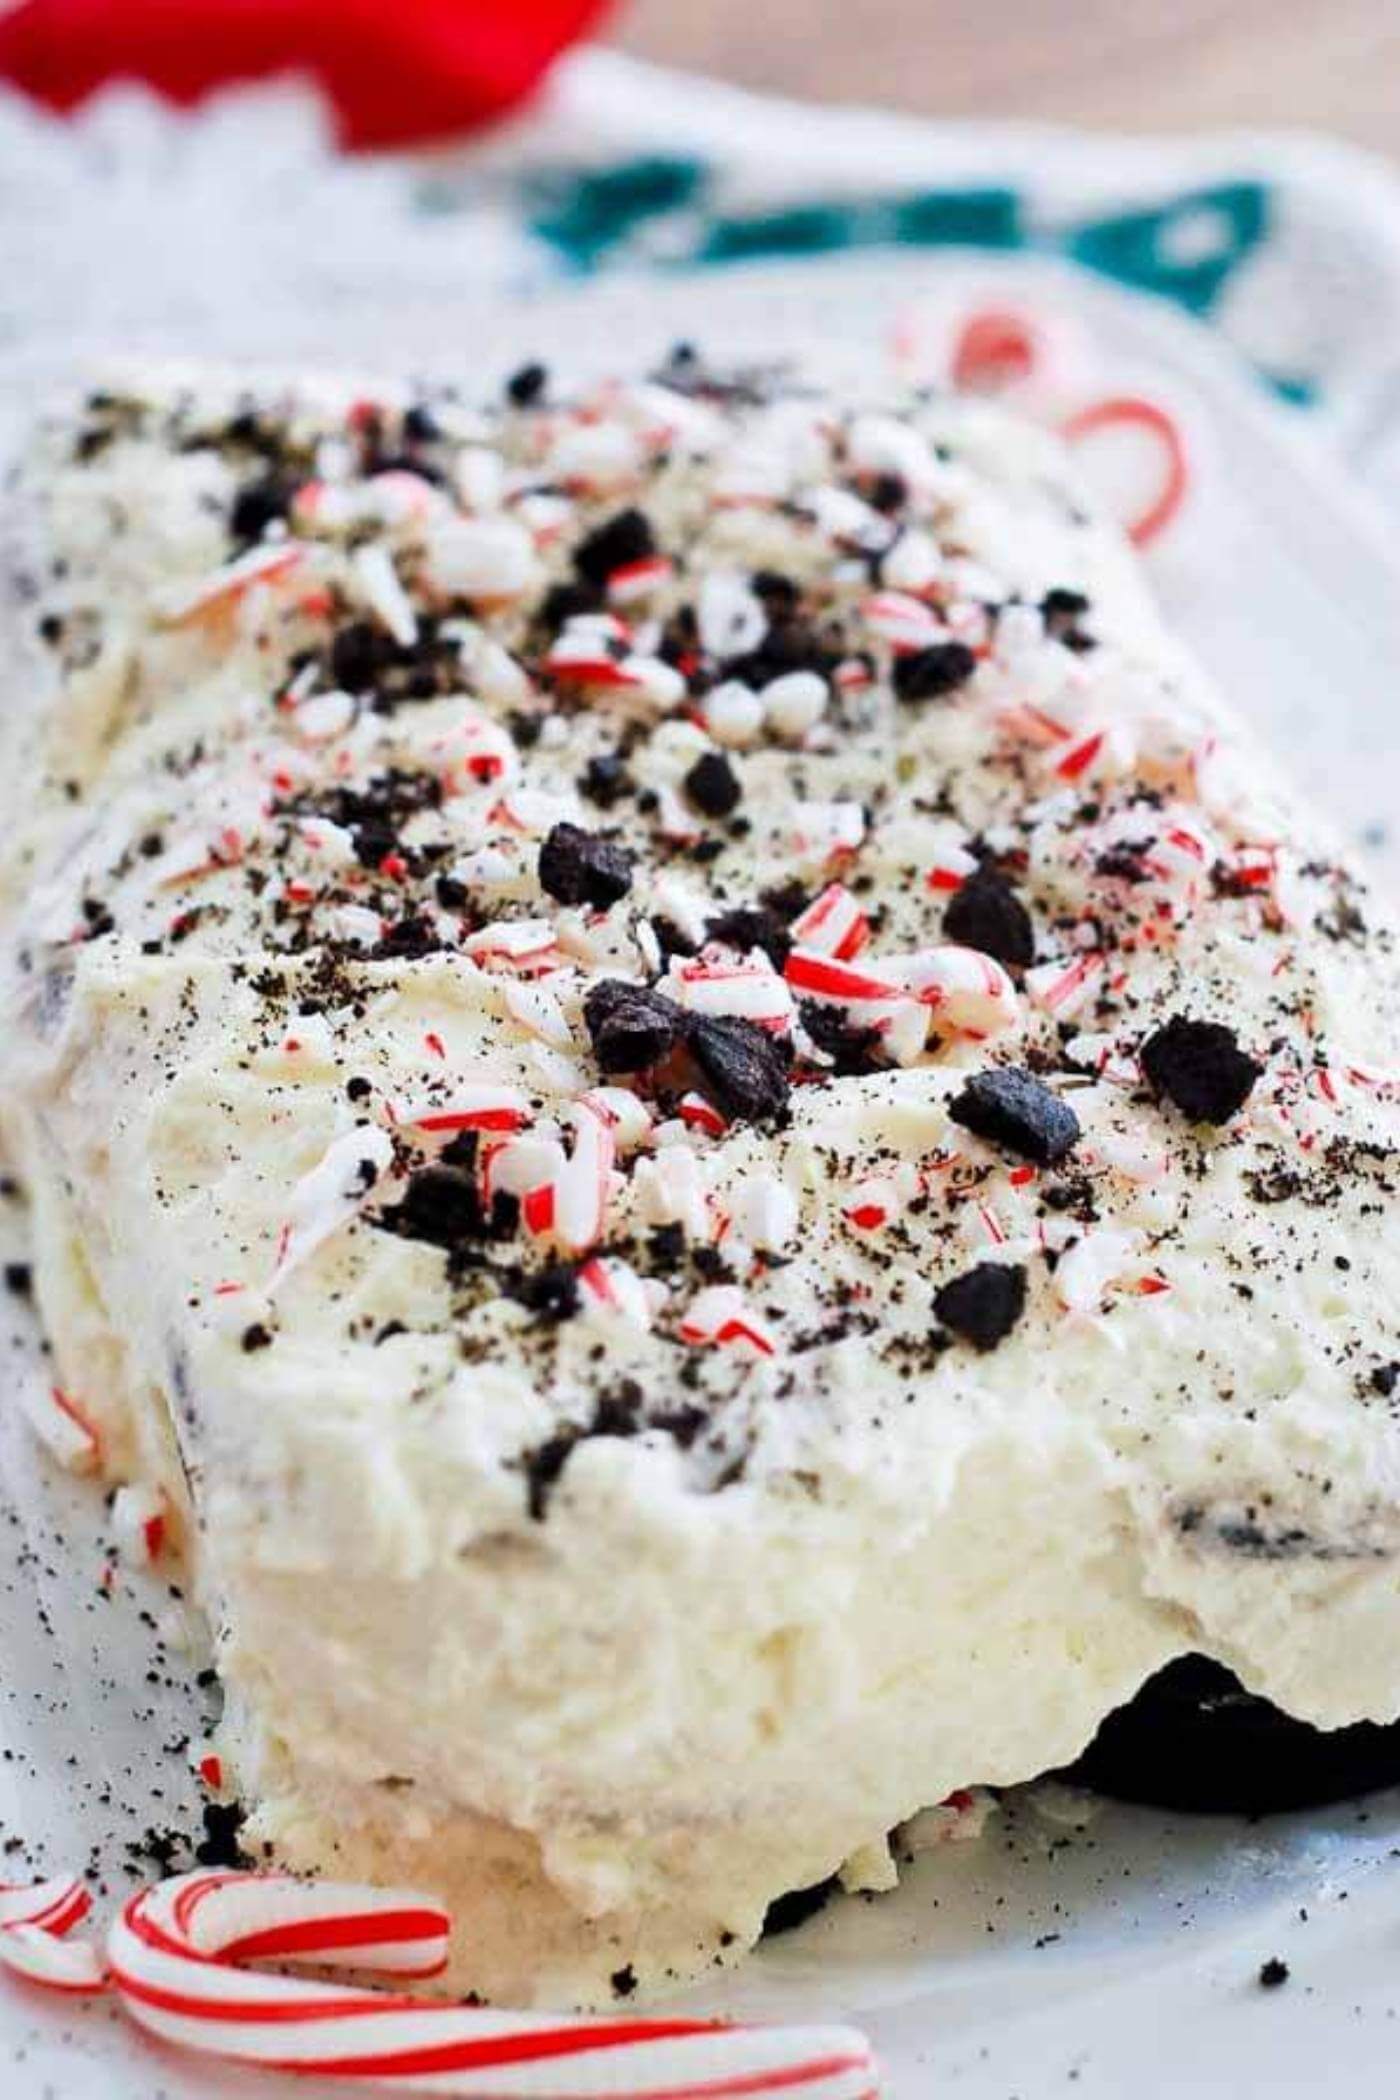
This baby has only 5 ingredients and, seriously, a monkey could probably make it. I’m not kidding. Can you buy chocolate wafers? Can you whip cream? If you answered yes to those questions, then you’re pretty much already there.
How To Make It
To make this stunner, you first start with the peppermint whipped cream (which, by the way, should be a recipe in its own right, and I highly encourage you to make it as a stand-alone to serve atop a steaming mug of hot chocolate before the holiday season is through.)
- Take your heavy whipping cream, a half cup of powdered sugar, and a touch of peppermint extract, and, using a hand mixer, whip the mixture until it starts to thicken and forms stiff peaks. It should take about 5-10 minutes.
- Next, on to the chocolate wafers. You could make these I guess if you’re feeling really industrious, but I bought the regular Nabisco chocolate wafers from the grocery store and think this thin, dry cookie lends itself extremely well to the icebox cake. I used one pack for this cake and it was perfect for serving about 8 people.
Assembling Your Icebox Cake
So, now on to the assembly.
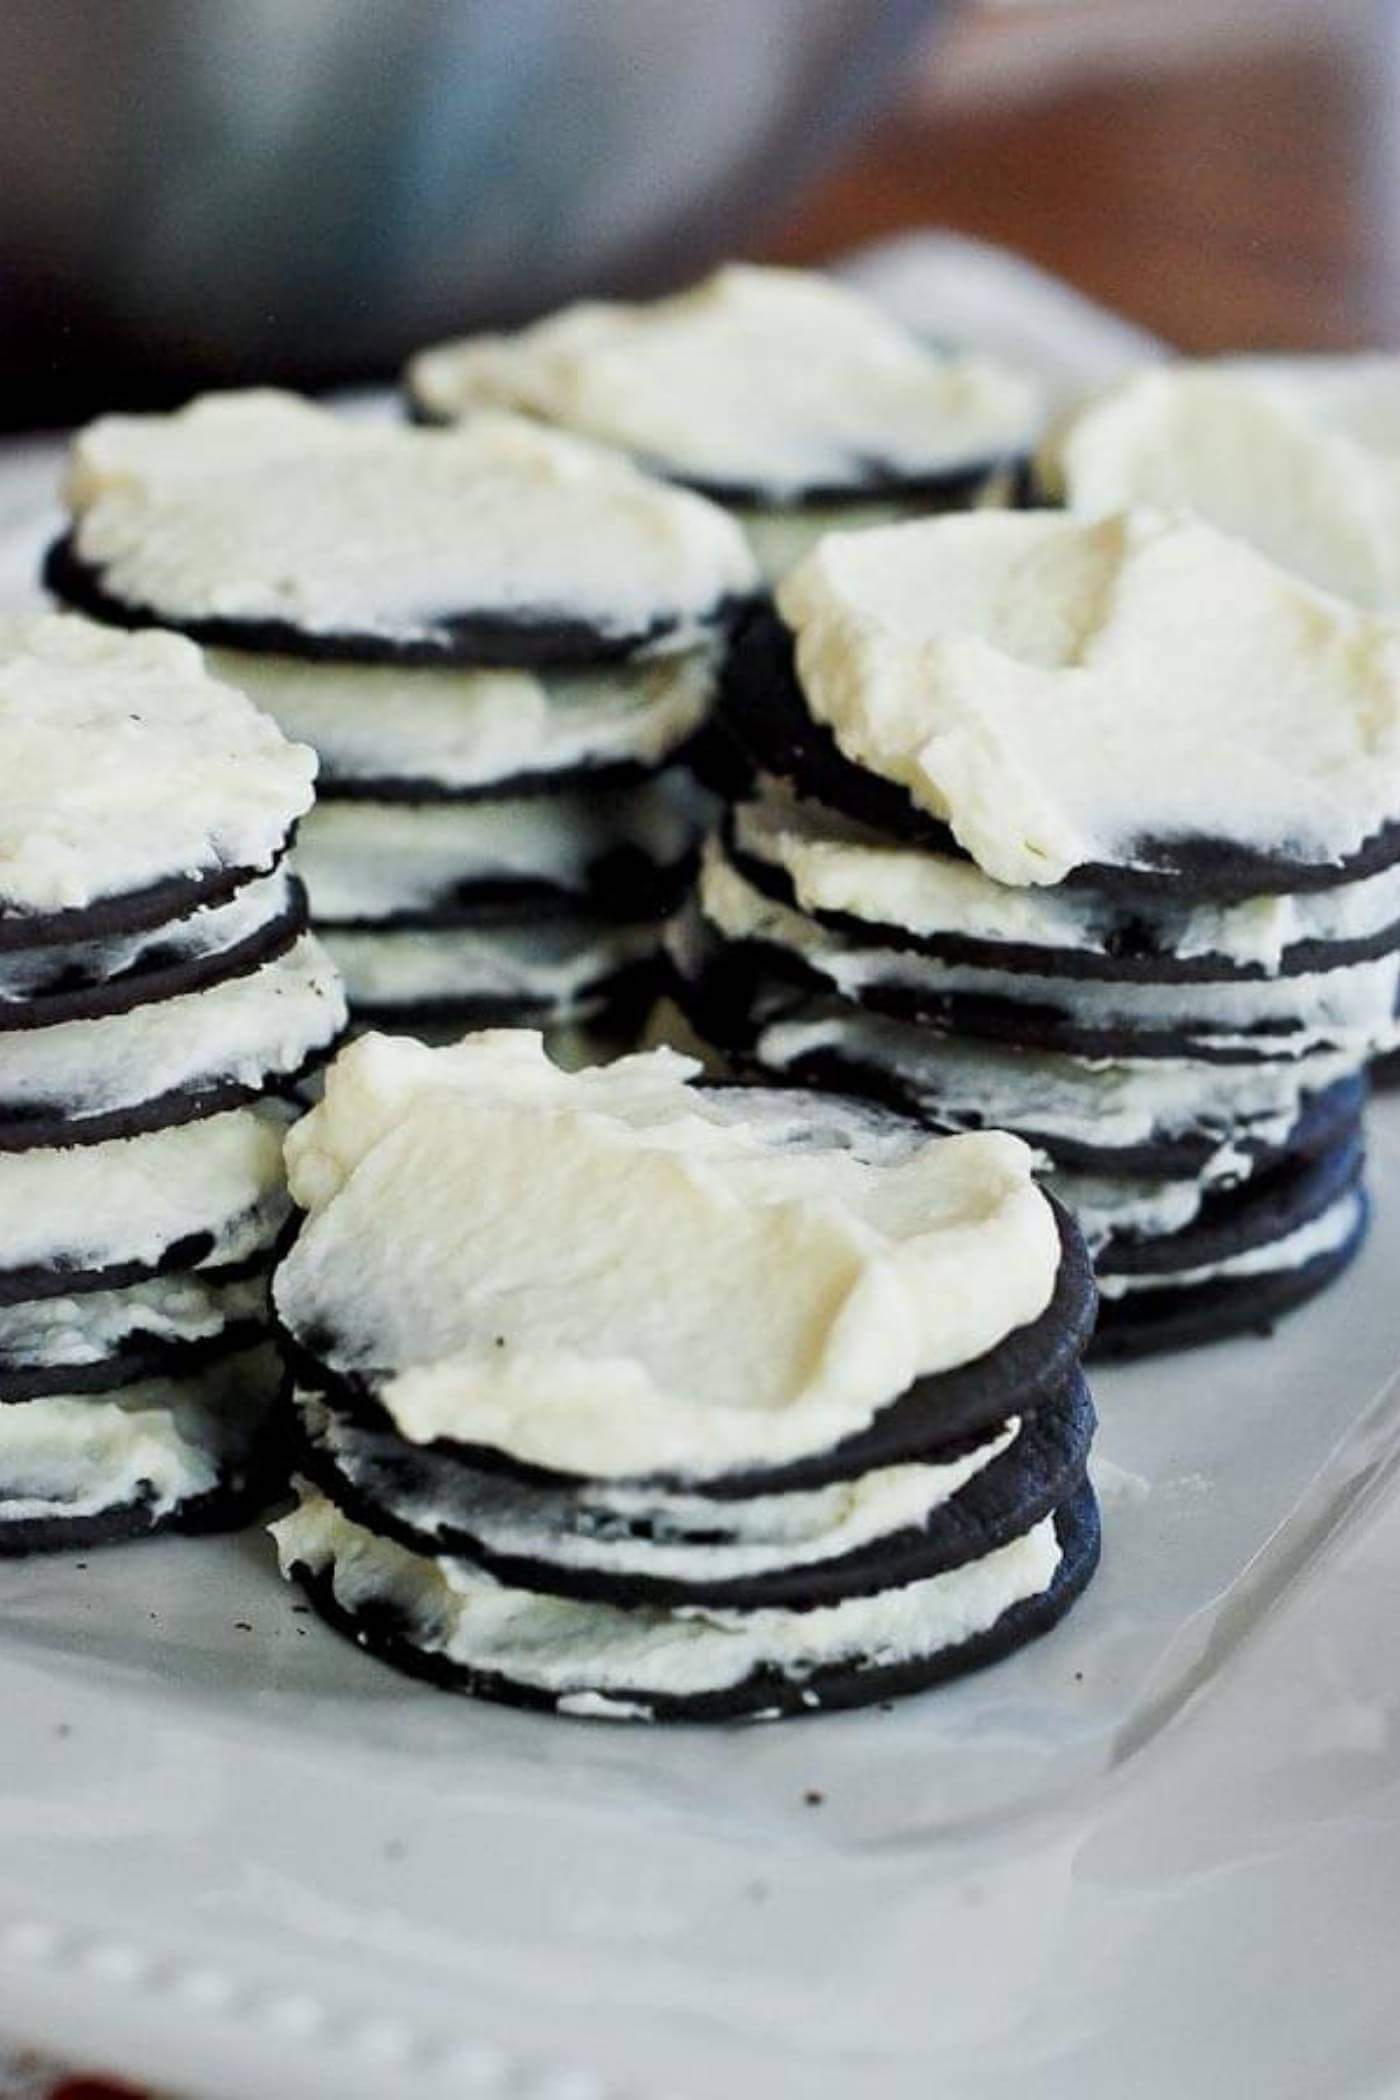
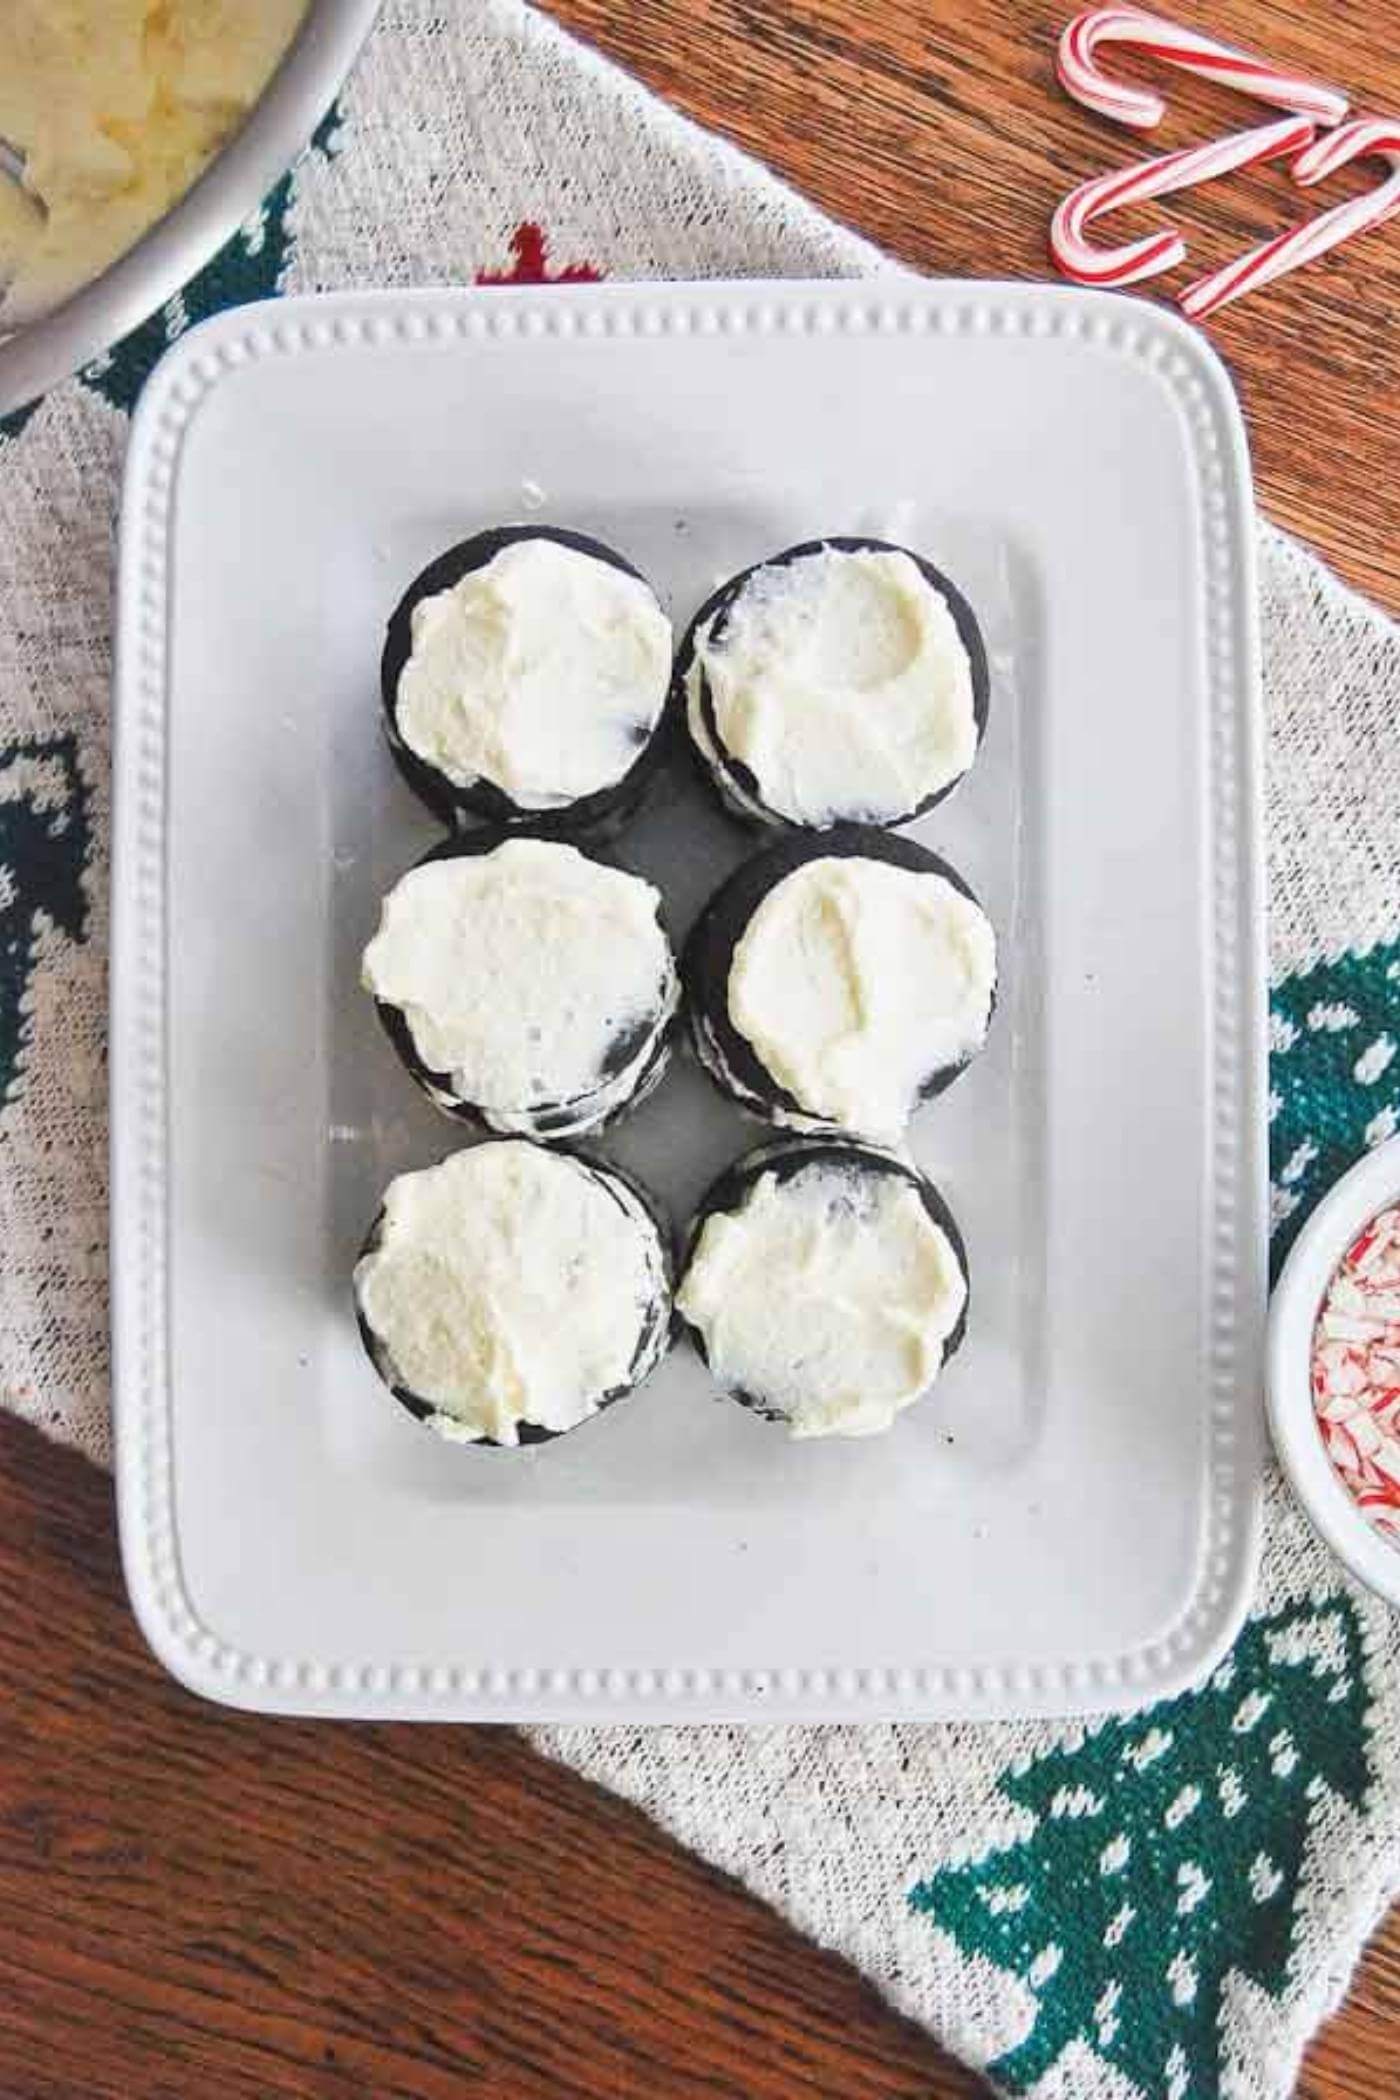
- Divide your cookies evenly into piles making sure to reserve just a couple crumbling on top of the cake once it’s ready to serve. I used 6 cookies per stack.
- Then, layer the chocolate wafers with your whipped cream in between and stack the piles next to each other to form a rectangle (or whatever shape you’re going for.) I did all of this on a piece of parchment paper to make it easier to transfer to another serving plate.
- Once you have your stacks assembled, ice the whole cake with the remaining whipped cream. Now, here comes the one slightly negative aspect of the icebox cake. This is not an immediate dessert. You have to plan a little bit to make this because it does require some time in the freezer to set. But as long as you have about 3-4 hours before you need to serve it, you’re golden.
- Pop it into the freezer and leave it be for about 3 hours. I left mine uncovered for the first hour so that the cream wouldn’t get smashed before freezing, then covered it with plastic wrap for the remaining time.
- Once you’re ready to serve your icebox cake, pull it out of the freezer and let it sit for about 5 minutes. Then, top it with crushed peppermint candy canes and crumbled cookies and serve. So, so delicious and, as a bonus, doesn’t it look impressive??!
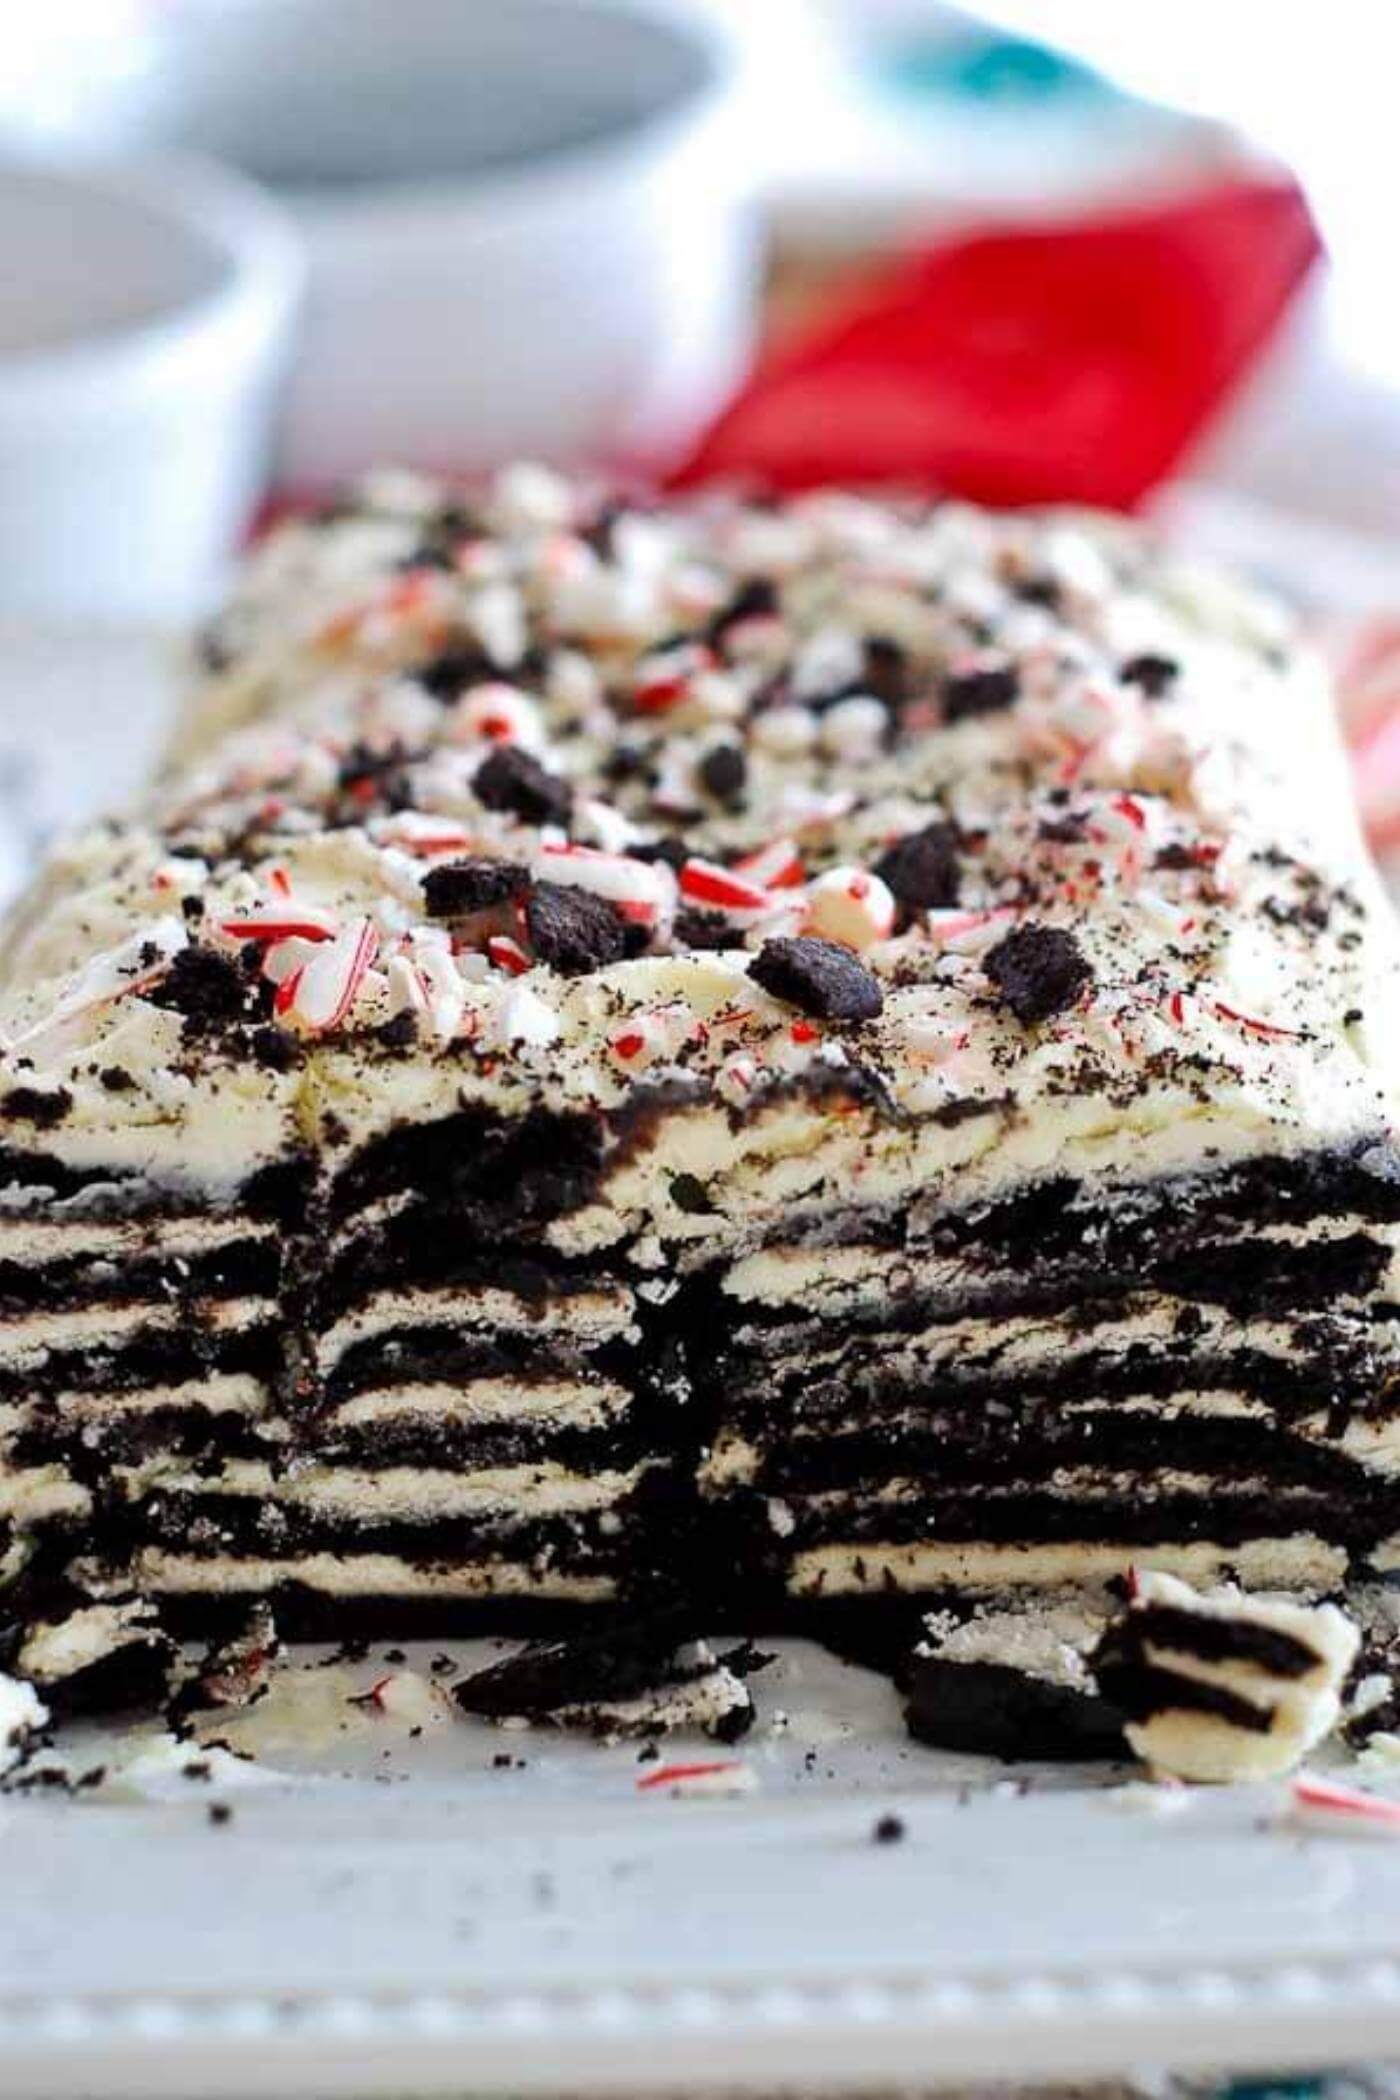
So what do you think? My 8-year-old took one bite and then promptly proclaimed he wanted this to be his cake for his next birthday. So, I think that’s a win!
If you make this Chocolate And Peppermint Icebox Cake, leave a comment below and tell me your thoughts! Then, tag me on Instagram - I'd love to see your creation!
More Easy Cake Recipes
- Strawberry Cheesecake With A Pretzel Crust
- Easy Moist Pumpkin Bread With Chocolate Chips
- Olive Oil, Rosemary & Dark Chocolate Chip Cake
- Simple Vanilla Cake With Strawberry Filling
Recipe
Chocolate And Peppermint Icebox Cake
Ingredients
- 1 pint heavy whipping cream
- ½ cup powdered sugar
- 1 teaspoon peppermint extract
- ¼ cup crumbled peppermint candy
- 1 19-oz package thin chocolate wafers reserve 3-4 wafers for cake toping
Instructions
- In a large bowl, combine the heavy whipping cream, powdered sugar, and peppermint extract. Using a hand mixer (or a stand mixer) mix on high speed until cream thickens and forms stiff peaks.
- Line a serving plate with wax paper. To assemble the cake, create 6 small stacks of wafers, using 6 wafers per stack, layering the peppermint whipped cream between each wafer. Arrange the stacks into a rectangle. (If making a larger cake, just increase the number of wafers per stack, or increase the number of stacks.)
- Using the remaining whipped cream, ice the rest of the cake. Don’t worry about it being perfect - it’s ok of some of the stacks show through the cake.
- Place the assembled cake in the freezer and wait at least 3-4 hours, or overnight.
- Create your toppings by crushing 4-5 small candy canes in a towel and pressing with a rolling pin. Crush 2-3 chocolate wafers and place in a separate bowl. Set toppings aside.
- Once ready to serve, remove the cake from the freezer, and top with crumbled peppermint candy and crumbled wafers.





Rowan says
I loved the minty whipped cream in this recipe so much that I had to stop myself from just eating it with a spoon before the cake was even assembled. For anyone who loves minty desserts, this one is so easy! I don't really like to bake so this was perfect.
Sarah Jenkins says
Thanks Rowan!
Hannah says
It was my first time to make it and everything turned out so great! My kids and I enjoyed the melt-in-your-mouth texture. I was so pleased with the results that I'm already looking forward to making it again for Christmas. Thanks!
Sarah Jenkins says
Thank you Hannah! So glad it worked for you!
Wendy says
This chocolate and peppermint Icebox Cake was a breeze to make, and it tasted like a gourmet dessert! The layers of chocolate wafers and fluffy peppermint filling created a perfect balance of flavors and textures. It was a huge hit at our holiday gathering, and everyone asked for seconds.
Sarah Jenkins says
Thanks Wendy!
Keri says
I've always loved ice box cakes but never made one myself until trying this recipe. It's so easy! I'm going to remake it closer to the holidays for some upcoming parties - I know it'll be a hit!
jennifer says
This was so easy to make, and one of my favorite flavor combinations! I'm going to definitely make again for my December book club gathering. Thanks!
Donna says
I made one like this years ago and loved it. Unfortunately, I left the recipe in Maine and I want to make it again. Mine had clear cracked sugar and silver decoration. Do you know how to replicate that? I can’t remember the source…..
Thanks,
Donna
Sarah Jenkins says
Hmmm-I havent made cracked sugar before but it sounds like a great addition here! Maybe this guide will help! https://thetiptoefairy.com/halloween-shards-of-glass-cupcakes/