
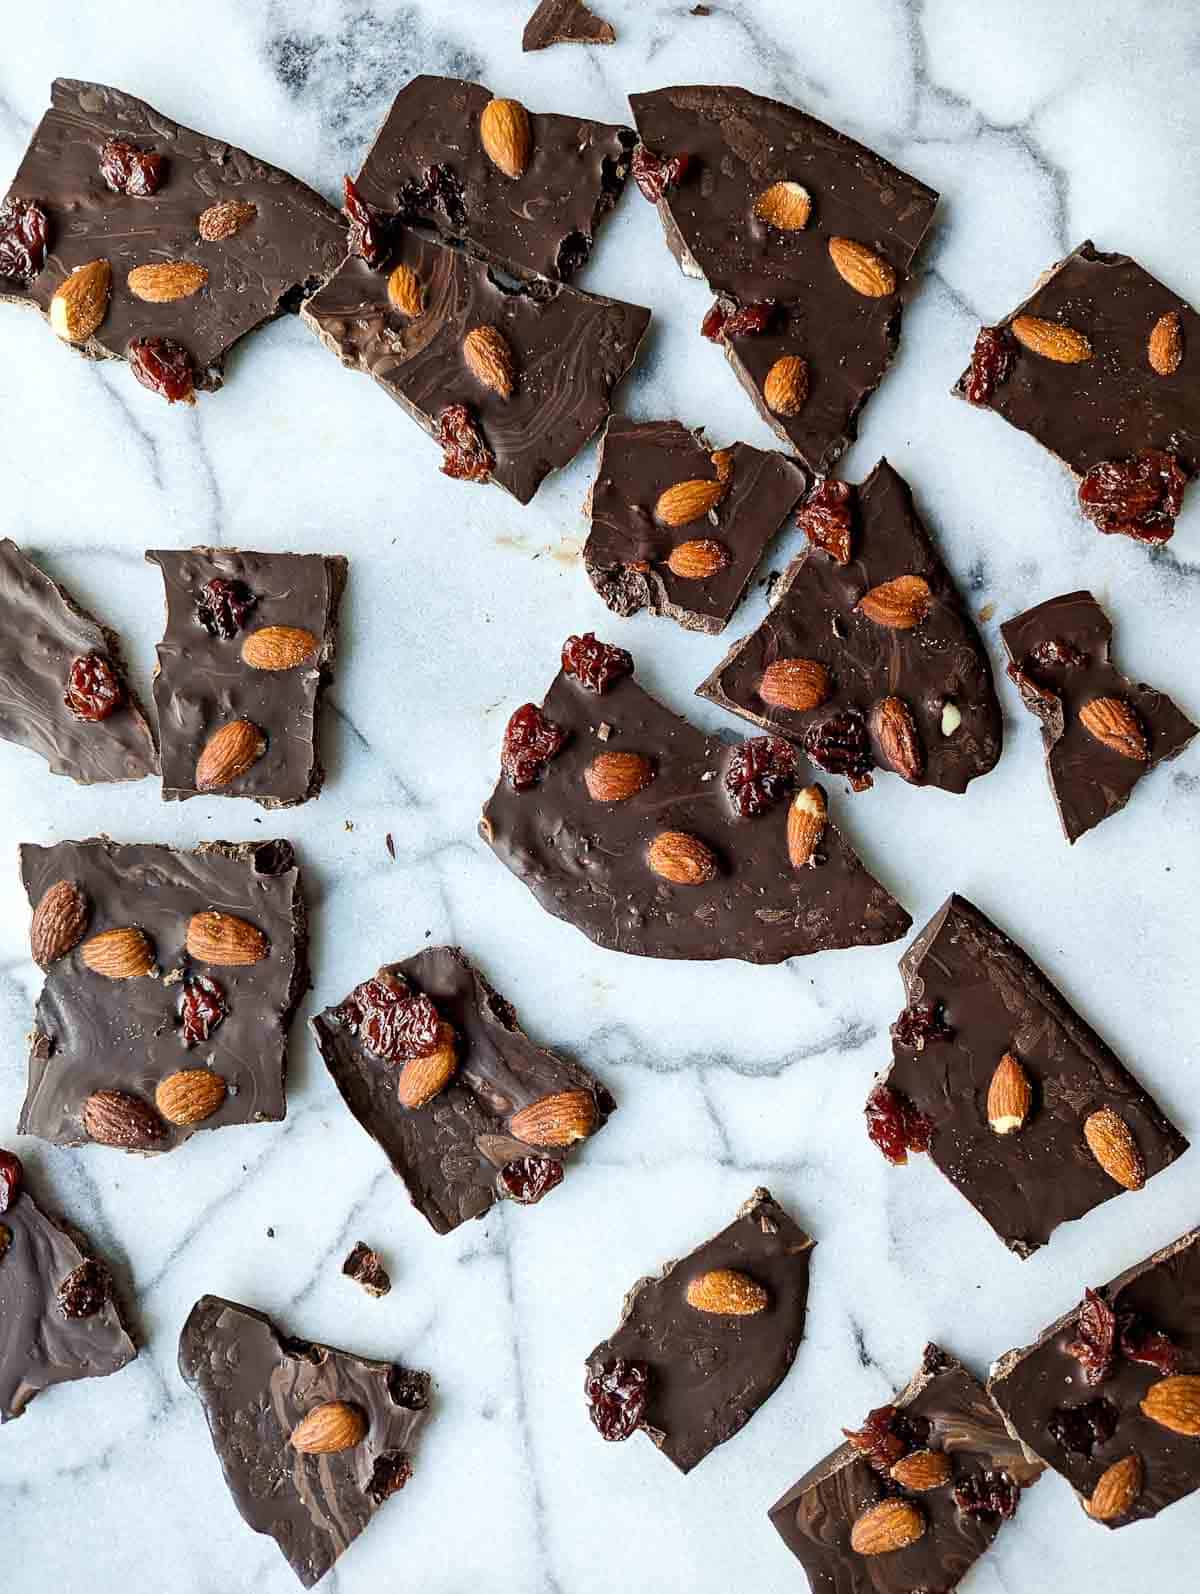
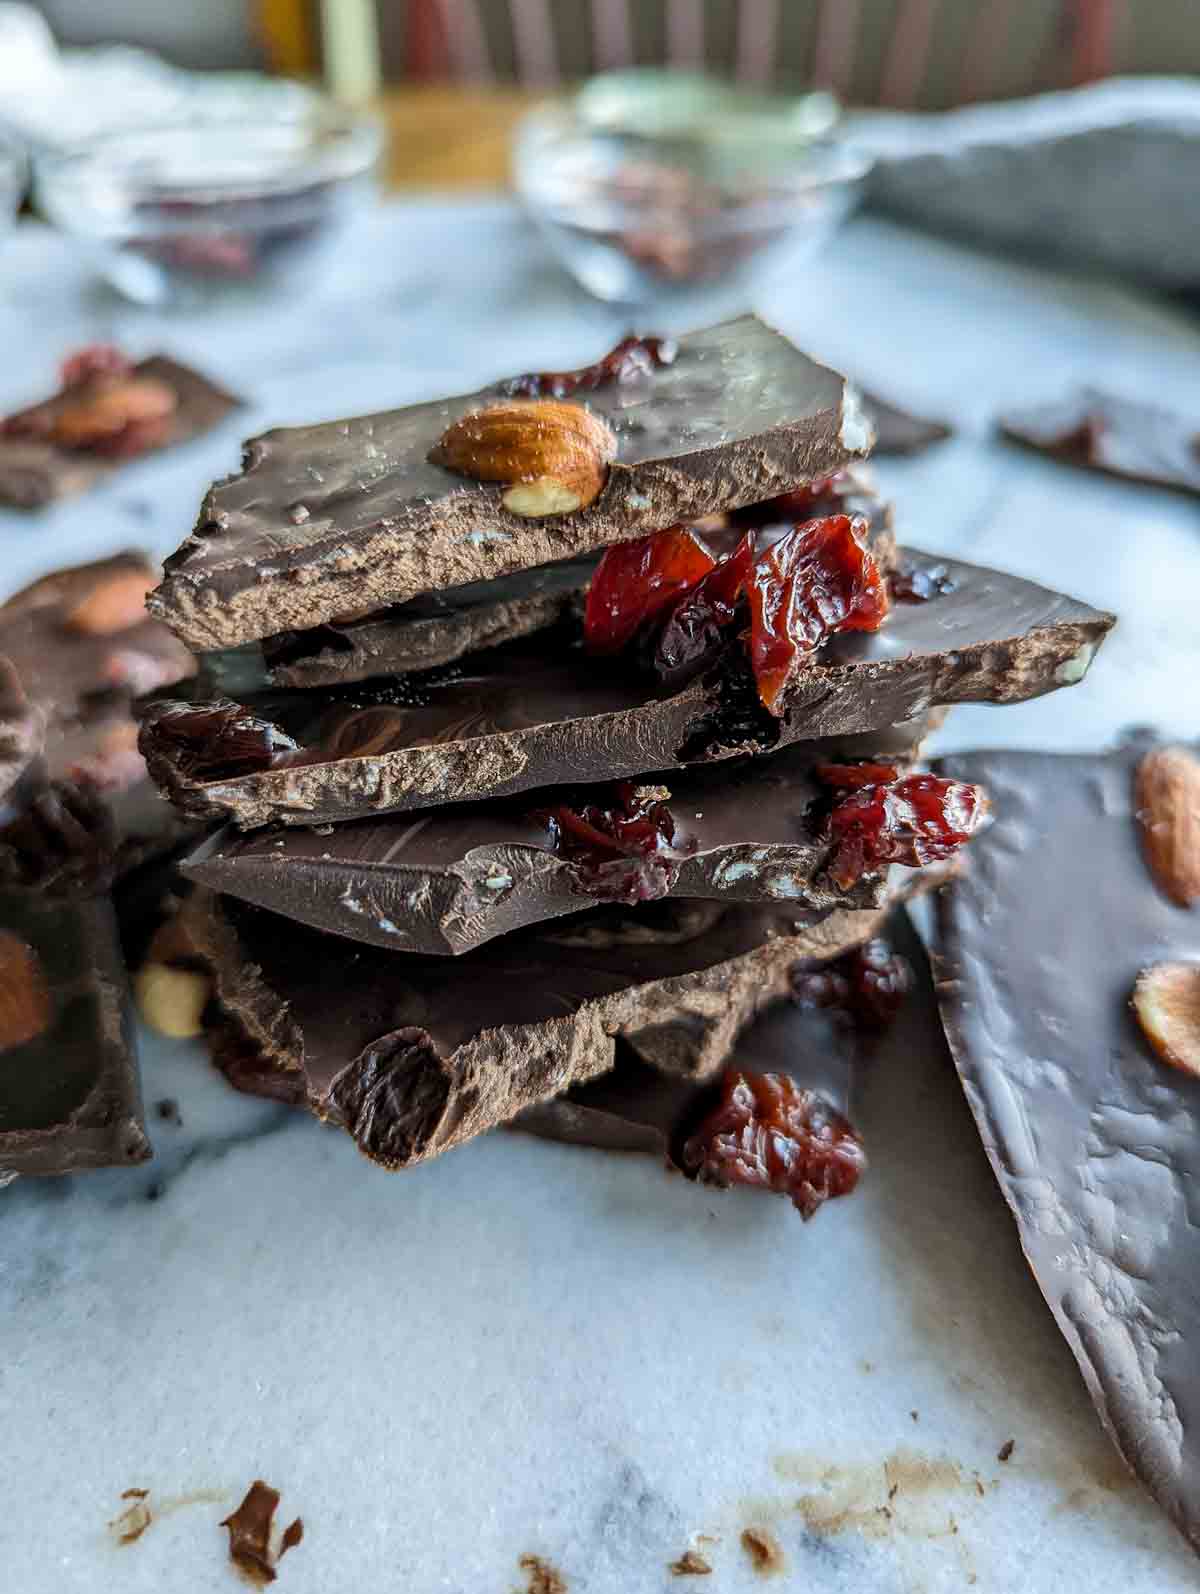
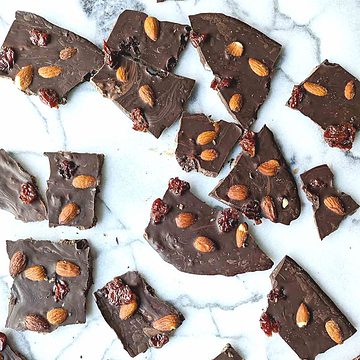
Homemade Darke Chocolate Almond Bark is a super easy dessert that looks fancy and gourmet. This version uses a mixture of dark and milk chocolate bars, roasted almonds, plump dried cherries, and sea salt to create a decadent treat that's perfect for a last-minute holiday party or Valentine's Day dessert. One pan, 30 minutes, incredibly delicious.
There's nothing I love more than an easy chocolate recipe that takes minutes to make, doesn't involve much prep or cleanup, and looks super impressive. This recipe for almond chocolate bark is just the thing when you need a last-minute "homemade" dessert, but don't want to put forth much effort.
This dark chocolate bark is great for the holiday season and makes a great gift for neighbors and friends. It's also an easy recipe to make and a fun way to get the little ones involved in the kitchen.
(Looking for a dairy-free chocolate fix? Check out this recipe for coconut oil fudge!)
In This Post
Here's Why I Love This Chocolate Bark Recipe
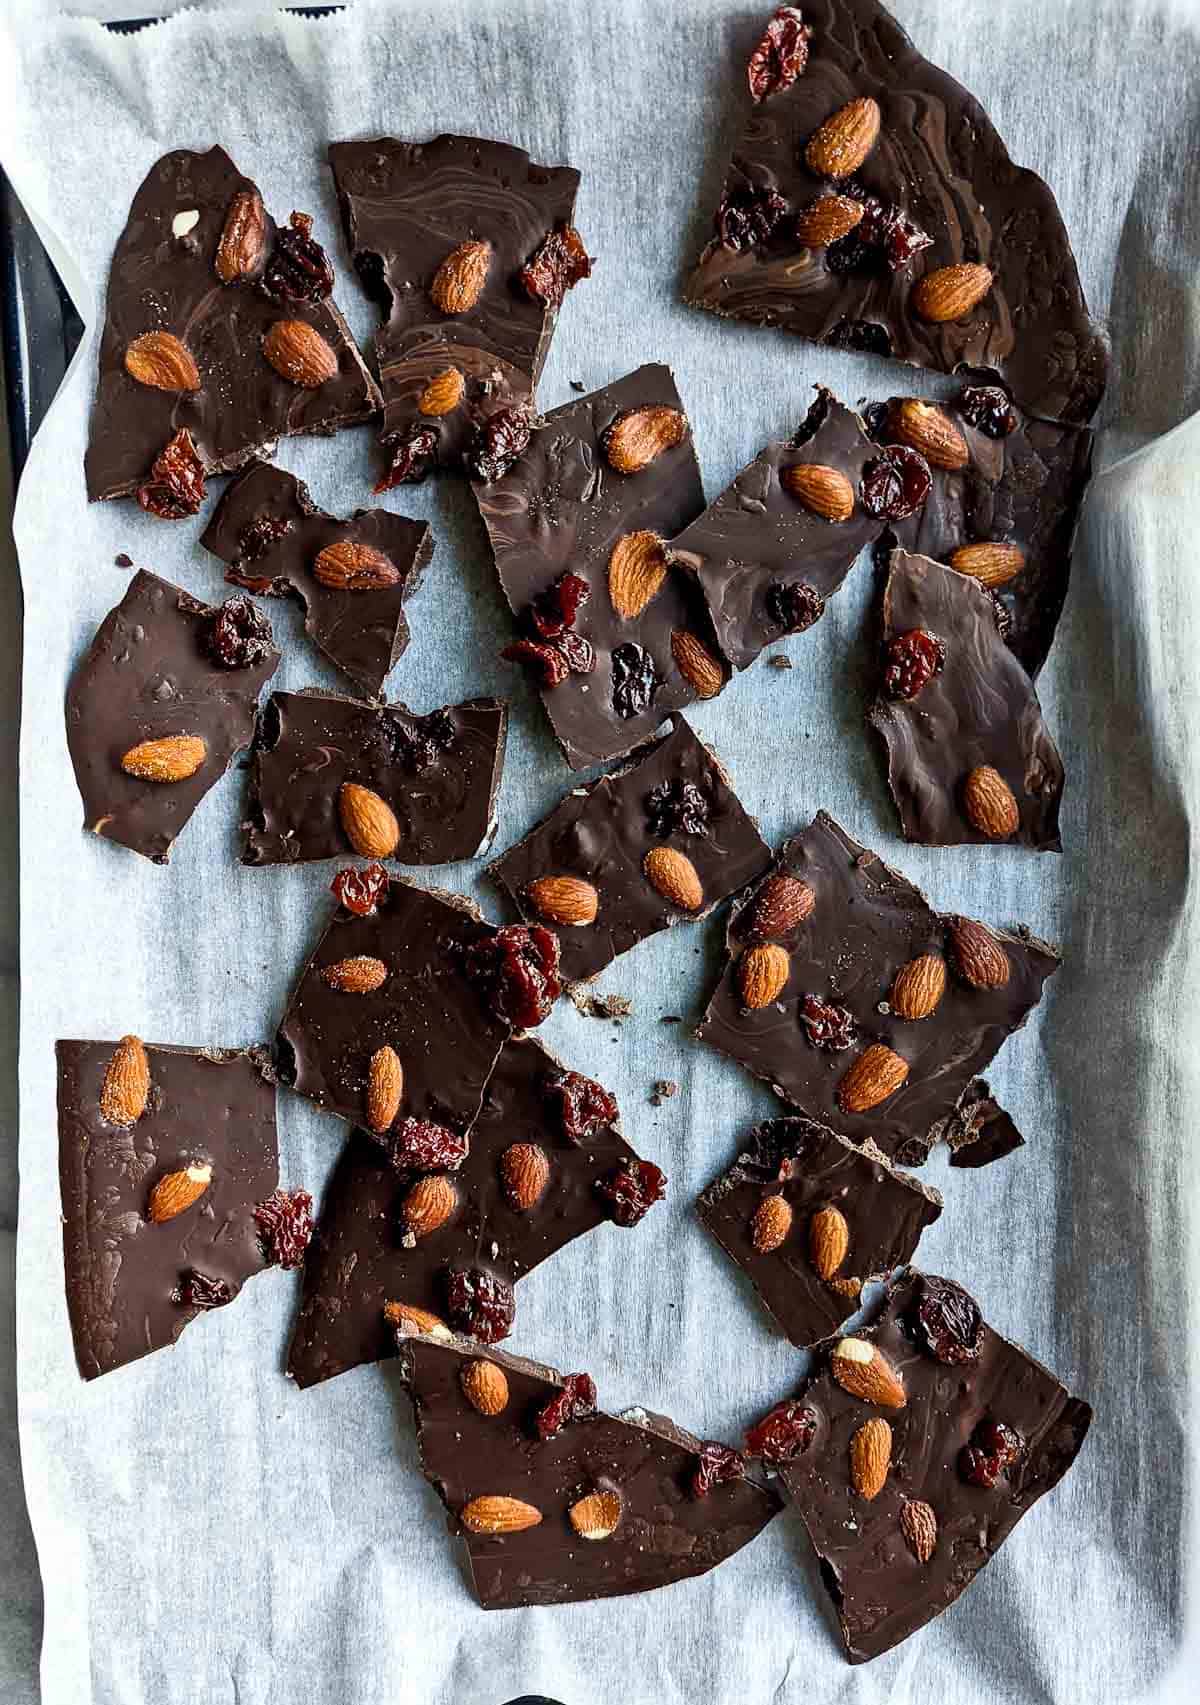
- Looks great. I love how the broken chocolate pieces give it a rustic look. Plus, adding in a plethora of almonds and dried cherries gives it a luxe, gourmet feel.
- So so easy to make. This chocolate bark is a super simple recipe to make. Because I use chocolate bars and melt them on the pan, in the oven, you essentially cut out the normal step of melting the chocolate chips (no microwave or double boiler needed!).
- Only one pan is needed for this recipe! No premelting the chocolate in the microwave means you don't need to dirty an extra bowl!
- These are so great to make with kids. Because this recipe is easy enough and doesn't involve much work at all, it's a great recipe to get your kids involved in. My 9-year-old actually made most of this chocolate bark!
- Super customizable. The flavor combinations of this dark chocolate bark are endless. I love switching out the ingredients or the chocolate to make this unique every time. You can play to your tastes, or to the holidays and what's in season!
- Healthy! I love using dark chocolate since it has less sugar, and love that I can use healthy add-ins like almonds and dried cherries. It's like being able to make candy bars exactly to your own specifications!
- Great for holidays. This sweet treat is one of my favorite things to make for holiday gifts, a holiday party, Valentine's Day, or any other holiday. Festive chocolate bark is always in season! (Also check out this easy fudge recipe, or these delicious Valentine Brownie Truffles for a fun Valentine's Day treat!!)
Ingredients
The main ingredients for this chocolate bark recipe don't get much easier than this:
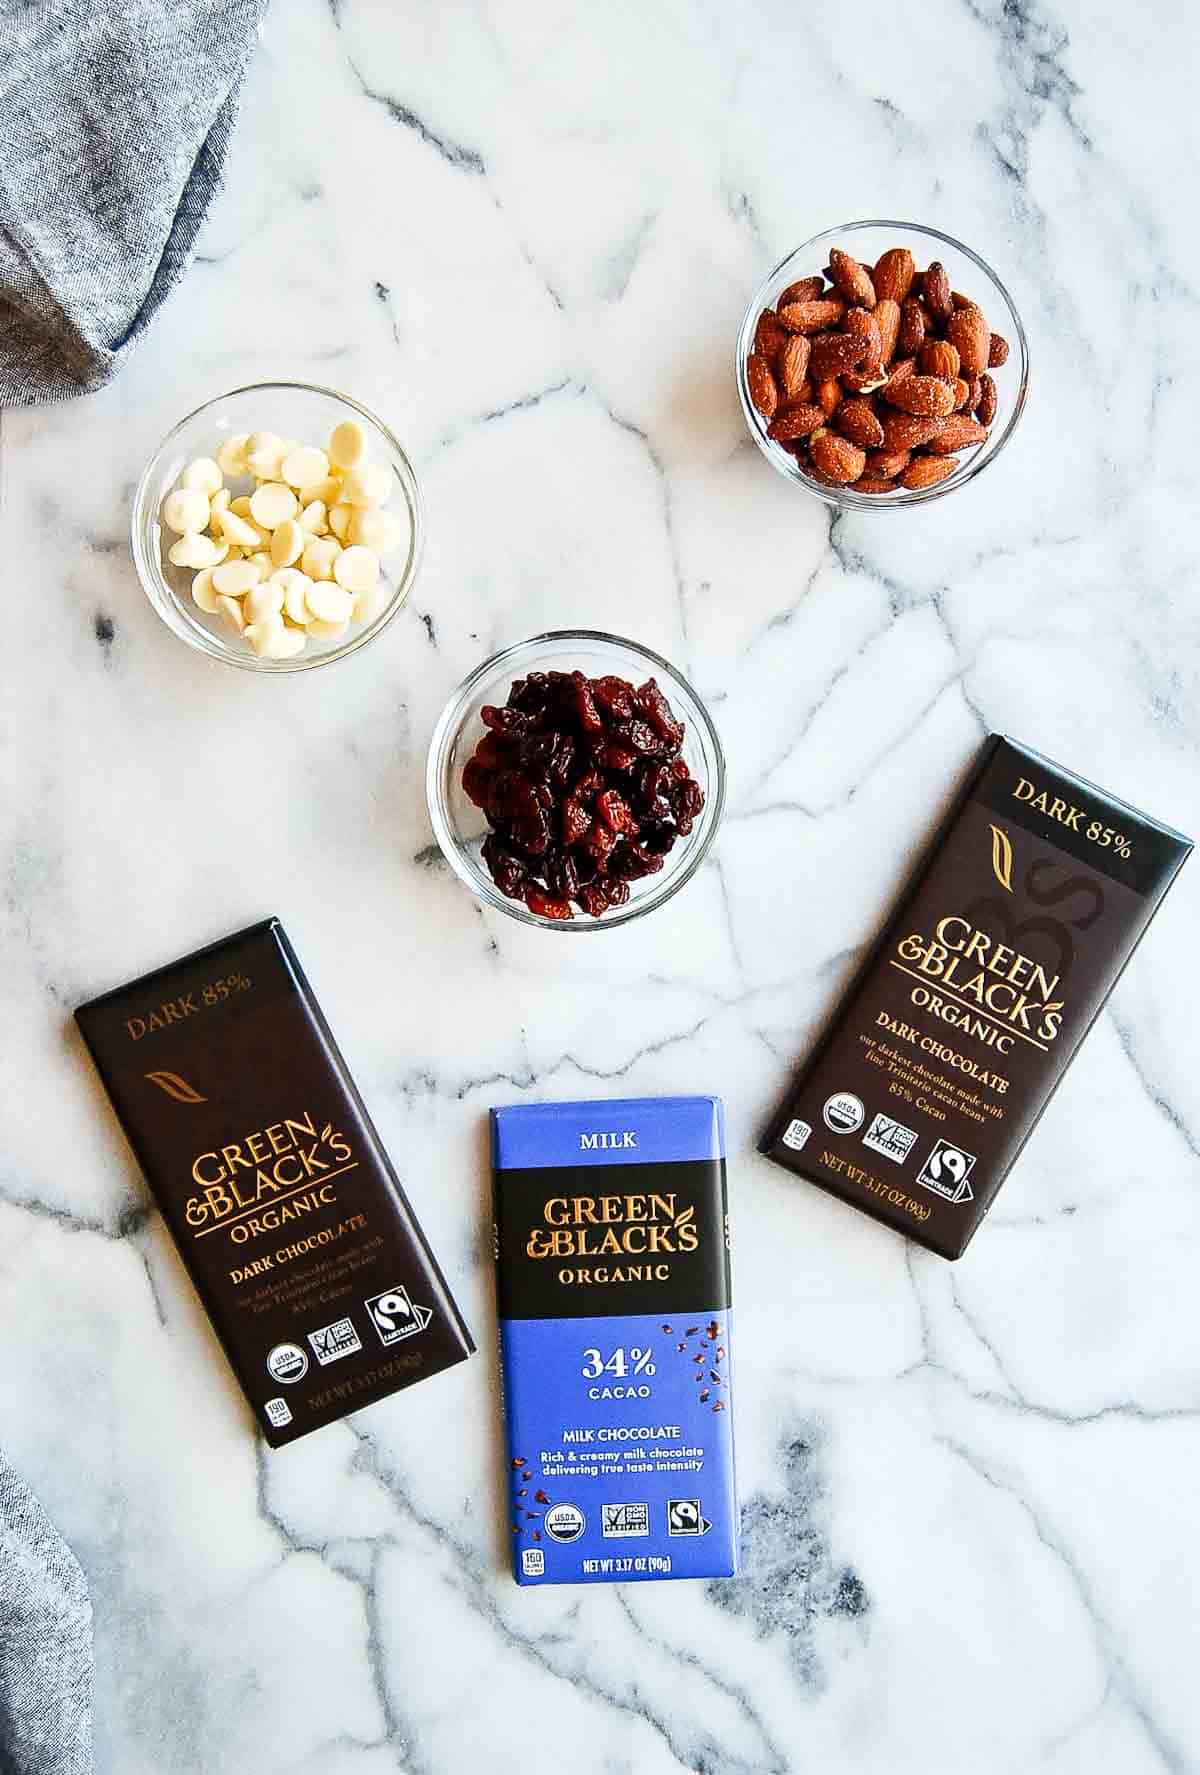
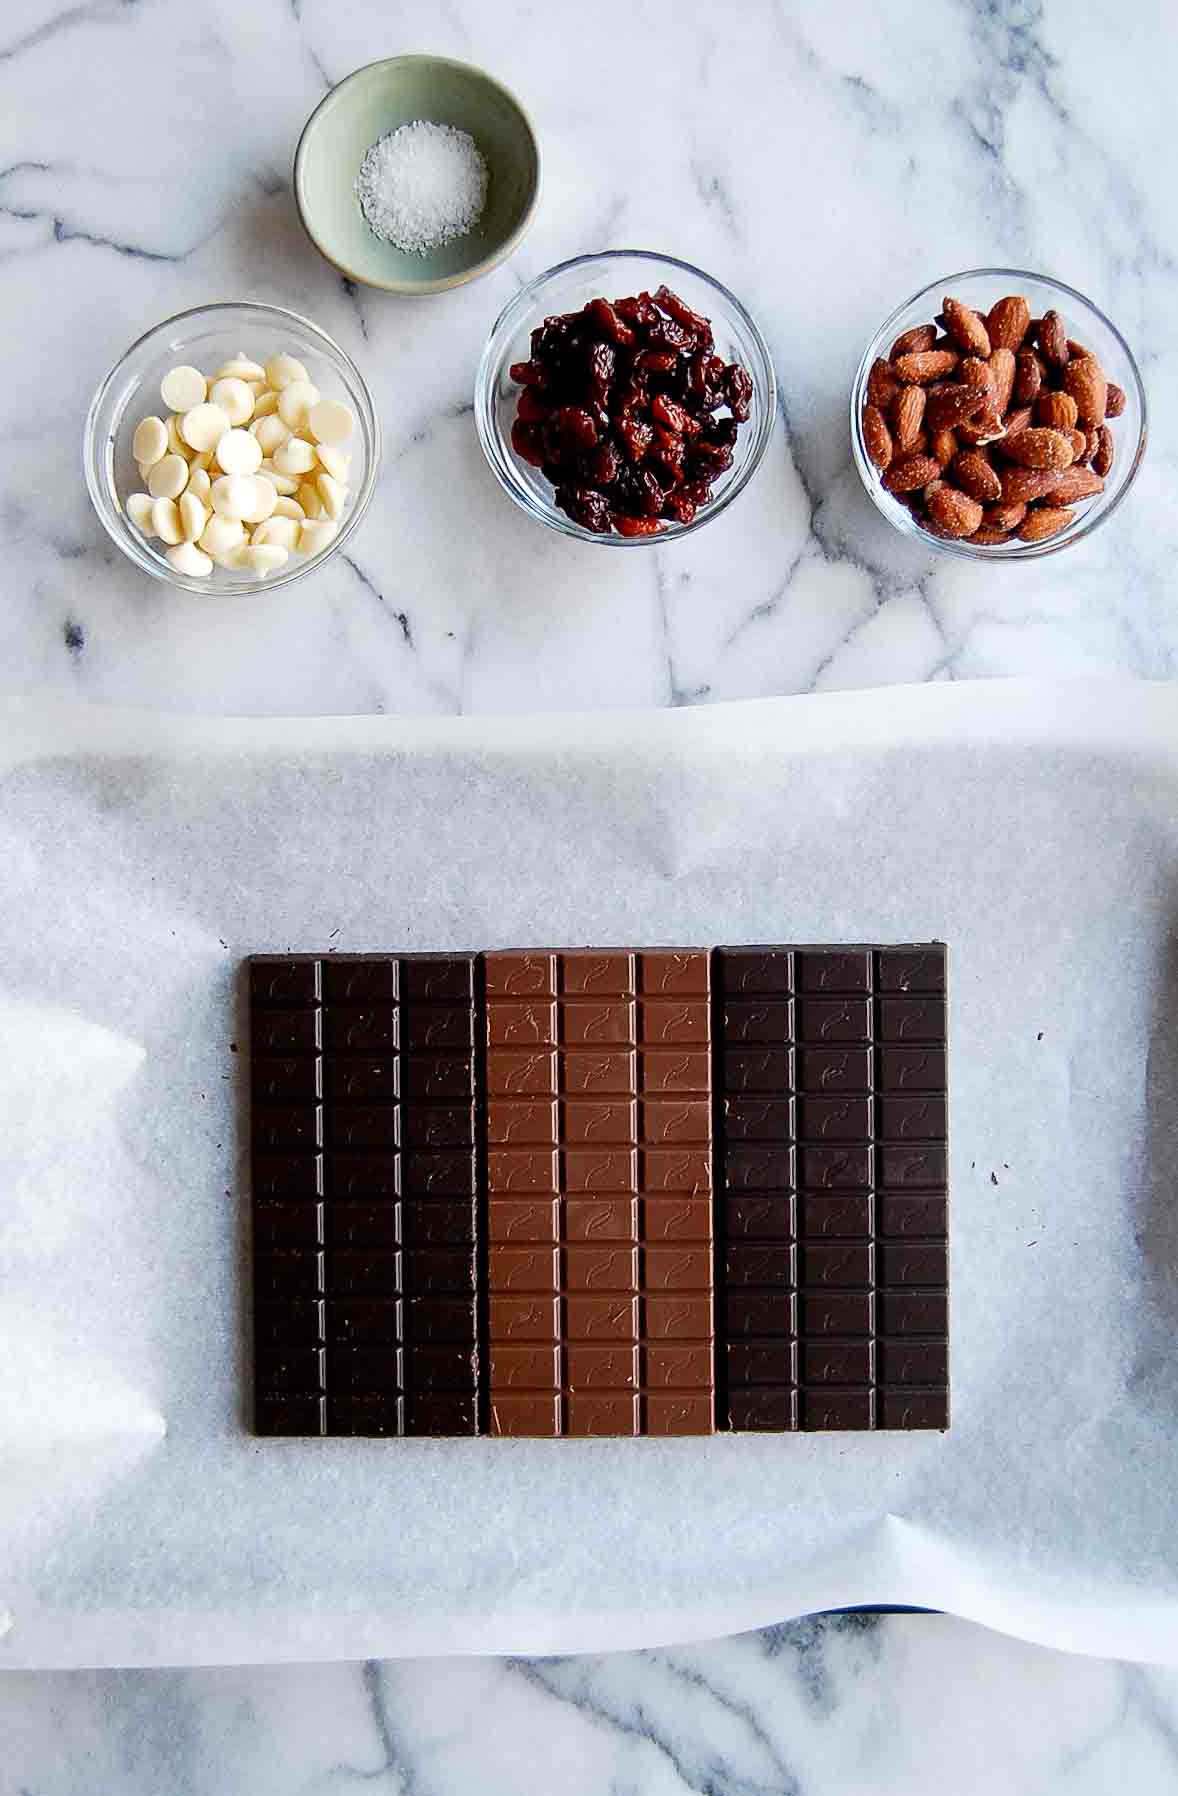
- Chocolate bars. Chocolate bars are an easy way to make this recipe and allow you to buy small amounts that you can mix and customize to make your ideal chocolate bark. You can use whatever kind of chocolate you want here. I love dark, bittersweet chocolate but wanted to lighten it just a bit so used two bars of dark chocolate, one bar of milk chocolate, and then sprinkled a few white chocolate chips on top for some added interest/flavor. The result was fantastic.
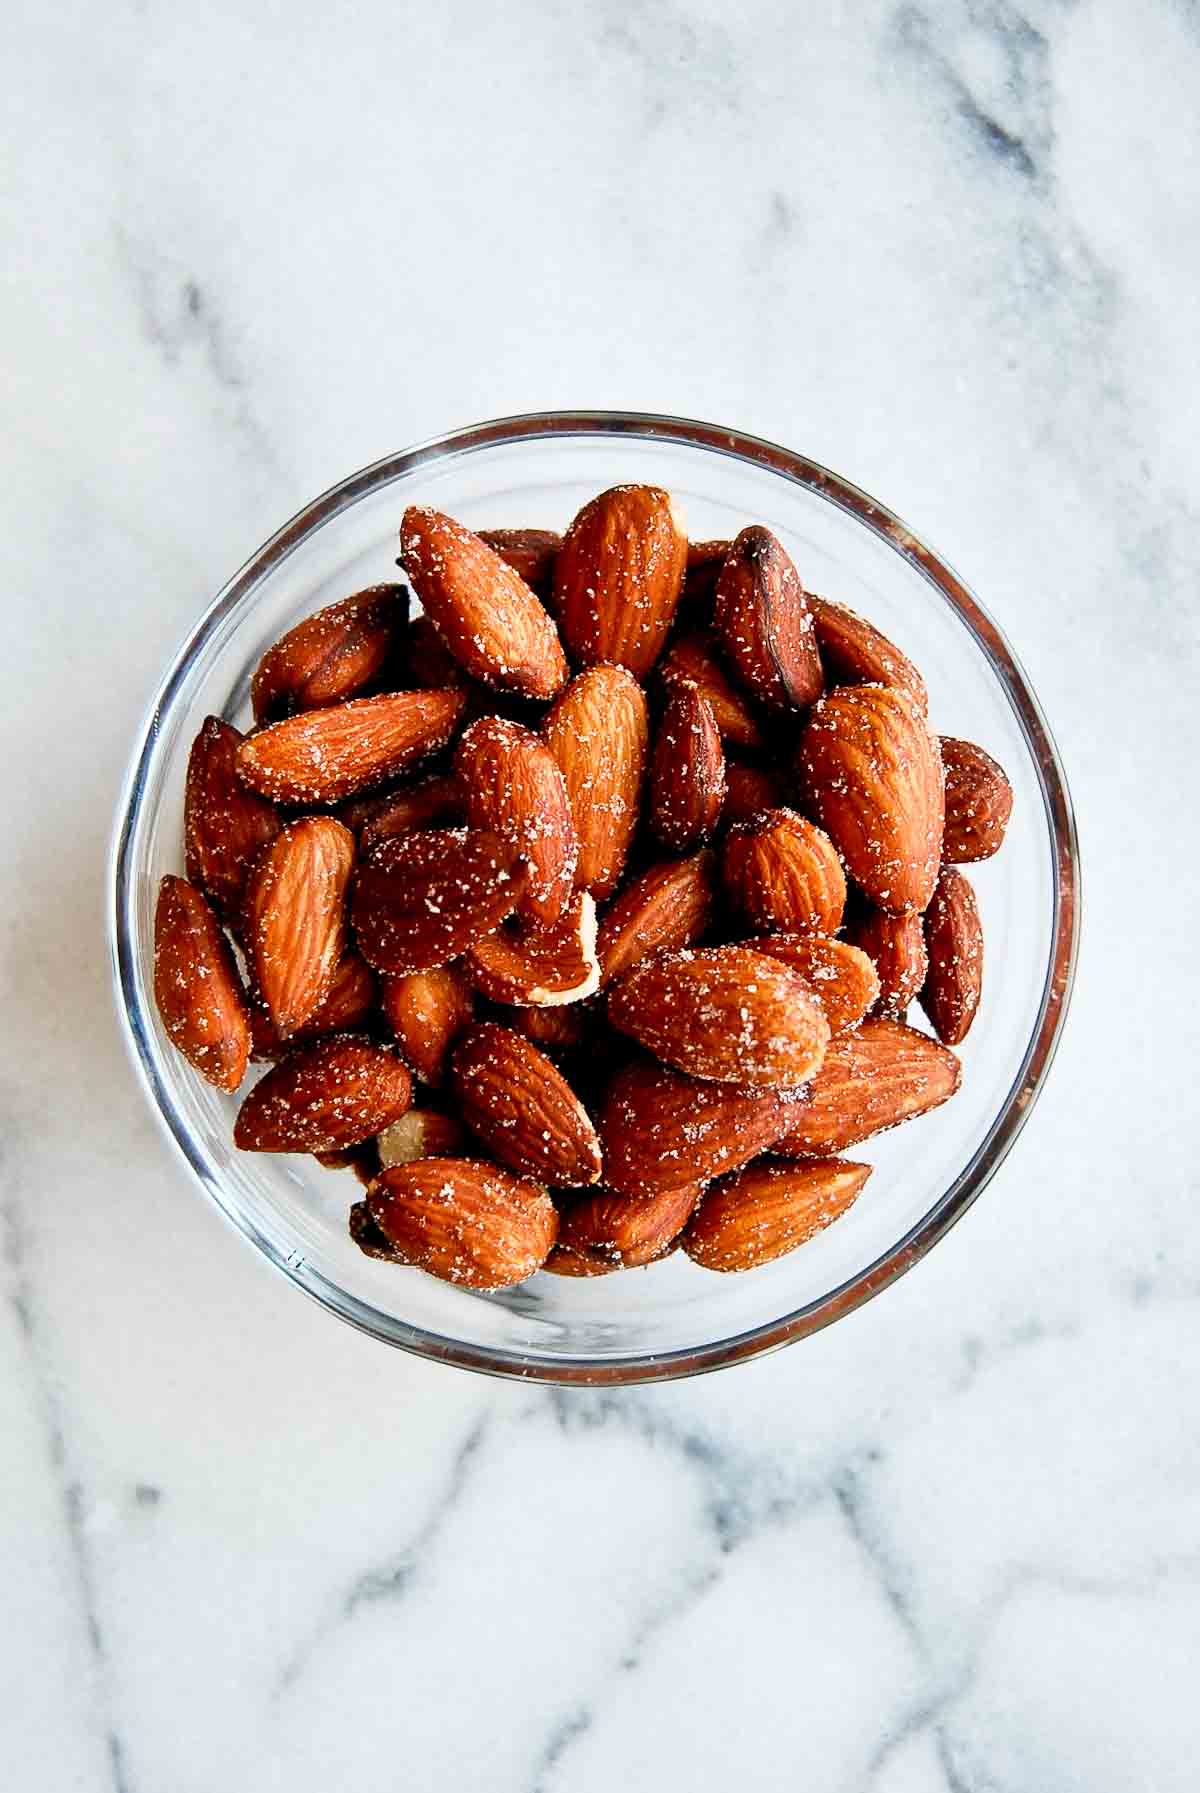
Get creative - this is the perfect opportunity to mix and match and try something new. The only thing I will say is to try to choose the best chocolate you can - it's the main ingredient for this homemade bark so quality is important. - Almonds. I used pre-roasted, lightly salted almonds here so that I wouldn't have to roast the almonds in the oven. I left them whole, but feel free to chop them up a bit if you prefer smaller almond pieces. Try other nuts or seeds to switch things up.
- Dried cherries. Dried cherries go so great with the chocolate and almonds in this version. And, I love this combination for a Valentine's Day Chocolate Bark. But feel free to experiment with other dried fruit too. Cranberries, oranges, blueberries, or strawberries would all be great.
- Flaky sea salt. Because I used salted nuts, I only used a small pinch of sea salt at the end. Adjust according to your taste.
How To Make This Easy Dark Chocolate Almond Bark
Making your own homemade chocolate bark with almonds and cherries really couldn't be simpler. Here's how you do it:
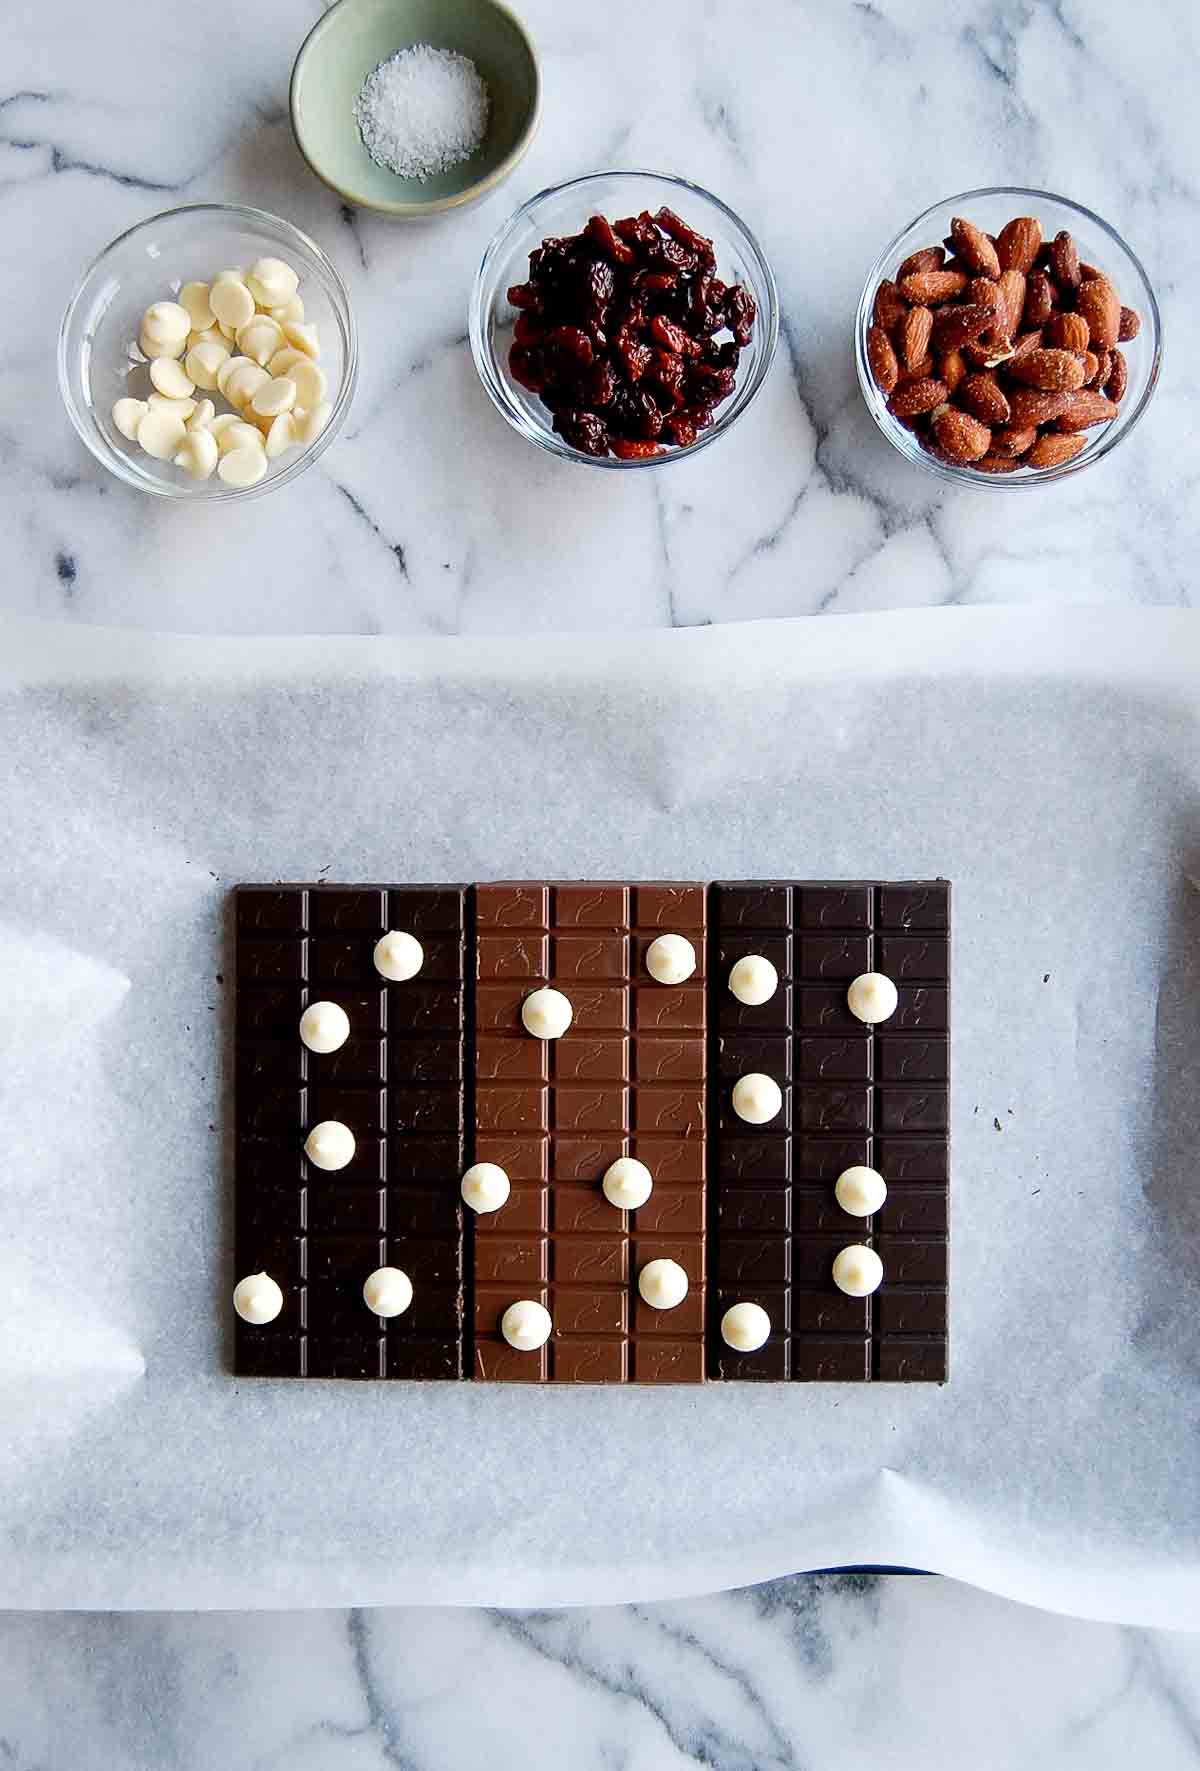
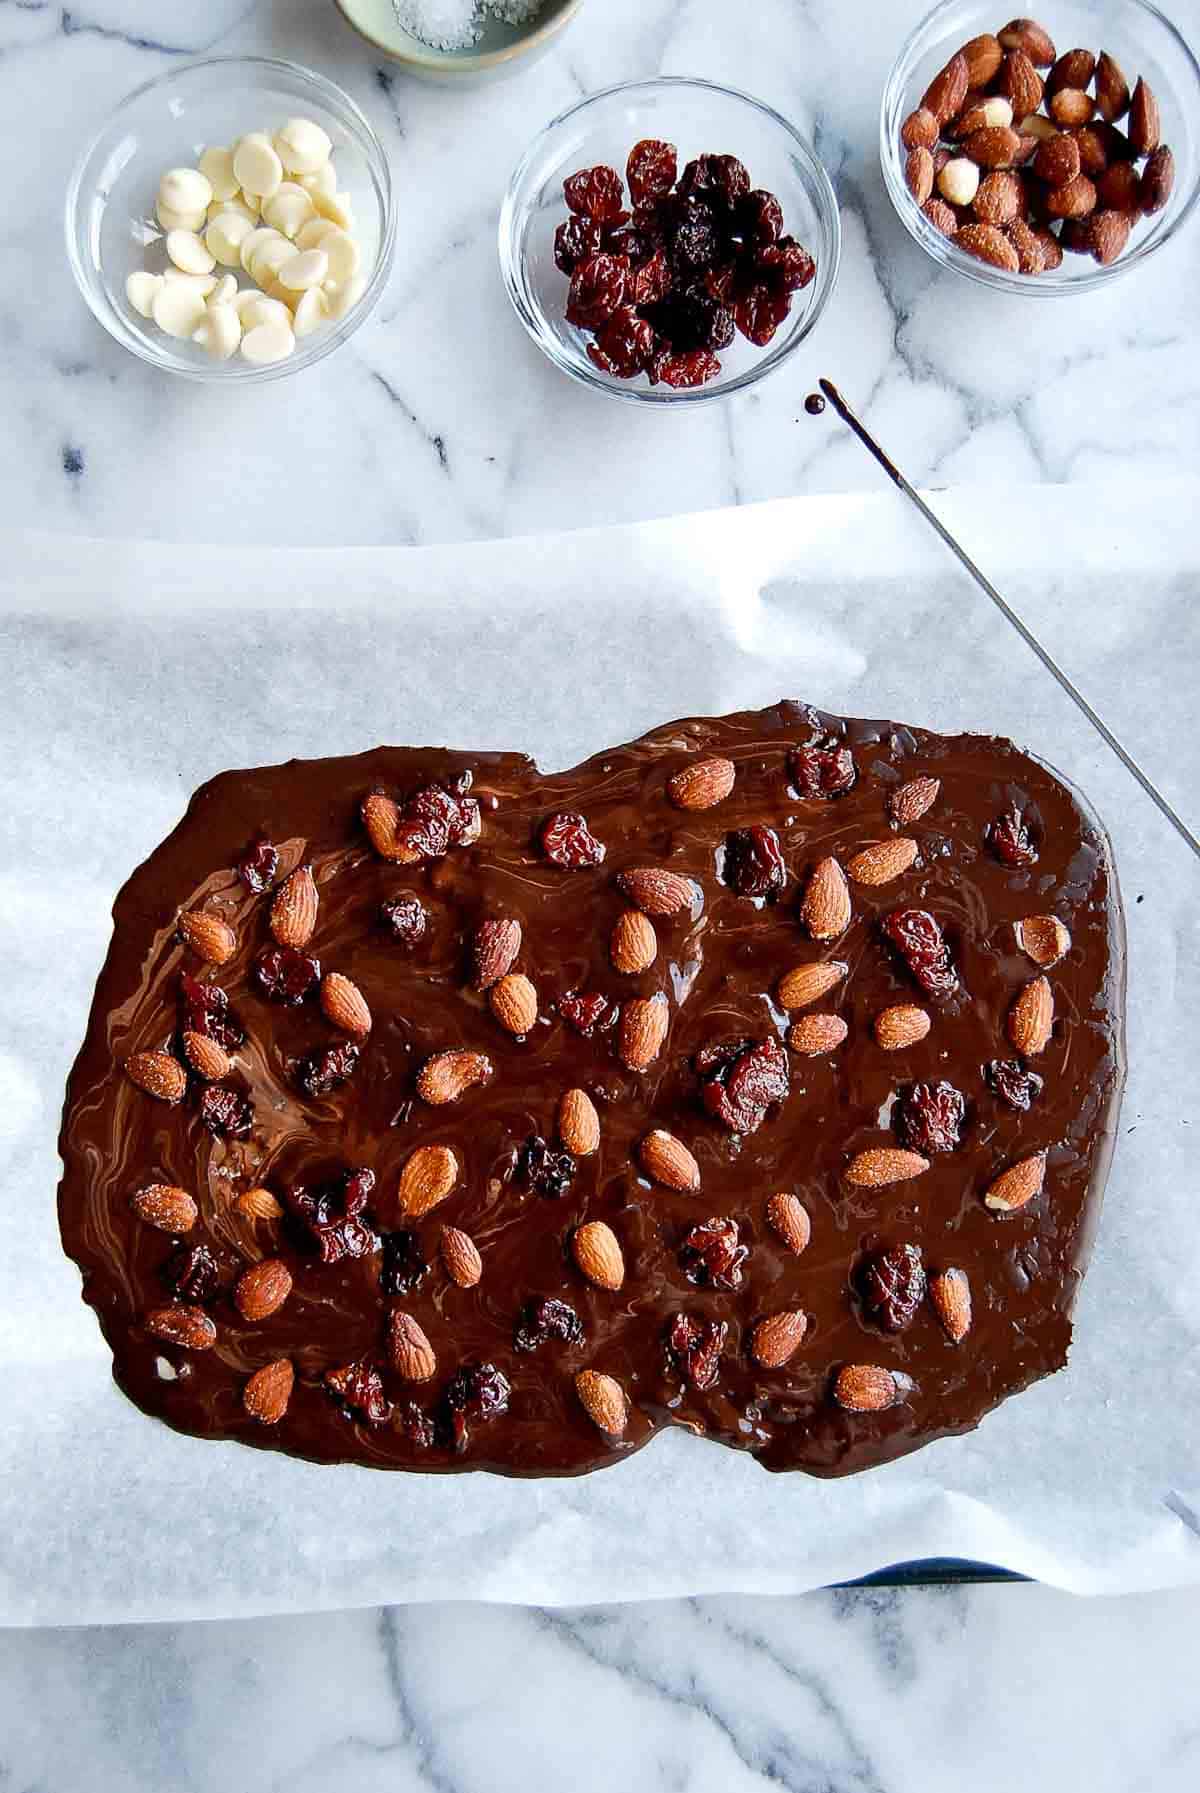
- Prepare the chocolate. Line a baking sheet with a slip mat, or a piece of parchment paper (this will make for easy clean up!) and arrange the chocolate bars next to each other in a single layer on top. Dot the chocolate bars with the white chocolate chips, if using.
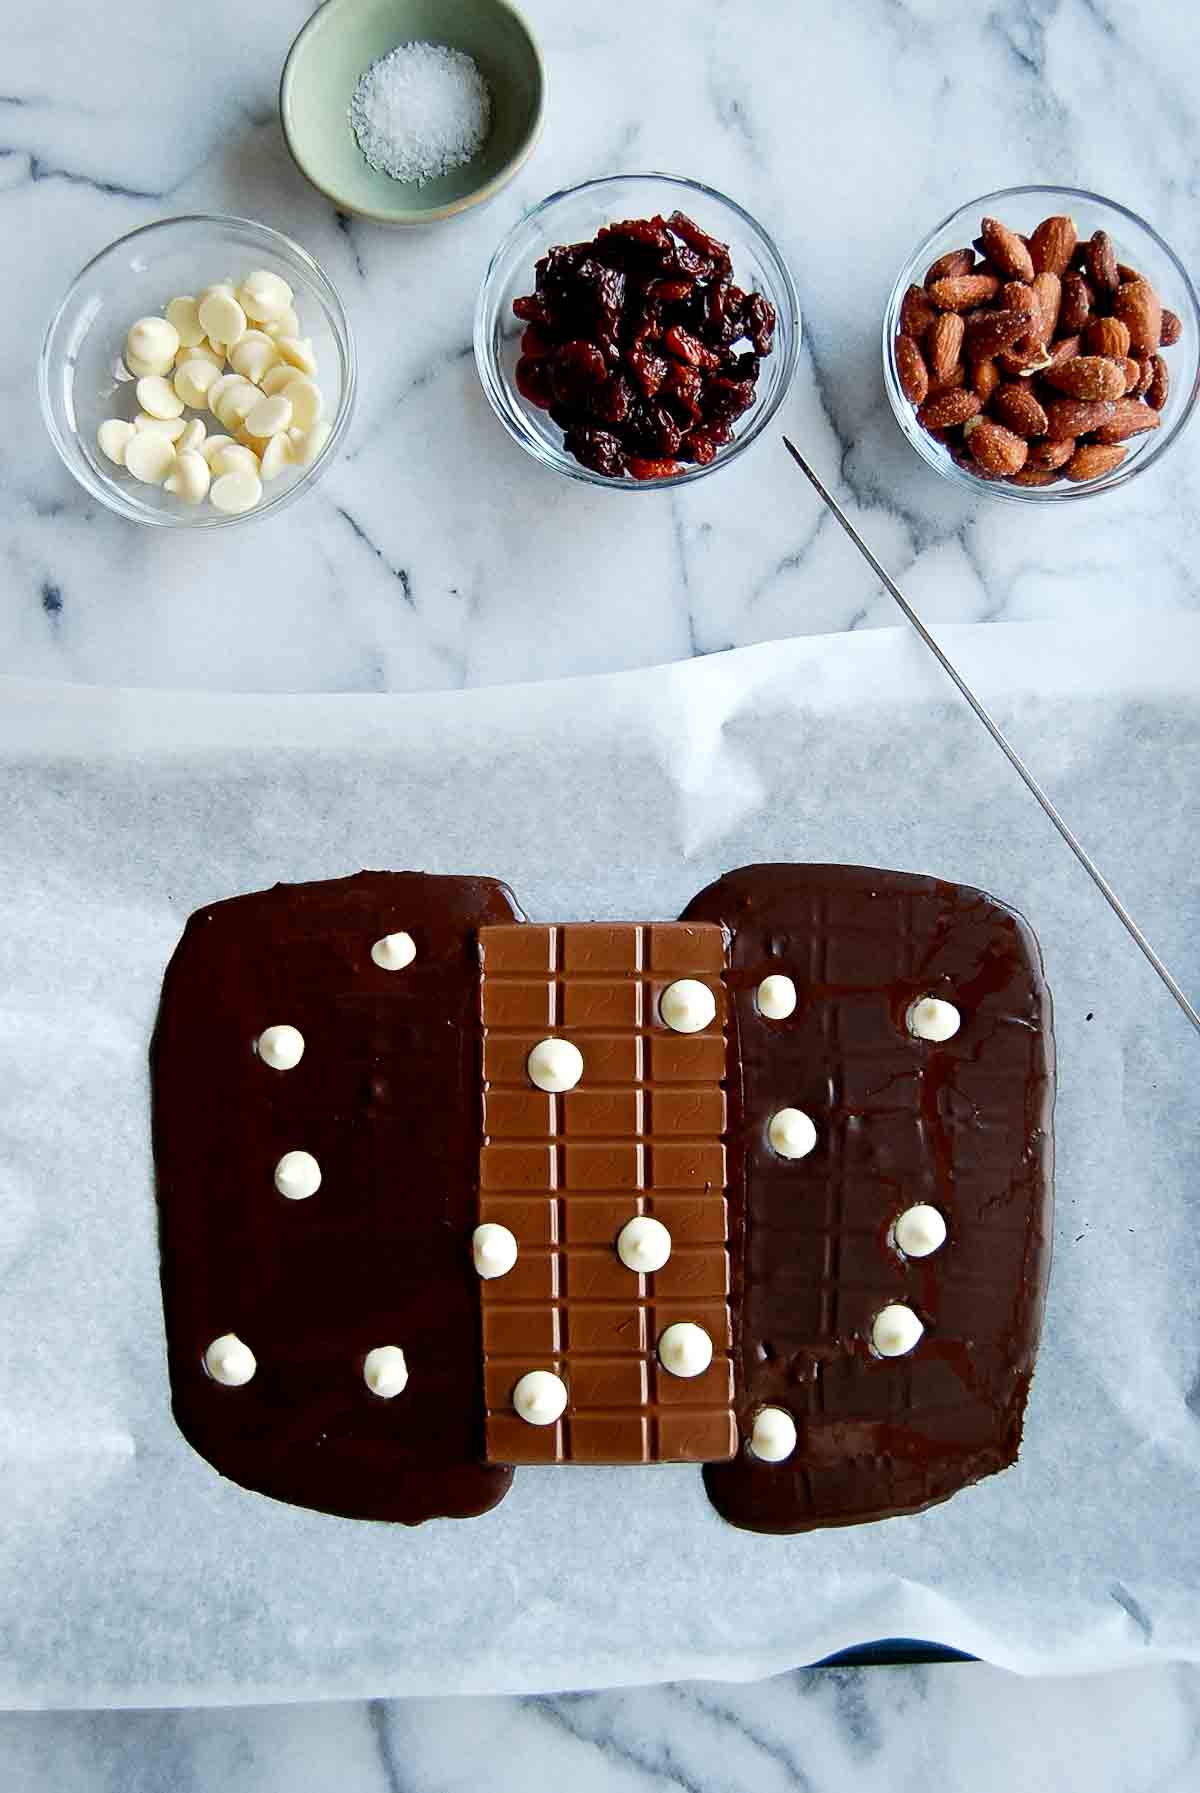
- Melt the chocolate. Place the baking sheet in the oven, set it to 225 degrees, and bake for about 10 minutes, or until the chocolate bars have melted.
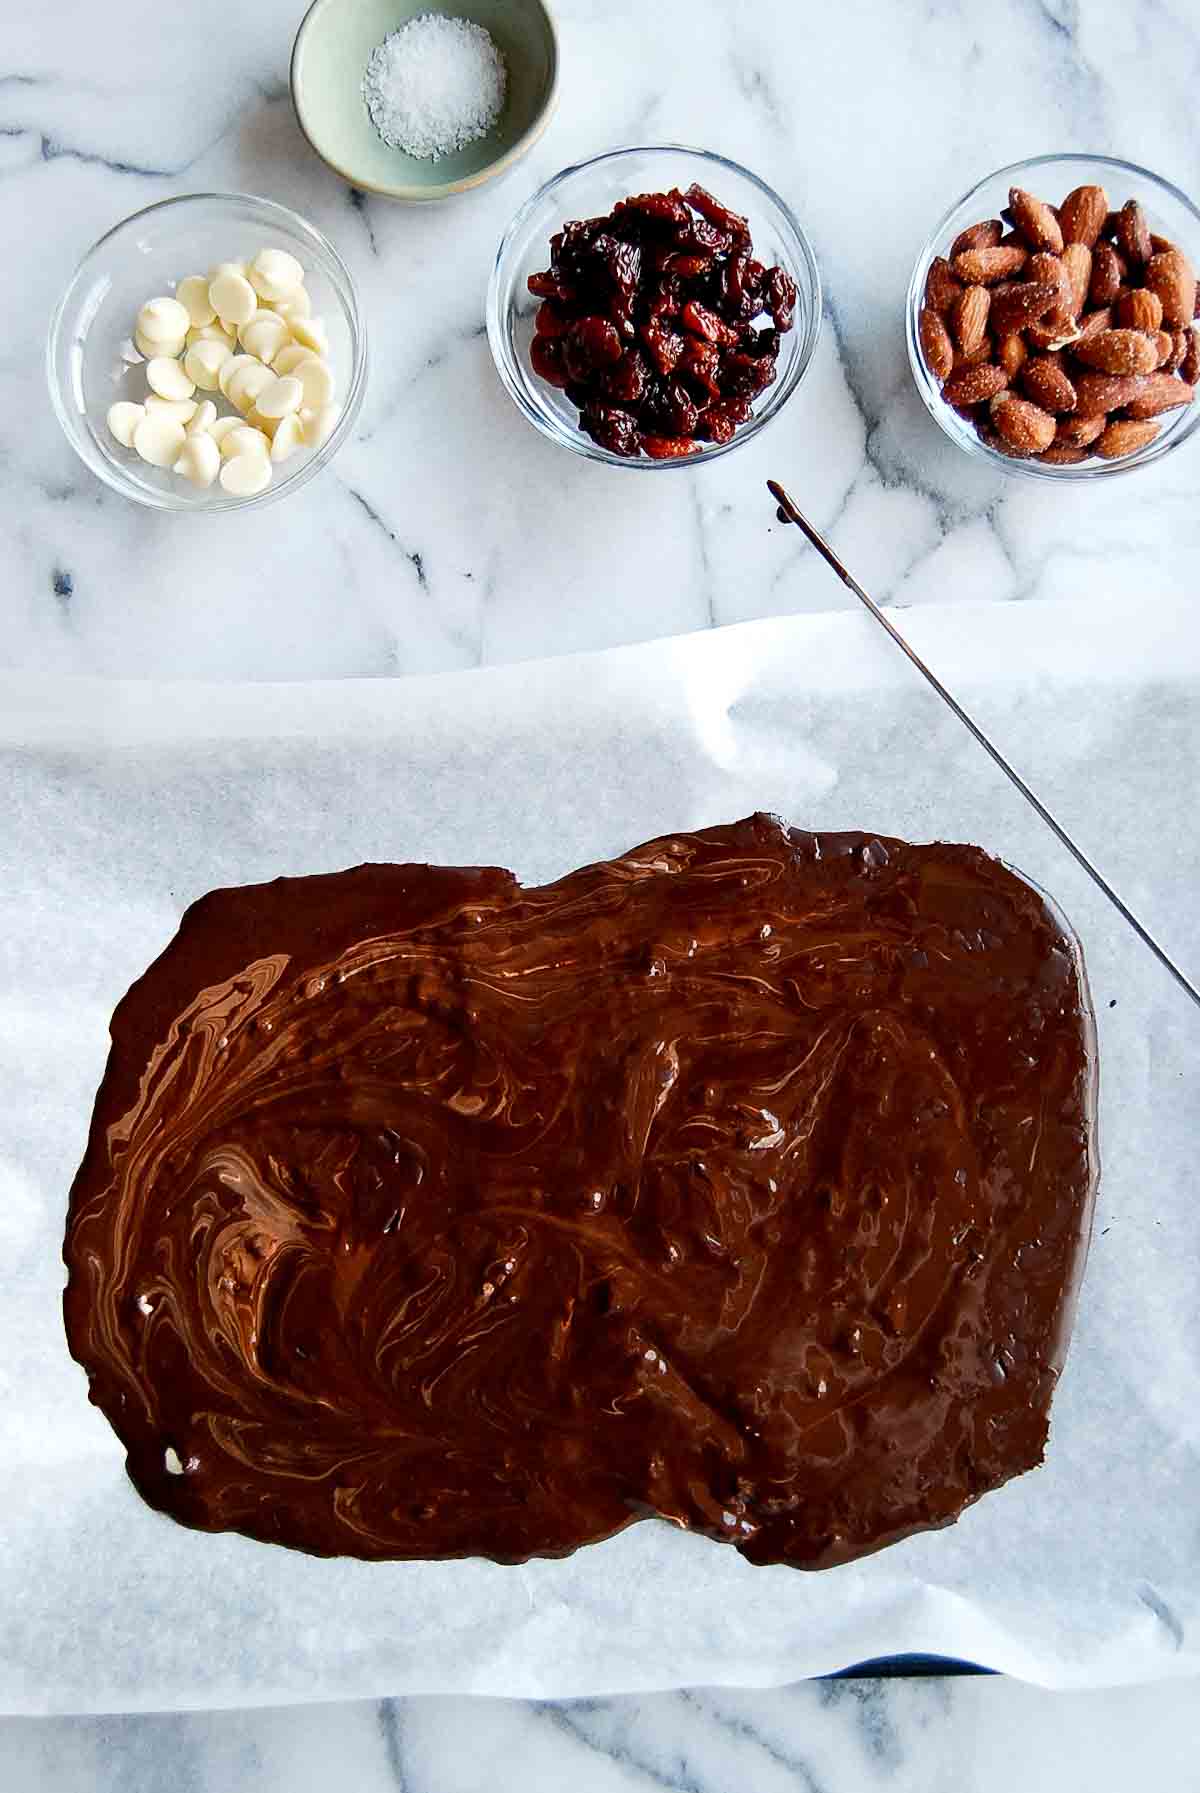
- Mix the chocolate. Remove the baking sheet from the oven and, using a fork, butter knife, rubber spatula, or a toothpick, swirl the chocolate to combine the various flavors.
- Add your favorite toppings. Now the fun part - the toppings! Sprinkle the almonds and cherries (or whatever other toppings you're using) over the top of the melted chocolate in a thin layer. Finish with a small pinch of sea salt over the entire tray.
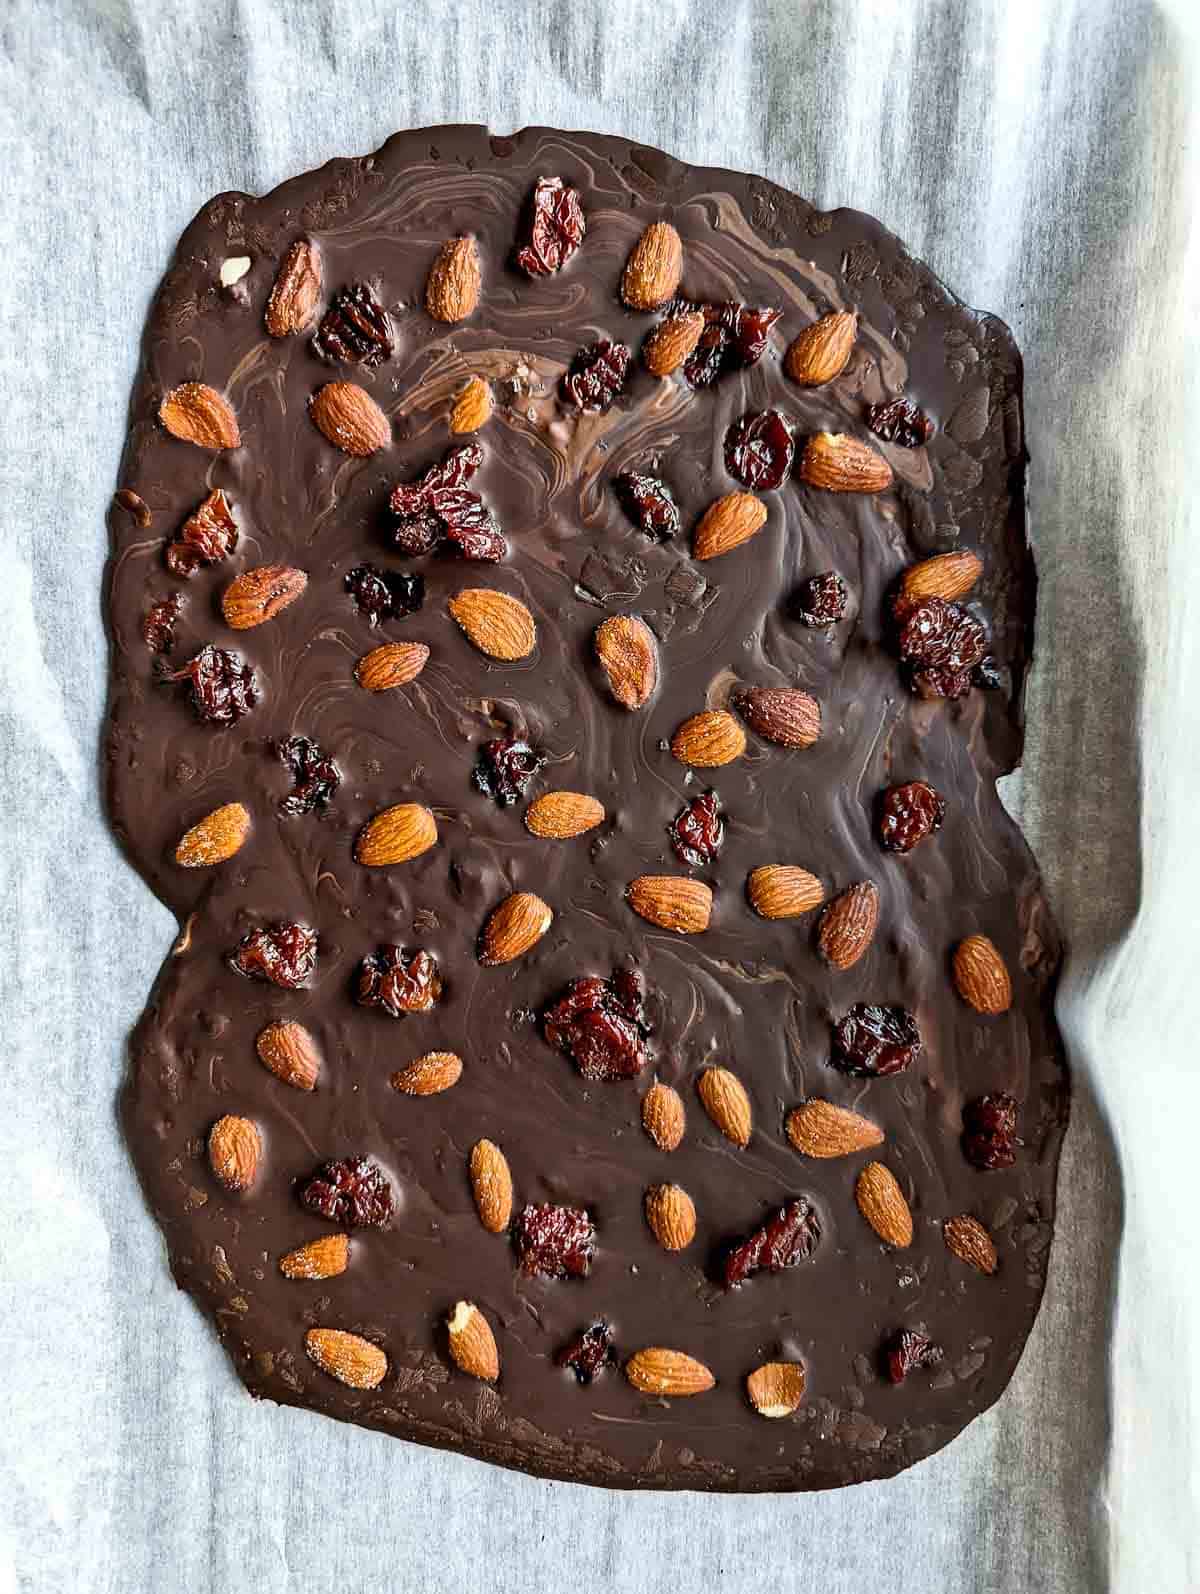
- Chill the almond chocolate bark. Cover the baking sheet with plastic wrap and place the entire baking sheet in the refrigerator for at least 30 minutes, or up to an hour until the chocolate hardens and the almond chocolate bark sets.
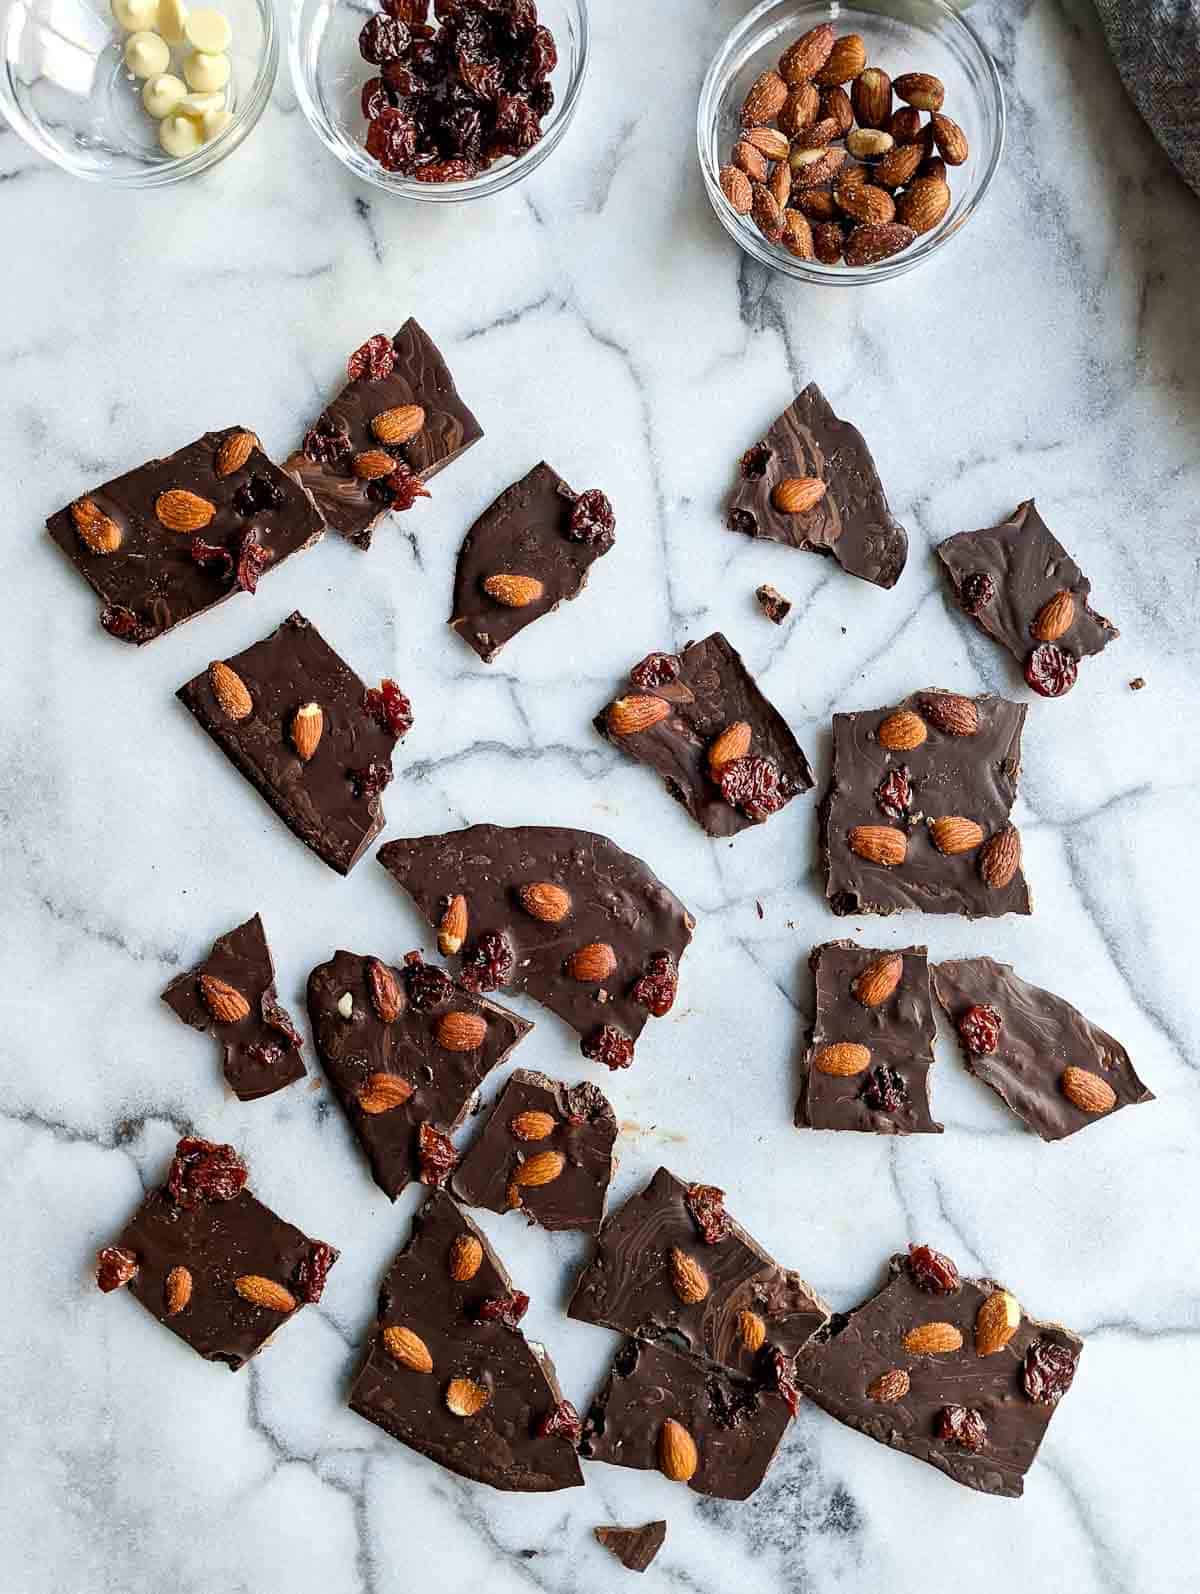
- Break it up. Once the chocolate has completely hardened, remove it from the refrigerator and break it into small pieces.
- Serve, or store in an airtight container. I like to store it in the fridge so that the chocolate is chilled but it will store just as easily at room temperature for about a week.
Helpful Tips
- Mix it up. Using a variety of chocolates is a great way to give you a more complex and unique flavor. Try mixing it up a bit and trying something new!
- Watch your chocolate carefully in the oven. It will be easy to swirl with your fork or a toothpick once it's about 90% melted. If you're using different types of chocolate, some may melt differently than others. I find that milk chocolate bars hold their shape more than dark chocolate bars, which tend to spread. You can test it to see if it's melted by poking the chocolate softly with your fork.
- Watch the salt. Be careful with the salt at the end, especially if you're already using salted nuts.
The Best Toppings For Chocolate Bark
You can make your chocolate bark your own by using different types of chocolate and various add-ins. Here are some ideas for other toppings you can add to take this homemade chocolate bark recipe to the next level:
- Nuts: almonds, pecans, pistachios, walnuts, peanuts, cashews, or any other variety you can think of will work.
- Seeds: pumpkin, pepitas, sesame, sunflower
- Dried coconut flakes
- Pretzels
- Peanut butter chips
- Butterscotch chips
- White chocolate (try using a full white chocolate bar to mix in too!)
- Candy canes (mmm...peppermint bark!)
- Other candy pieces: soft caramel bits, gummies, toffee
- Dried fruit: dried cherries, cranberries, blueberries, strawberries, mango, or apricots are all great here!
- Citrus: candied oranges or even orange zest work great.
- Crystalized ginger
- Spice. Don't be afraid to add a touch of cayenne to give your chocolate a bit of a kick!
Substitutions And Variations
There are endless combinations that you can try here. Use your imagination to come up with some, or try one of these ideas:
- Try using a different type of chocolate. Change the flavor by using a different chocolate. White chocolate bark is delicious so give white chocolate a try.
- Change up the toppings. The above list is just a start - there are loads of variations you can make based on your personal preference and choice of toppings. Here are a few combos to try.
- Dark chocolate+orange zest+pistachios
- Dark chocolate+walnuts+dried cranberries
- Dark chocolate+peanut butter chips+roasted peanuts
- Milk chocolate+soft caramel candies
- Milk chocolate+chopped candy canes
- Milk chocolate+pretzels+peanut butter chips
- Dark chocolate+crystalized ginger
- Dark chocolate+walnuts+dried blueberries
Frequently Asked Questions
I think the baking sheet method is the easiest way to melt the chocolate since you don't have to transfer the chocolate from a bowl to the sheet pan. But if you want, you can melt the chocolate in the microwave. Place the chocolate in a microwave-safe bowl and heat on low in the microwave in 15-second intervals, stopping to stir the mixture occasionally. Then just pour the mixture over the parchment paper or slip mat and proceed to step 4.
Nope! Choose your favorite type of chocolate and stick with that if that's what you want.
I like to store it in the fridge to ensure it doesn't melt and to keep it fresh. But you should be able to store it at room temperature in an air-tight container for up to a week.
You could, but I'd probably avoid it since fresh fruit would spoil faster or ferment and your chocolate bark may not last quite as long.
If you make this Easy Chocolate Bark, let me know what you think in the comments. And definitely let me know if you try any new and delicious combinations - I love hearing your ideas of how to mix things up! And don't forget to tag me @frontrangefed on Instagram so I can see your beautiful creations!
More Easy Desserts!
- 7 Layer Bars
- Mexican Hot Chocolate Recipe
- Brown Butter Rice Krispie Treats
- Easy Chocolate And Peppermint Icebox Cake
- Soft Ginger Molasses Cookies
- Smores Rice Krispie Treats
- No Bake Peanut Butter Energy Balls
Recipe
Easy Chocolate Bark Recipe
Ingredients
- 3 chocolate bars (combination of 1 milk chocolate bar and 2 dark chocolate bars)
- ¼ cup white chocolate chips
- 1 cup roasted almonds (or your choice of nuts or seeds)
- 1 cup dried cherries (or other dried fruit)
- pinch of sea salt
Instructions
- Place the three chocolate bars on a slip mat, or parchment-lined baking sheet. If using white chocolate chips, sprinkle them evenly over the top of the chocolate bars.
- Set the oven to 225 degrees and place the sheet pan in the oven.
- Watch the chocolate carefully as it starts to melt (about 10 minutes). Remove once all three bars have melted.
- Take the bars out of the oven and, using a spoon, fork, or toothpick, swirl the different chocolates around until they are evenly dispersed.
- Sprinkle the dried cherries and almonds (or whatever other toppings you're using) on top of the chocolate.
- Place the entire pan in the refrigerator for 1 hour, or until the chocolate has fully hardened.
- Break the chocolate into pieces, then serve immediately or store it in an airtight container in the refrigerator, or at room temperature for 1 week.
Notes
- Don't let the chocolate bars burn! Watch it carefully as it melts. It should only take about 10 minutes.
- Some types of chocolate melt differently than others. If it looks like one or more of your chocolate bars aren't melting as quickly, poke the side of it with a toothpick to check. You want it soft enough that you'll be able to swirl it around on the pan to mix the different varieties.
- Watch the salt. If you use salted almonds, be careful of adding too much sea salt at the end!
Explore More with AI


Comments
No Comments