Chili Lime Roasted Pepitas make a delicious healthy snack and are easy to make. Tossed with a variety of spices, maple syrup, and tangy lime juice, these spiced little seeds are great to use as a crunchy topping for salads, in trail mixes, or all on their own.
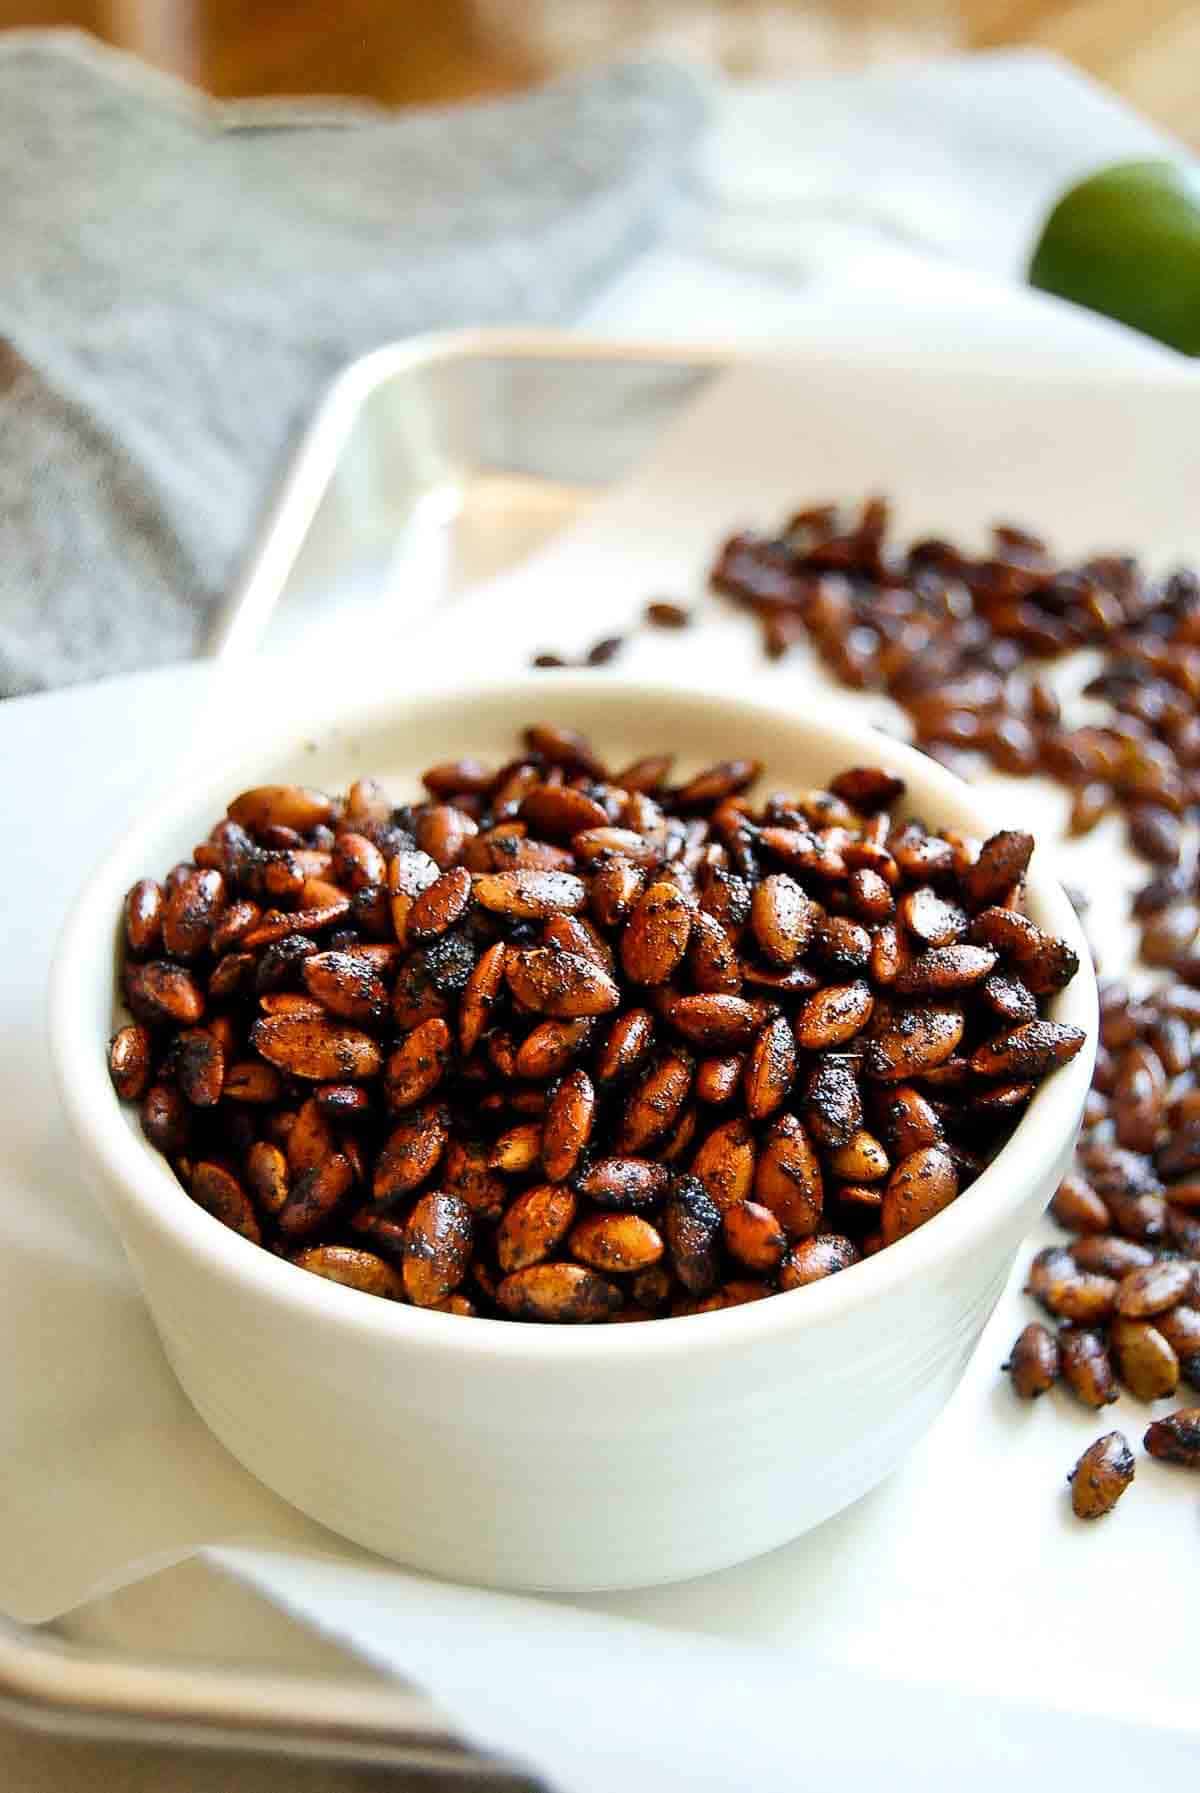
We love a good healthy recipe at our house. As we head into fall, we’ve been trying to find new healthy snacks to enjoy outside of the typical (and decidedly un-healthy) chips and crackers. We recently made these simple honey-roasted sunflower seeds which were delicious and thought we’d try a more savory recipe for these sweet little pepitas.
The result? A crunchy, tasty snack that works well on its own but also pairs nicely with other recipes. I’ve been loving this snack, but have used it multiple times on top of salads, in tacos, or as a crunchy addition to casseroles.
In This Post
Why This Recipe Works
- A great healthy snack. Pepita seeds, as with regular raw pumpkin seeds are little powerhouses of nutrition. Having them on hand is a great way to add some extra nutrients to your snacks and meals, as they’re a good source of protein, loaded with vitamins, and have powerful antioxidants to help reduce inflammation. In fact, the American Heart Association recommends eating ¼ cup of pepitas per day as part of a healthy diet. Who needs convincing after that?!? These seeds are also approved if you're following a keto diet.
- Sweet and savory. These zesty little roasted pepitas are the perfect snack for when you want something slightly sweet but spicy too. The maple syrup coats the seeds lightly and the cayenne pepper, cumin, and chili powder add a spicy punch.
- Quick. These toasted pepitas come together quickly, taking only about 10 minutes to roast in the oven.
- Easy ingredients. If you have a well-stocked spice cabinet, you likely have most of what you need for chili lime pepitas. In fact, the one thing you probably will need to buy will be the pepita seeds themselves. Luckily, they’re readily available in most grocery stores.
- Versatile. As I said above - these are so versatile and you can put them in all sorts of dishes. They’re great on their own as a healthy snack but also great on salads, tacos, soups, and anything else where you want a spicy, crunchy topping.
Ingredients
The ingredients here are super easy. Here’s what you’ll need to make this simple snack:
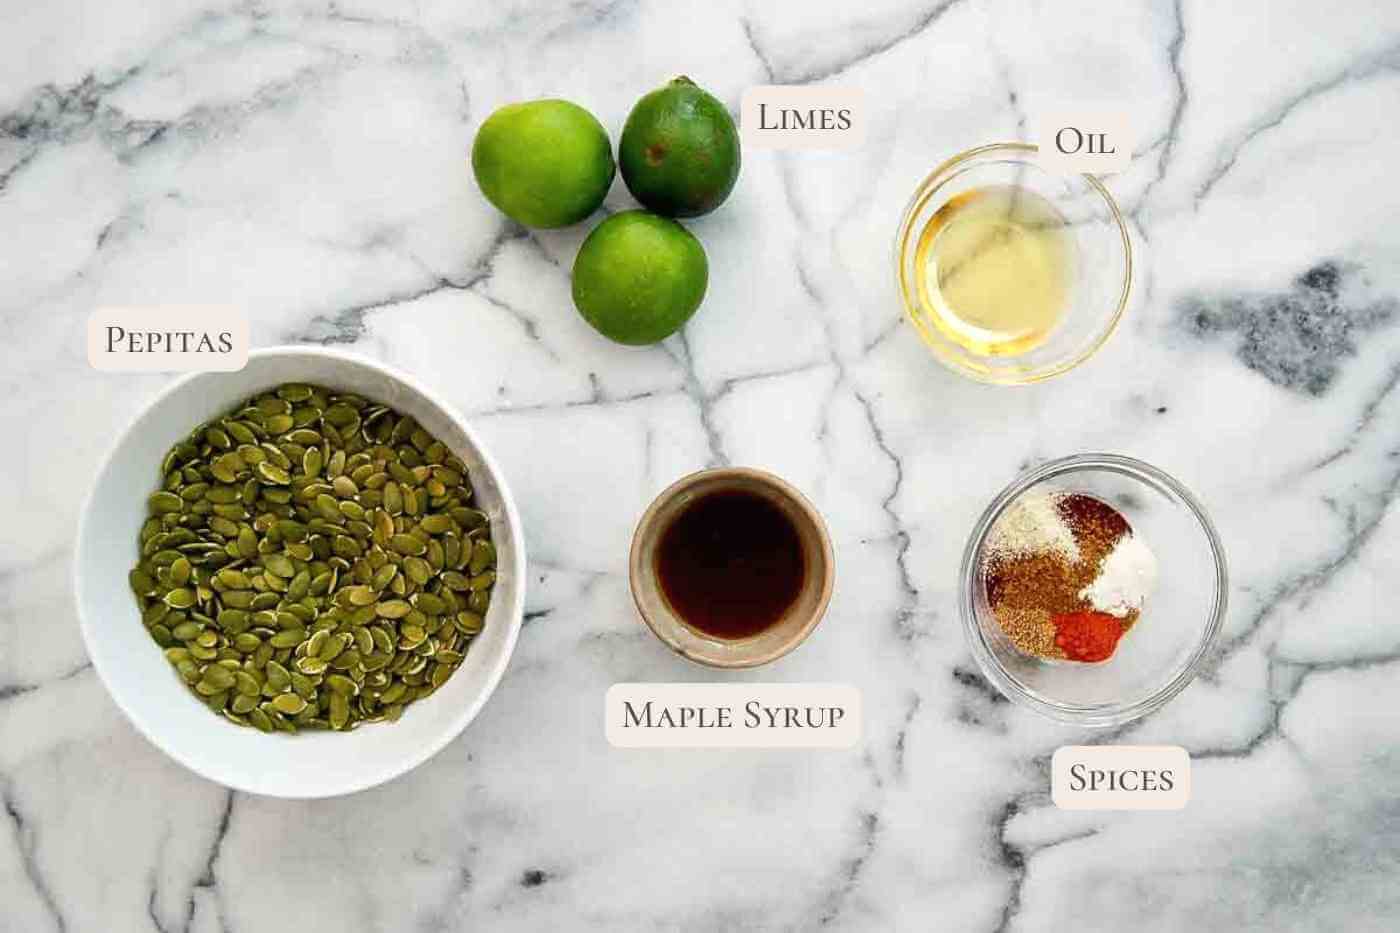
- Pepitas. Don’t confuse these with pumpkin seeds (although those could work with this recipe too!) Pepitas are the small seeds inside the shell of the pumpkin seed and have a bright green color. You can find these in most grocery stores. Choose raw unsalted pepitas, or roasted.
- Maple syrup. The maple syrup is not too sweet (you don’t need too much) and is really used as a coating and carrier for the other spices.
- Lime juice. The lime juice is a bit of a surprise ingredient and adds a bright zesty flavor to this tasty recipe.
- Spices. A variety of spices go into this recipe. Cayenne pepper, chili powder, cumin, garlic powder, onion powder, ground coriander, and of course, a touch of sea salt make up the spice mixture for these chili lime roasted pepitas.
- A neutral flavored oil. You could use olive oil here, but I like using a more neutral oil so that it doesn’t compete with the sweet and salty mixture of maple syrup and spices. I used avocado oil, but grapeseed, vegetable, or even a bit of canola oil would work too.
How to make oven-roasted chili lime pepitas
Making these roasted seeds is easy and involves just a few steps and about 15 minutes.
- Prepare your baking sheet. Start by preheating the oven to 350 degrees F. Line a rimmed baking sheet with parchment paper and sprinkle the pepitas over it.
- Prepare the syrup and spice mixes. In a small bowl, add the maple syrup, lime juice, and avocado oil and stir it well to combine. In a separate bowl, add the spices and mix well.
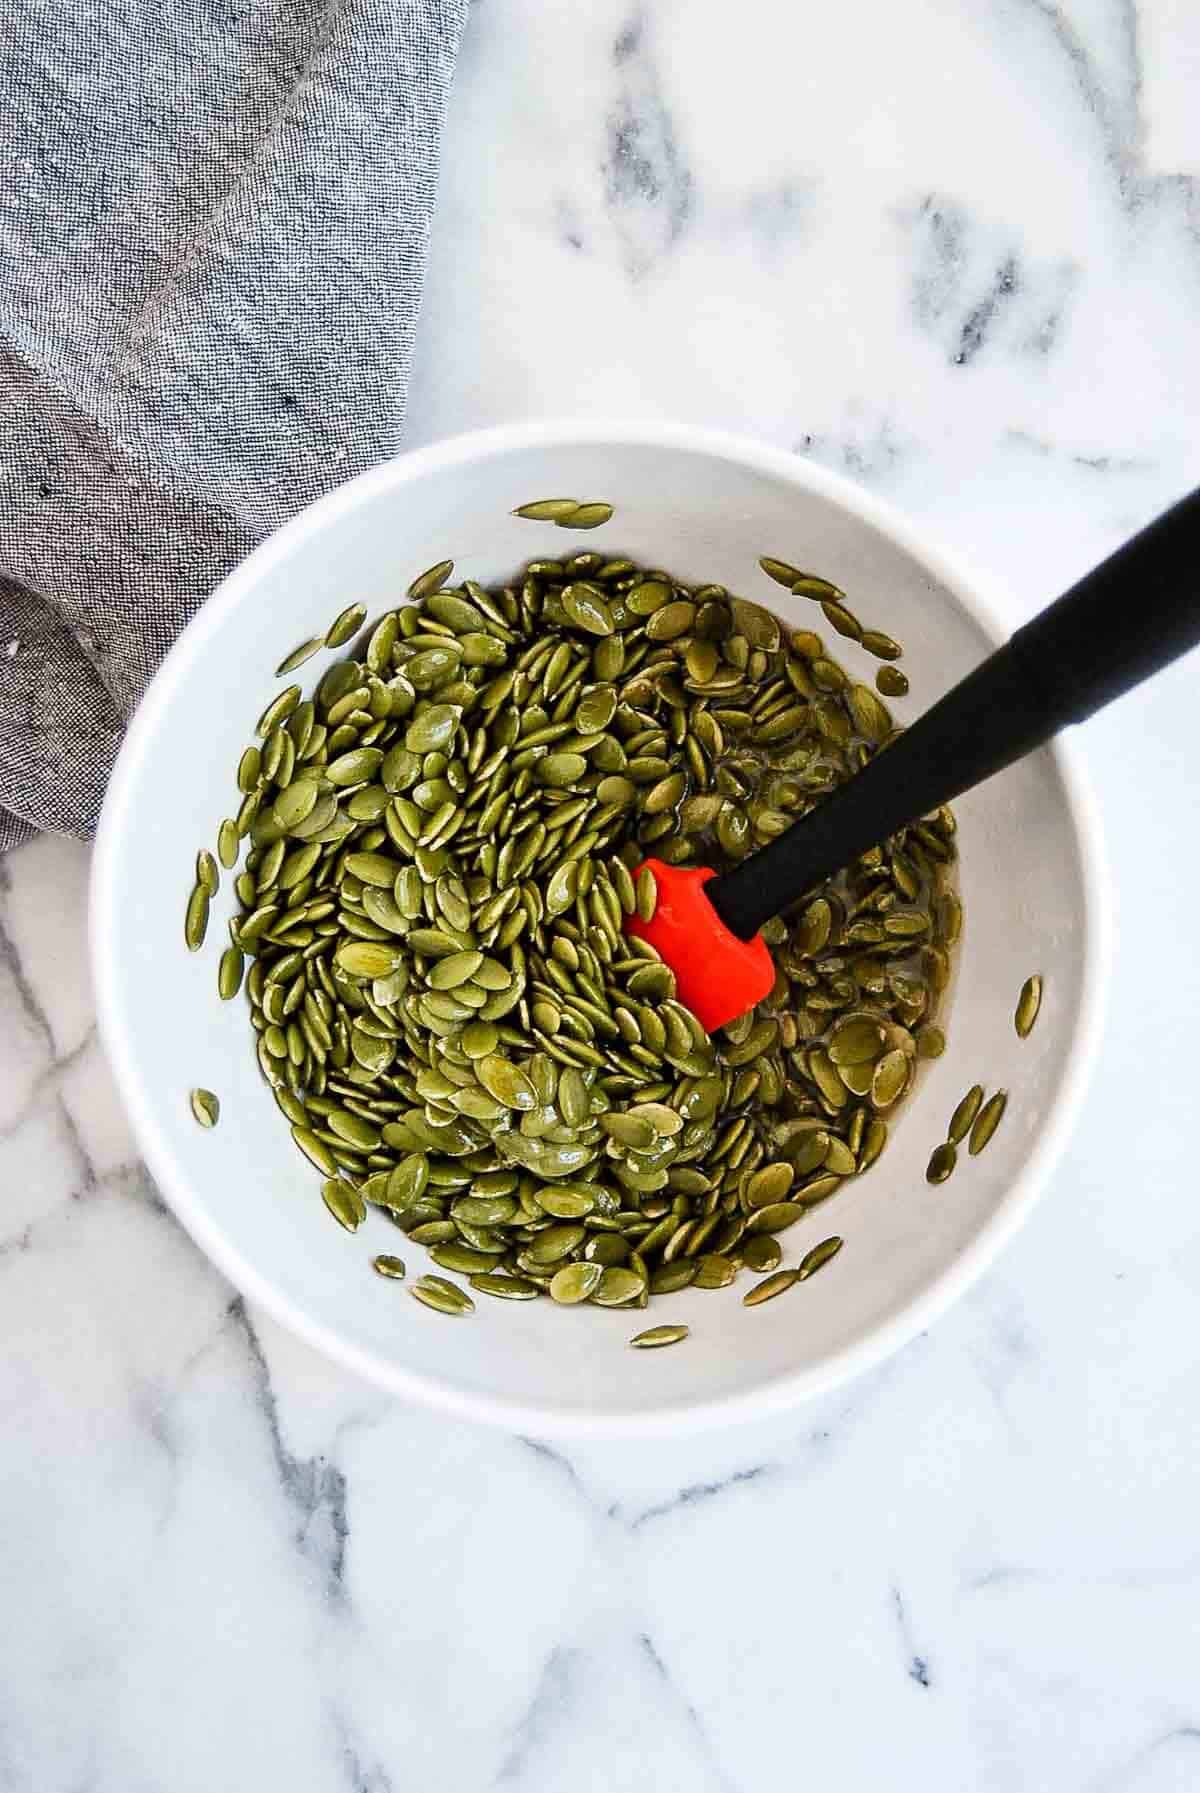
- Coat your seeds. Add the pepitas to the bowl with the maple syrup, lime and oil and mix well.
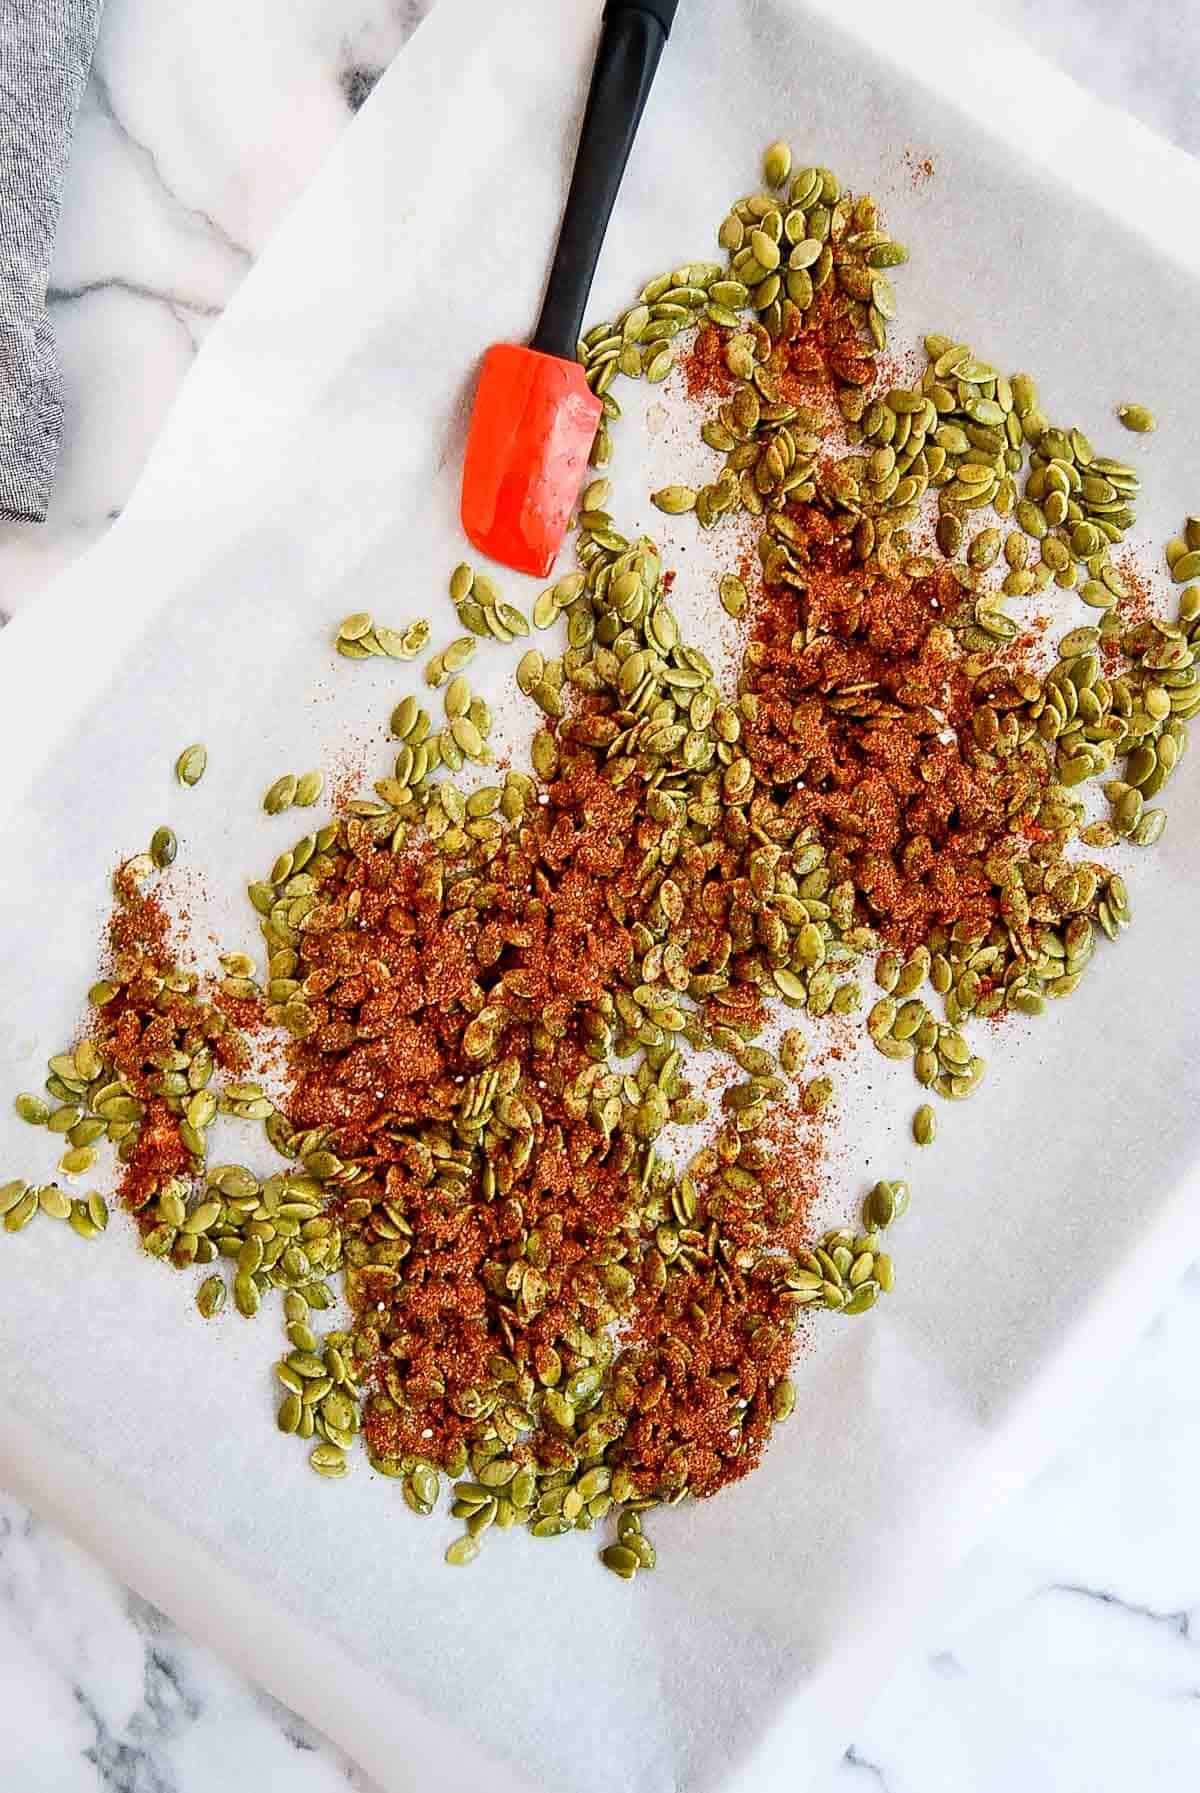
- Add the spice. Spread the seeds across the rimmed baking sheet and sprinkle the spices over the top. Use a spatula to stir everything together and coat the pepitas well with the mixture.
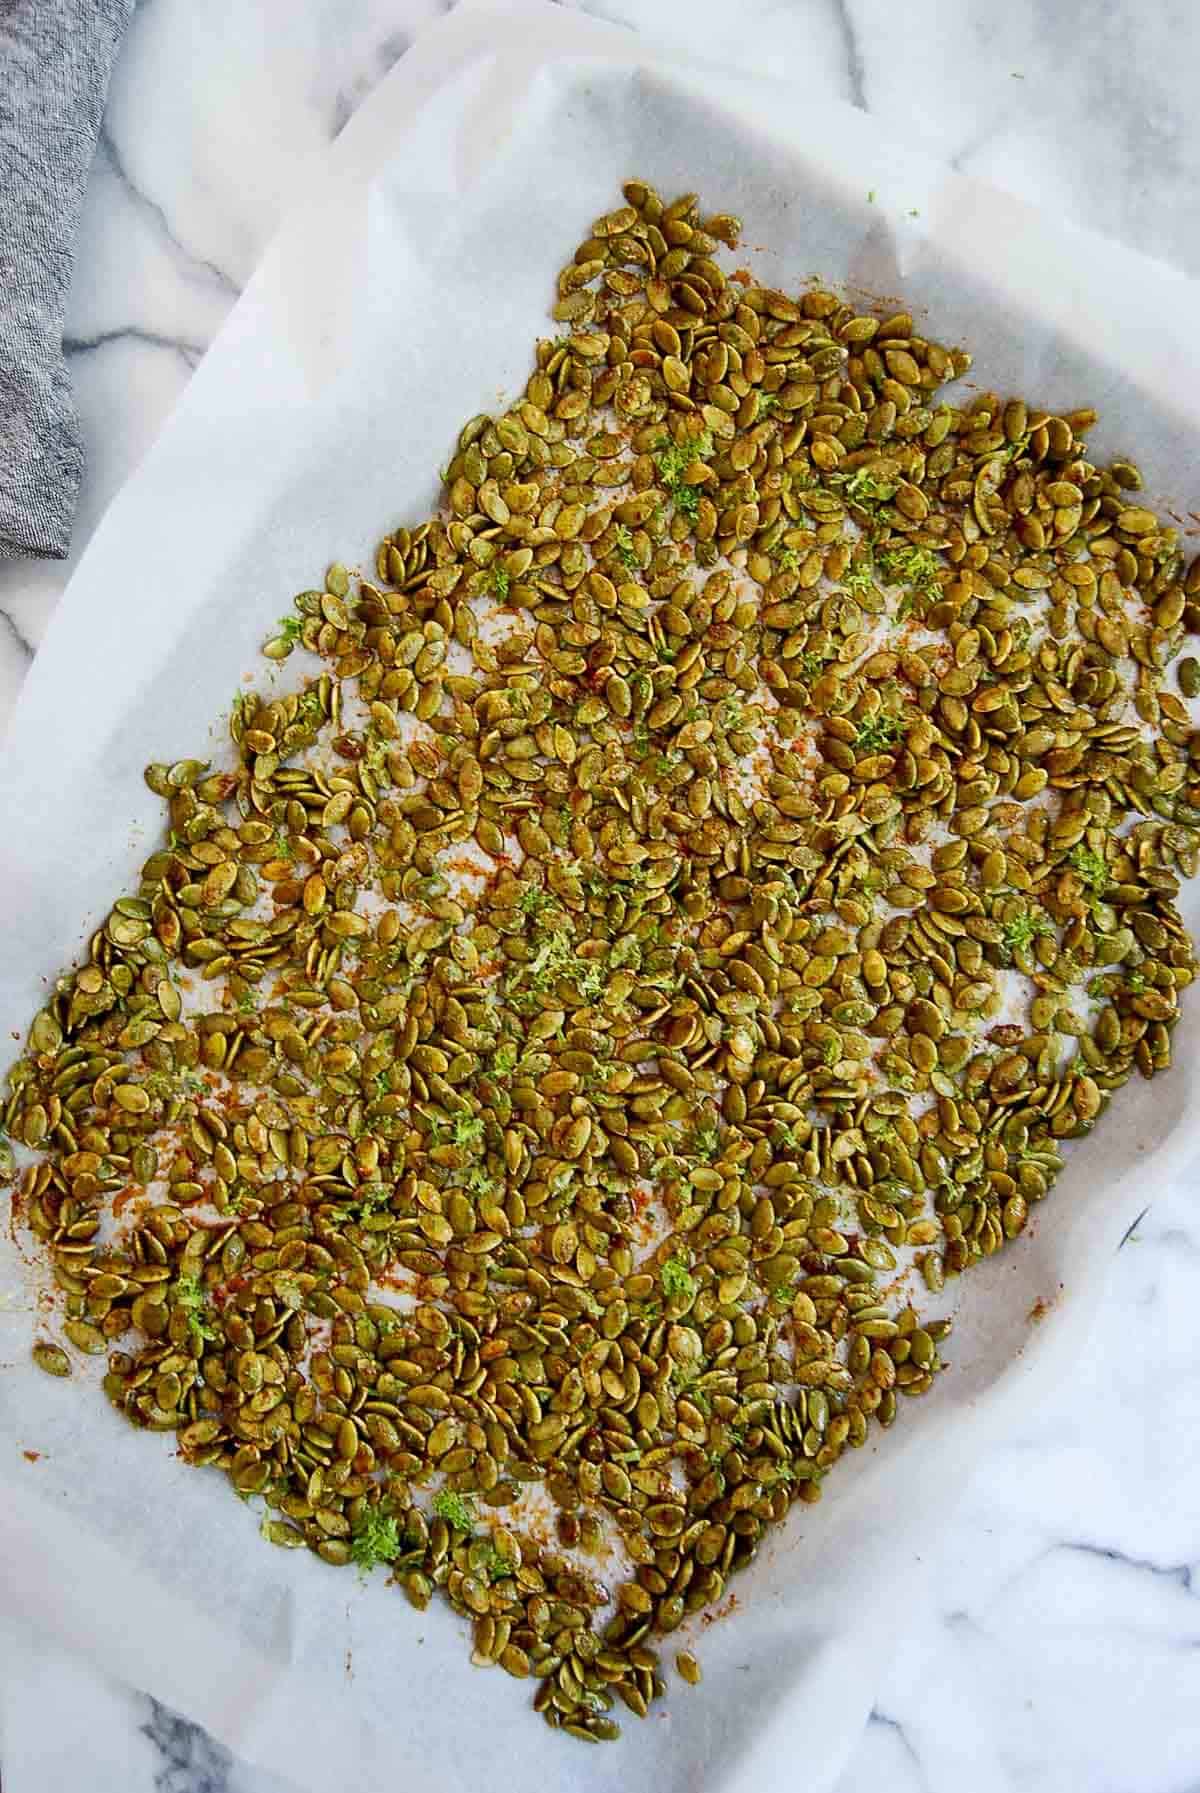
- Roast. Roast the pepitas in the oven for about 10-15 minutes, checking on them and stirring them every 5 minutes, until they’re a dark golden brown.
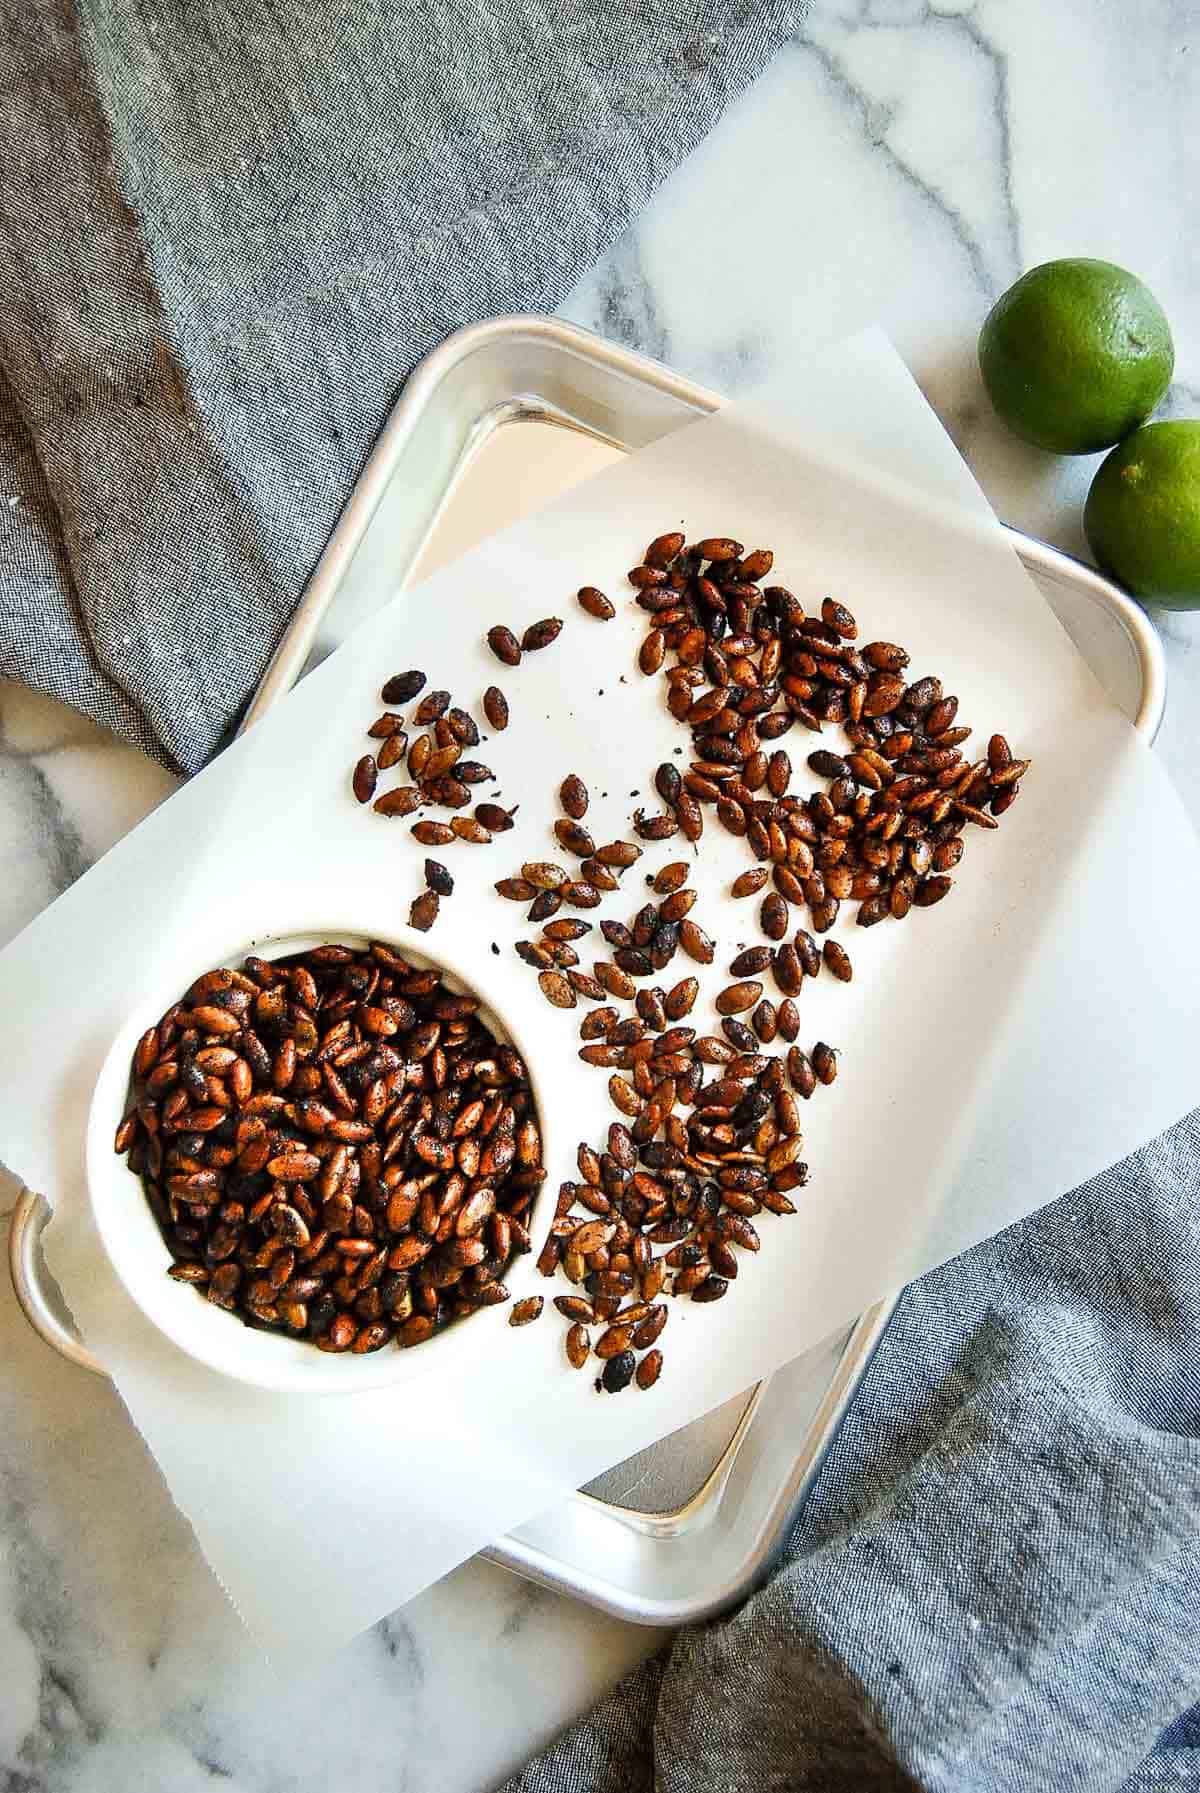
- Cool and store. Remove the pepitas from the oven and allow them to cool to room temperature before storing them in an air-tight container. (I just use a ziplock bag or a small jar.)
Helpful Hints
- Don’t crowd the pan. You want the pepitas mixture to bake evenly and don’t want them to stick together too much so use a pan that's large enough to allow them to spread out.
- Use parchment paper. Using parchment paper helps to keep the seeds from sticking to the baking sheet - highly recommended!
- Watch them carefully! These little suckers have a way of going from perfectly done to burnt in a matter of minutes. Watch them carefully to avoid this - don’t let them burn!
Frequently Asked Questions
Pepitas are actually a part of regular pumpkin seeds. They’re the small green seed that lives inside the white shell of a pumpkin seed. A big difference between the two is that you have to roast regular pumpkin seeds before eating them whereas you can eat raw pepitas without roasting them. It can be a pain to shell pumpkin seeds so it’s best to just buy these from the grocery store where they’re already done for you. If you’re into growing your own pumpkins, you can also find a specific variety of pumpkin that will only produce the pepita and not the whole shell.
Yes! And since we just mentioned that pumpkin seeds actually have to be roasted in order to eat them, this is a great recipe to use for those pumpkin seeds you scoop out of your jack-o-lanterns each October. You could also use other seeds/nuts like sunflower seeds too!
These are easy to store. Just let them cool completely to room temperature, then store them in an airtight container like a ziplock bag or a jar.
Roasted pepitas will last for up to two weeks at room temperature, or up to two months when stored in the refrigerator.
How To Serve
We’ve mentioned in this post how versatile these little seeds are. Here are some ways to consider enjoying chili lime pepitas:
- Snacks. Take a handful of these out when you need a quick snack to tide you over between meals. They do a great job of filling you up and, as mentioned, are a super healthy snack, a great source of protein, full of vitamins, and a good source of iron.
- On salads. Skip the expensive salad toppers and use these tasty pepitas as crunchy toppings for your salads. These go especially well with Mexican-inspired salads!
- Added to dips. Want a crunch addition to use on top of your dips? These zesty little bites do the trick!
- Soups! Seeds may feel like a weird addition to soups, but I love adding them to creamy-based soups where you just want a little extra bite.
- On tacos. The flavors of these pepitas lend well to most Mexican or Spanish dishes, especially tacos!
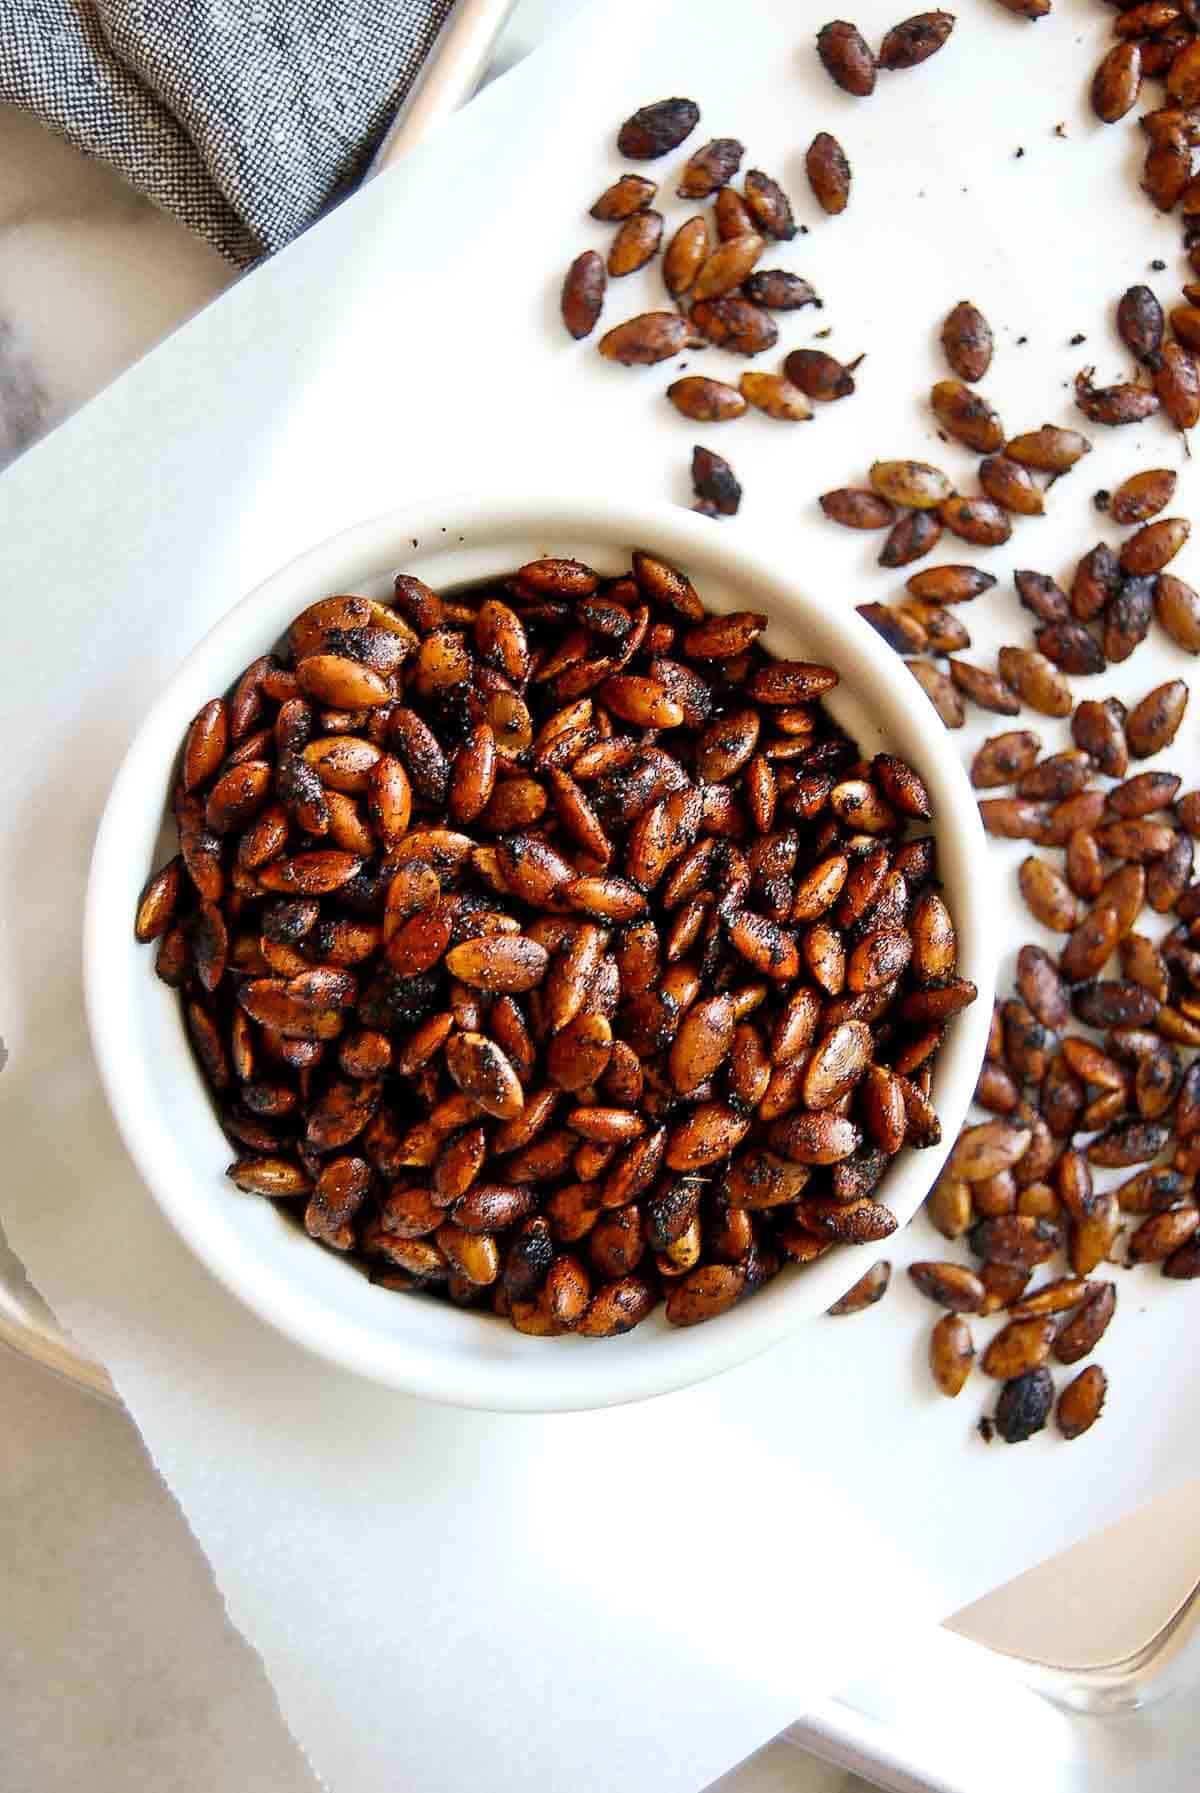
If you make these Chili Lime Roasted Pepitas, let me know what you think in the comments. And don’t forget to tag me @frontrangefed on Instagram so I can see your masterpiece!
More Easy Snacks
- Honey Roasted Sunflower Seeds
- Maple Spiced Walnuts
- Salt And Pepper Cashews
- Spicy Caramel Popcorn
- Popcorn For Dinner
Recipe
Oven Roasted Chili Lime Pepitas (Pumpkin Seeds)
Ingredients
- 2 cups raw pepitas unsalted
- 3 tablespoon lime juice
- 1 teaspoon avocado oil (or other neutral oil)
- 2 teaspoon maple syrup
- 1 tbsp chili powder
- 1 tsp lime zest
- ½ tsp ground cumin
- ¼ teaspoon garlic powder
- ¼ teaspoon onion powder
- ¼ teaspoon ground coriander
- ¼ teaspoon sea salt
Instructions
- Prepare a baking sheet by lining it with parchment paper. Preheat your oven to 350 degrees.
- Add the pepitas to the baking sheet.
- In a small bowl, mix the avocado oil, lime juice, and maple syrup together.Add the pepitas to the bowl and mix well to coat.
- Combine the spice mixture in another small bowl. Spread the pepitas across the rimmed baking sheet and sprinkle the spice mixture over the top. Using a spatula, stir the pepitas on the baking sheet until they’re well coated in the maple lime mix and the spices.
- Spread the pepitas out evenly on the baking sheet.
- Bake the pepitas for 10-15 minutes, stirring them after about 5 minutes of baking.
- Allow the pepitas to cool completely before serving. Store in an airtight jar, for up to 2 weeks at room temperature (or up to 2 months in the fridge).
Notes
- Don't crowd the pan when baking
- Watch the pepitas carefully while roasting to ensure they don't burn.


Deidre says
My husband and I loved these! So great on all kinds of salads or as a snack. I did leave out the lime zest. Wonderful recipe!
Sarah Jenkins says
Thanks Deidre! So glad you liked them!!!
Aundea says
I left the pepitas in the oven a little too long so, some burned but they were still good. I'd make this again.
Sarah Jenkins says
Thank you Aundea! Yes - they can turn quickly can't they!?