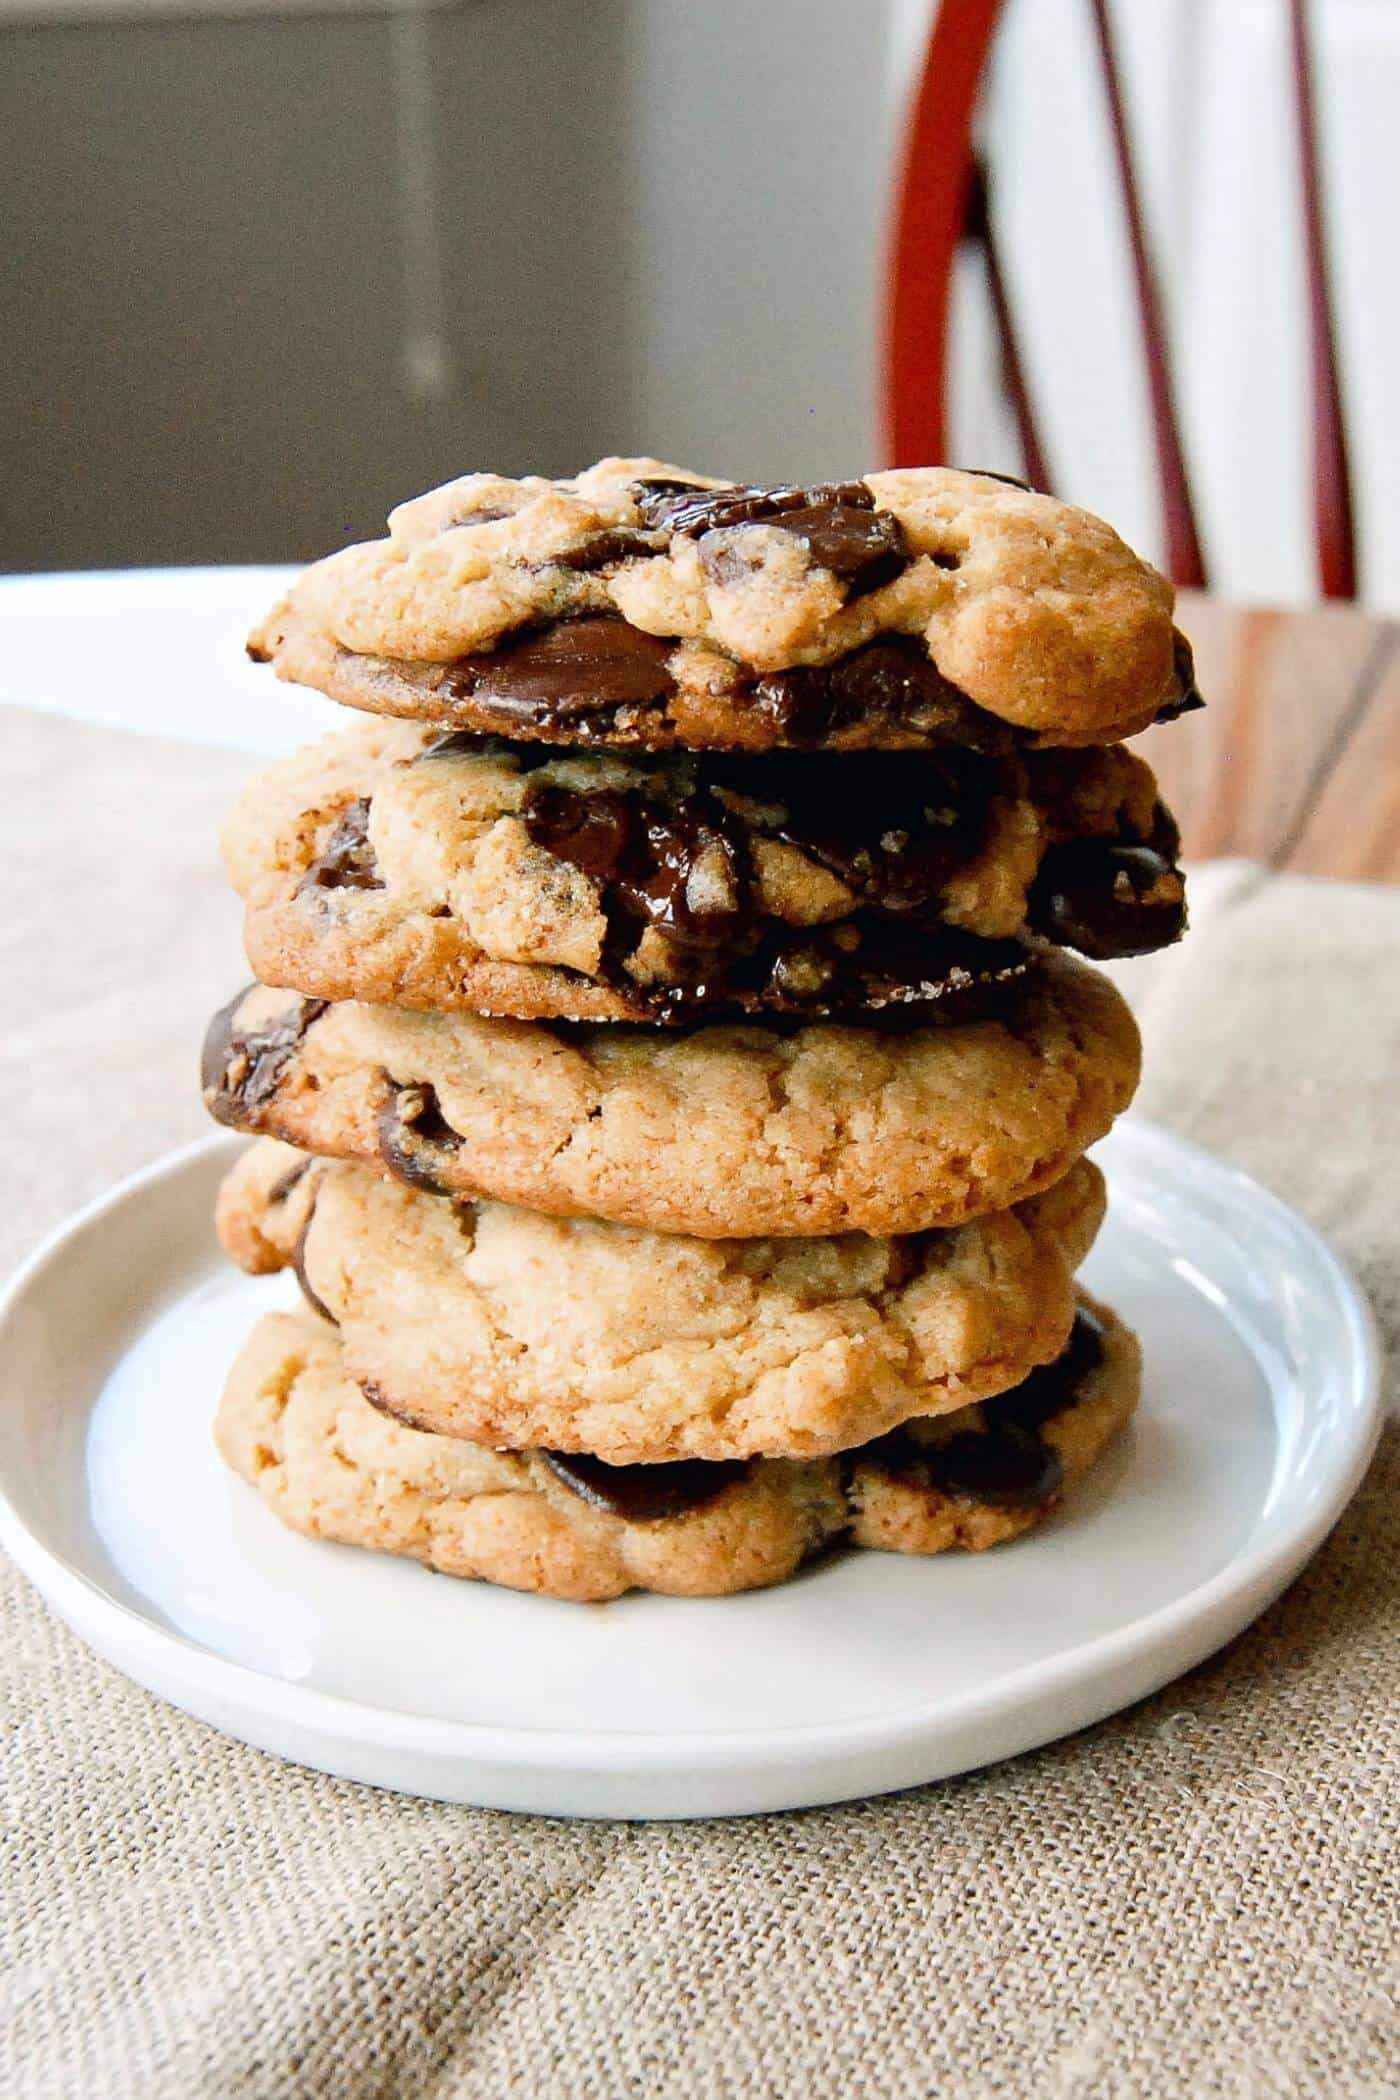
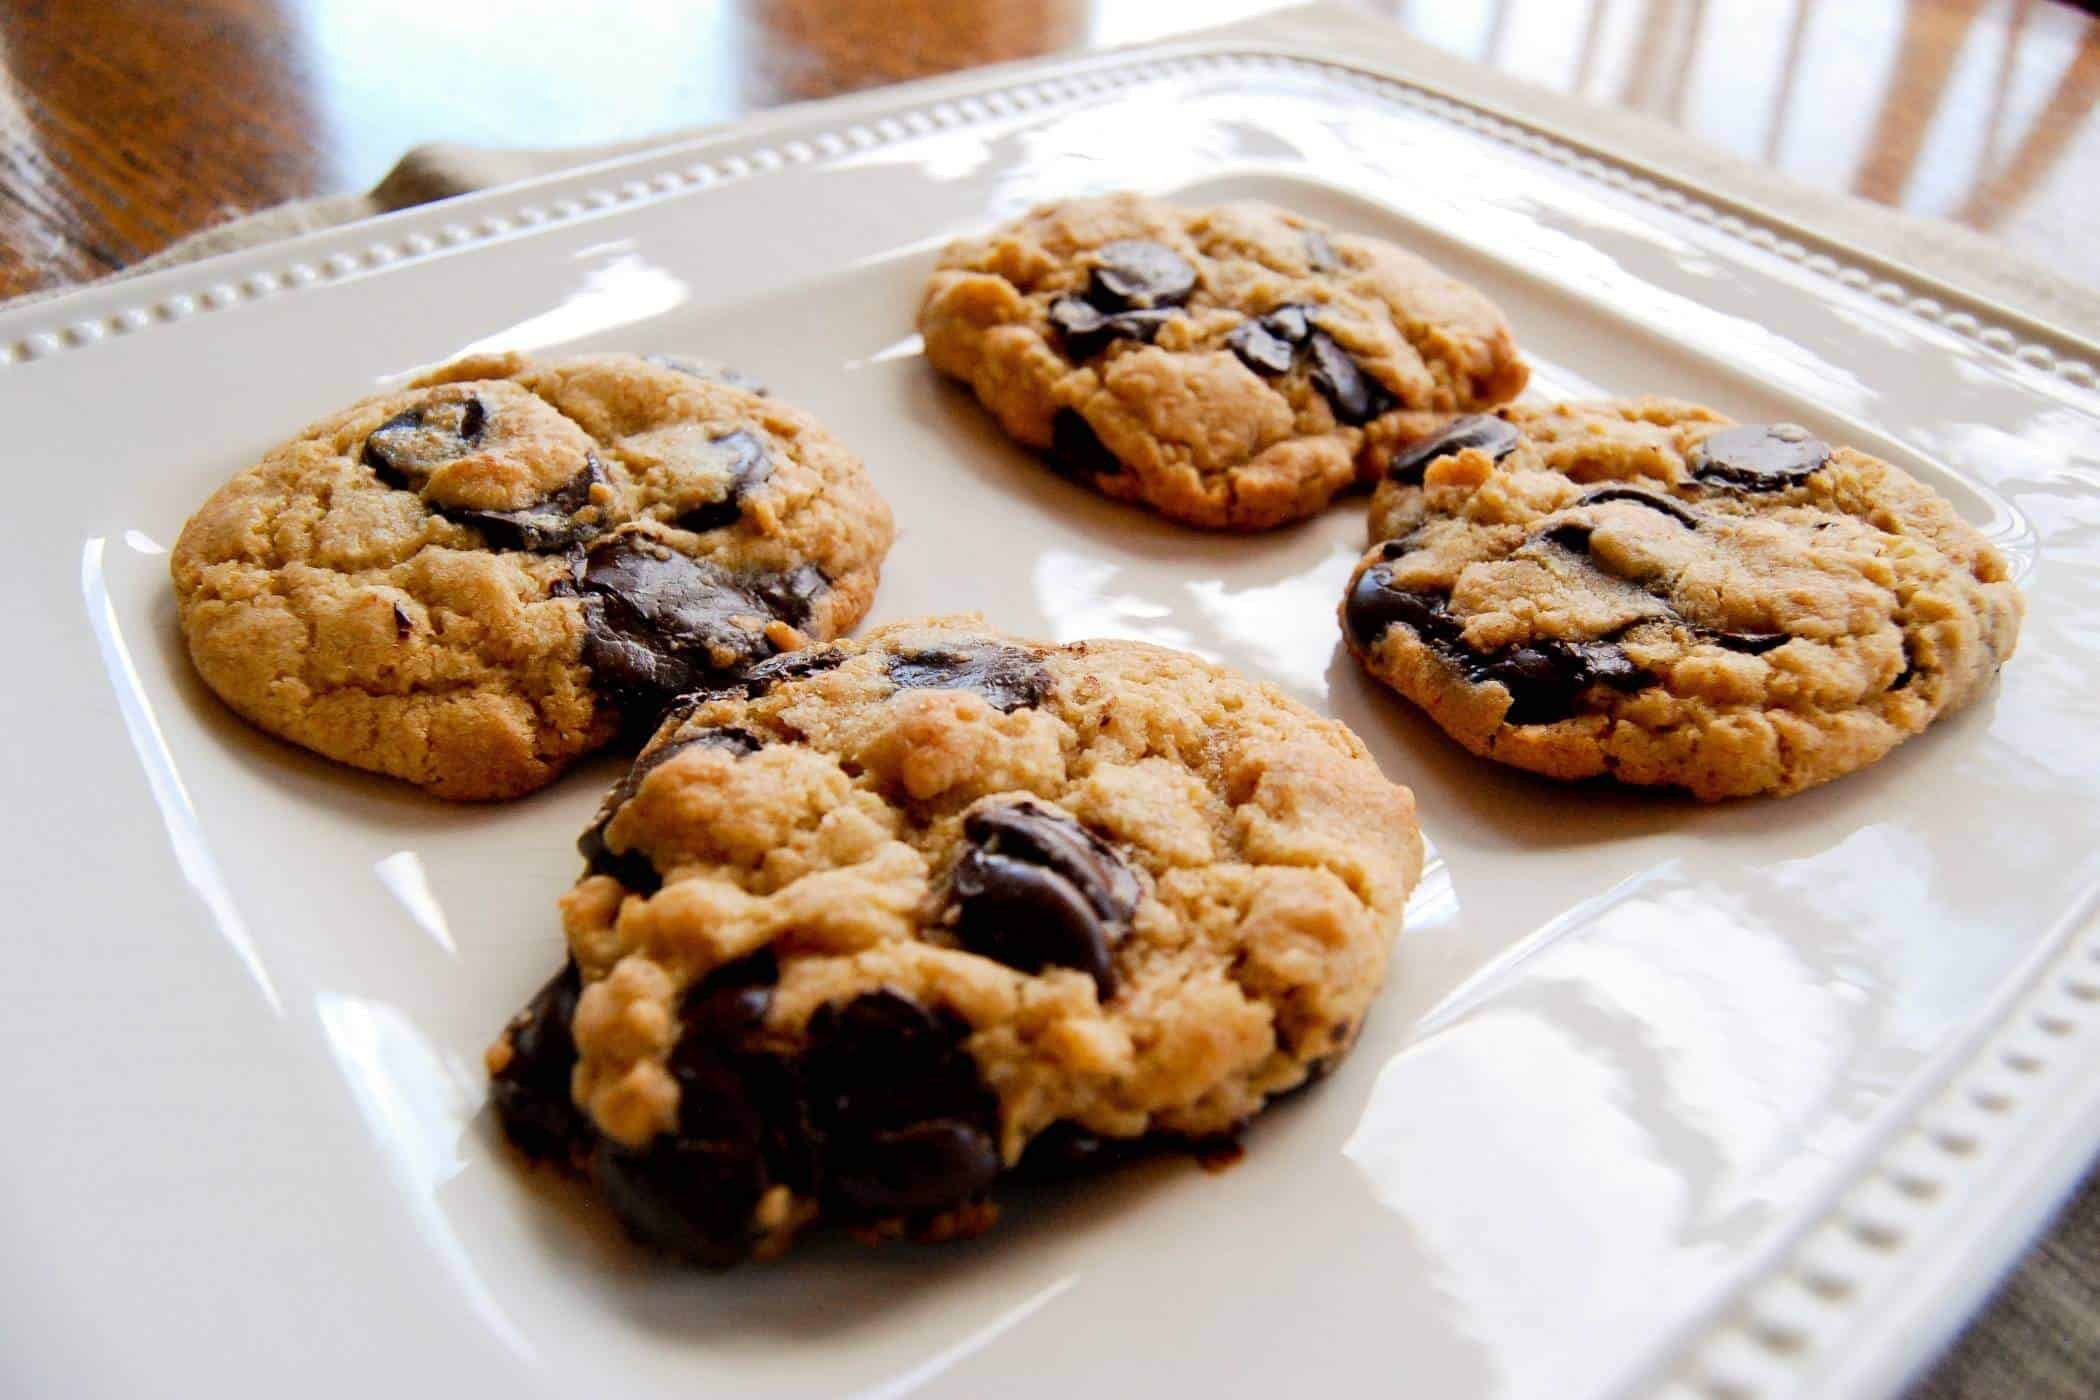
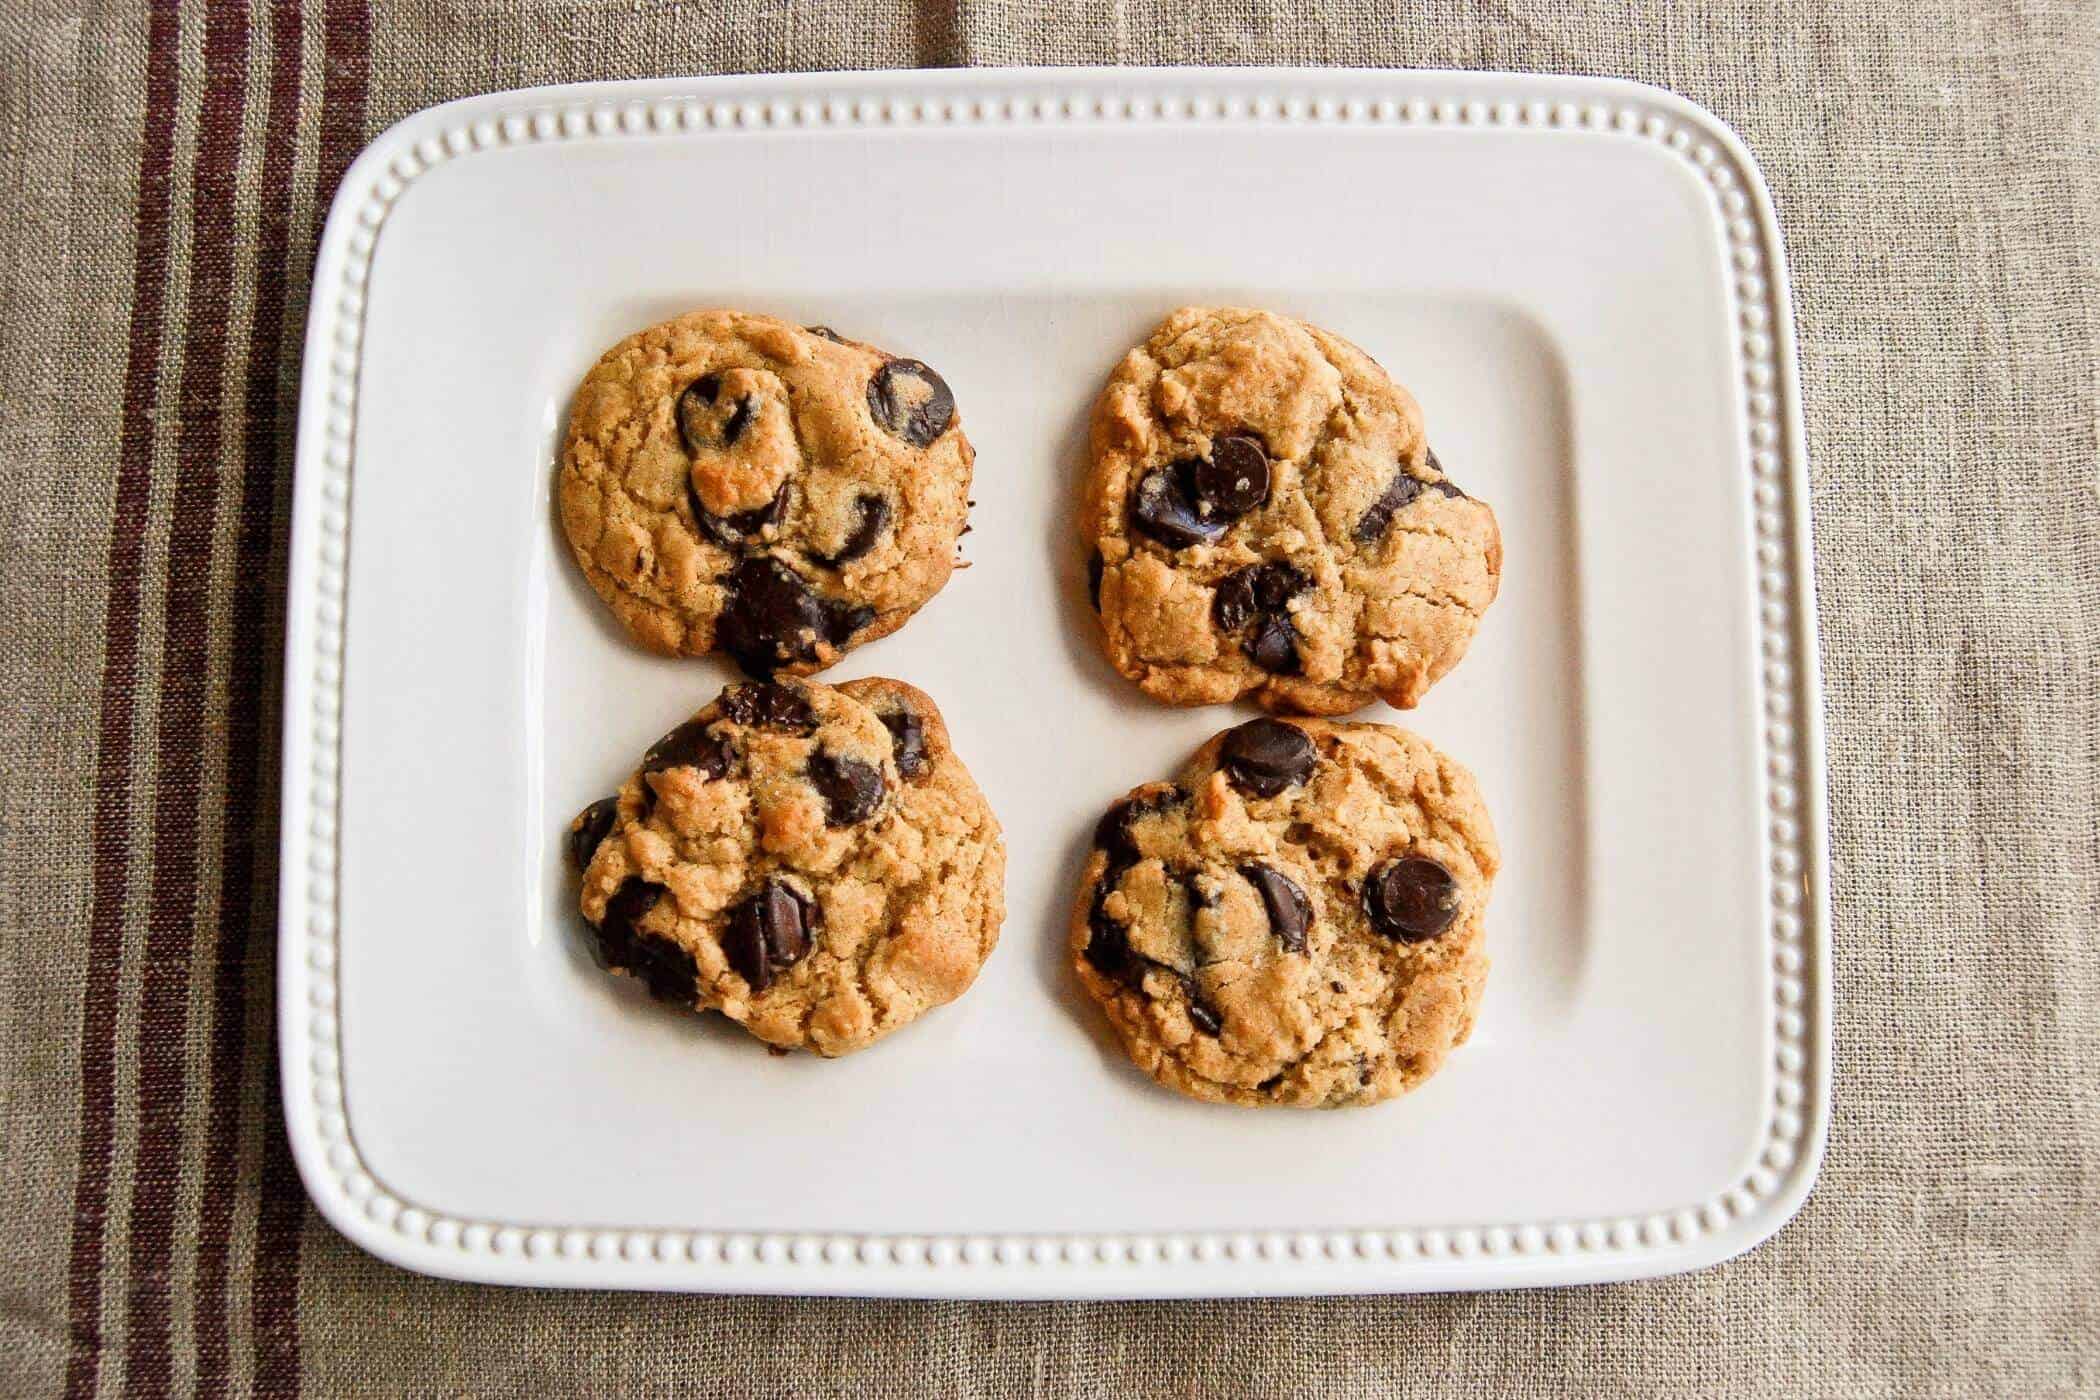
These New York Times Chocolate Chip Cookies are our family’s absolute favorite chocolate chip cookies - ever. Huge chunks of chocolate, crispy on the outside, chewy on the inside, and finished with a touch of sea salt, these chocolate chip cookies just can’t be beaten.
Have you ever heard the story of how the humble chocolate chip cookie came to be? In honor of International Women's Day, I'd like to share it with you, since it was, of course, invented by a woman.
In 1938, chef Ruth Graves Wakefield owned the Toll House Inn in Whitman Massachusetts. It was a tourist lodge and a popular restaurant where Ruth made delicious homemade meals for her guests. One afternoon while making cookies, she substituted a semisweet chocolate bar for baker's chocolate, which she had run out of. However, instead of the chocolate melting, as she was used to seeing with the baker's chocolate, the chocolate "chips" from the semisweet bar softened into nice puddles within the cookie.
The cookies were an enormous hit, thanks to a feature on an episode of the popular radio program The Betty Crocker Cooking School of the Air. And because the chocolate that Ruth used in the cookies was sold by the Nestle Chocolate Company, sales of their semisweet chocolate bars went through the roof.
Ruth eventually agreed to allow Nestle to print the recipe for her famous cookies on their chocolate labels in exchange for a lifetime supply of chocolate. (Smart cookie, amiright?...sorry, I couldn't help myself!) Due to the enormous popularity of the cookies, Nestle even began scoring its chocolate bar to make it easier to cut into chunks. And eventually, in 1939, they began selling bags of ready-made chips. (Thanks Ruth!)
So, because this is my first cookie post, and because it is International Women's Day, I really can’t think of a better cookie to make than the good ole' chocolate chip. And while this variation is different from Ruth's original Tollhouse recipe, it is no less delicious.
Why These Cookies Are THE BEST!
This recipe for chocolate chip cookies came from the New York Times and is definitely one of my all-time favorites. Hunks of melty dark chocolate, a crisp outer edge, a soft center, and a sprinkling of sea salt make this cookie unbeatable. I should know - my toughest critics are 4 and 7-year-old boys. If left unattended, they'd inhale the whole batch in one sitting.
This recipe is not new. It’s been floating around the internet for several years. But these chocolate chip cookies are still hands down my absolute favorite cookies to make and eat. That’s a bold statement, I know, but just try these and then try to tell me you don't agree.
This cookie is everything you want it to be, partially due to the mix of flours, loads of dark chocolate chips - no wimpy semi-sweets found here – and just enough sea salt to make it go from wow to WOW!
What Goes Into These Chocolate Chip Cookies?
Most of the ingredients for these cookies are pretty standard - baking soda and powder, butter, vanilla extract, eggs. But there are a few outliers that make this cookie extra special.
- Two types of sugar. Yes - this cookie combines 1 cup of good old granulated sugar with 1 ½ cup light brown sugar. Adding the brown sugar here really gives it a much richer flavor.
- Two types of flour. This cookie uses both bread flour and cake flour. This makes the cookie texture really great - chewy on the inside, crisp on the outside. However, if you don't have bread flour or cake flour lying around and would rather not make a special trip to the store, don't sweat it. I've tried this using only all-purpose flour and it still turned out delicious.
- Dark chocolate chips. This is maybe a personal preference, and if you prefer semi-sweet, go for it. But I love the bitterness of the dark chocolate paired with the sea salt.
- Sea salt. The addition of coarse sea salt atop the cookie just brings out all the flavors and is a must. Don't skip this!
How To Make These NYT Chocolate Chip Cookies
There's no great mystery to making these New York Times Chocolate Chip Cookies. Mix your dry ingredients, then in a larger bowl, cream the butter and sugars and add the eggs and vanilla. Then combine everything together, and slowly fold in your chocolate chips.
The one sort of annoying thing about this recipe is the chill time. The original recipe states that the dough is supposed to chill for at least 24 hours, and up to 72 hours. Yep, you read that right – 24-72 hours, which feels like an eternity when you’re just hankering for a cookie.
But, not to fear.
Even though I've found that the longer the cookie sits, the better the flavor, I've also limited the chill time to just 3 hours, and the cookies have still been nothing short of fabulous.
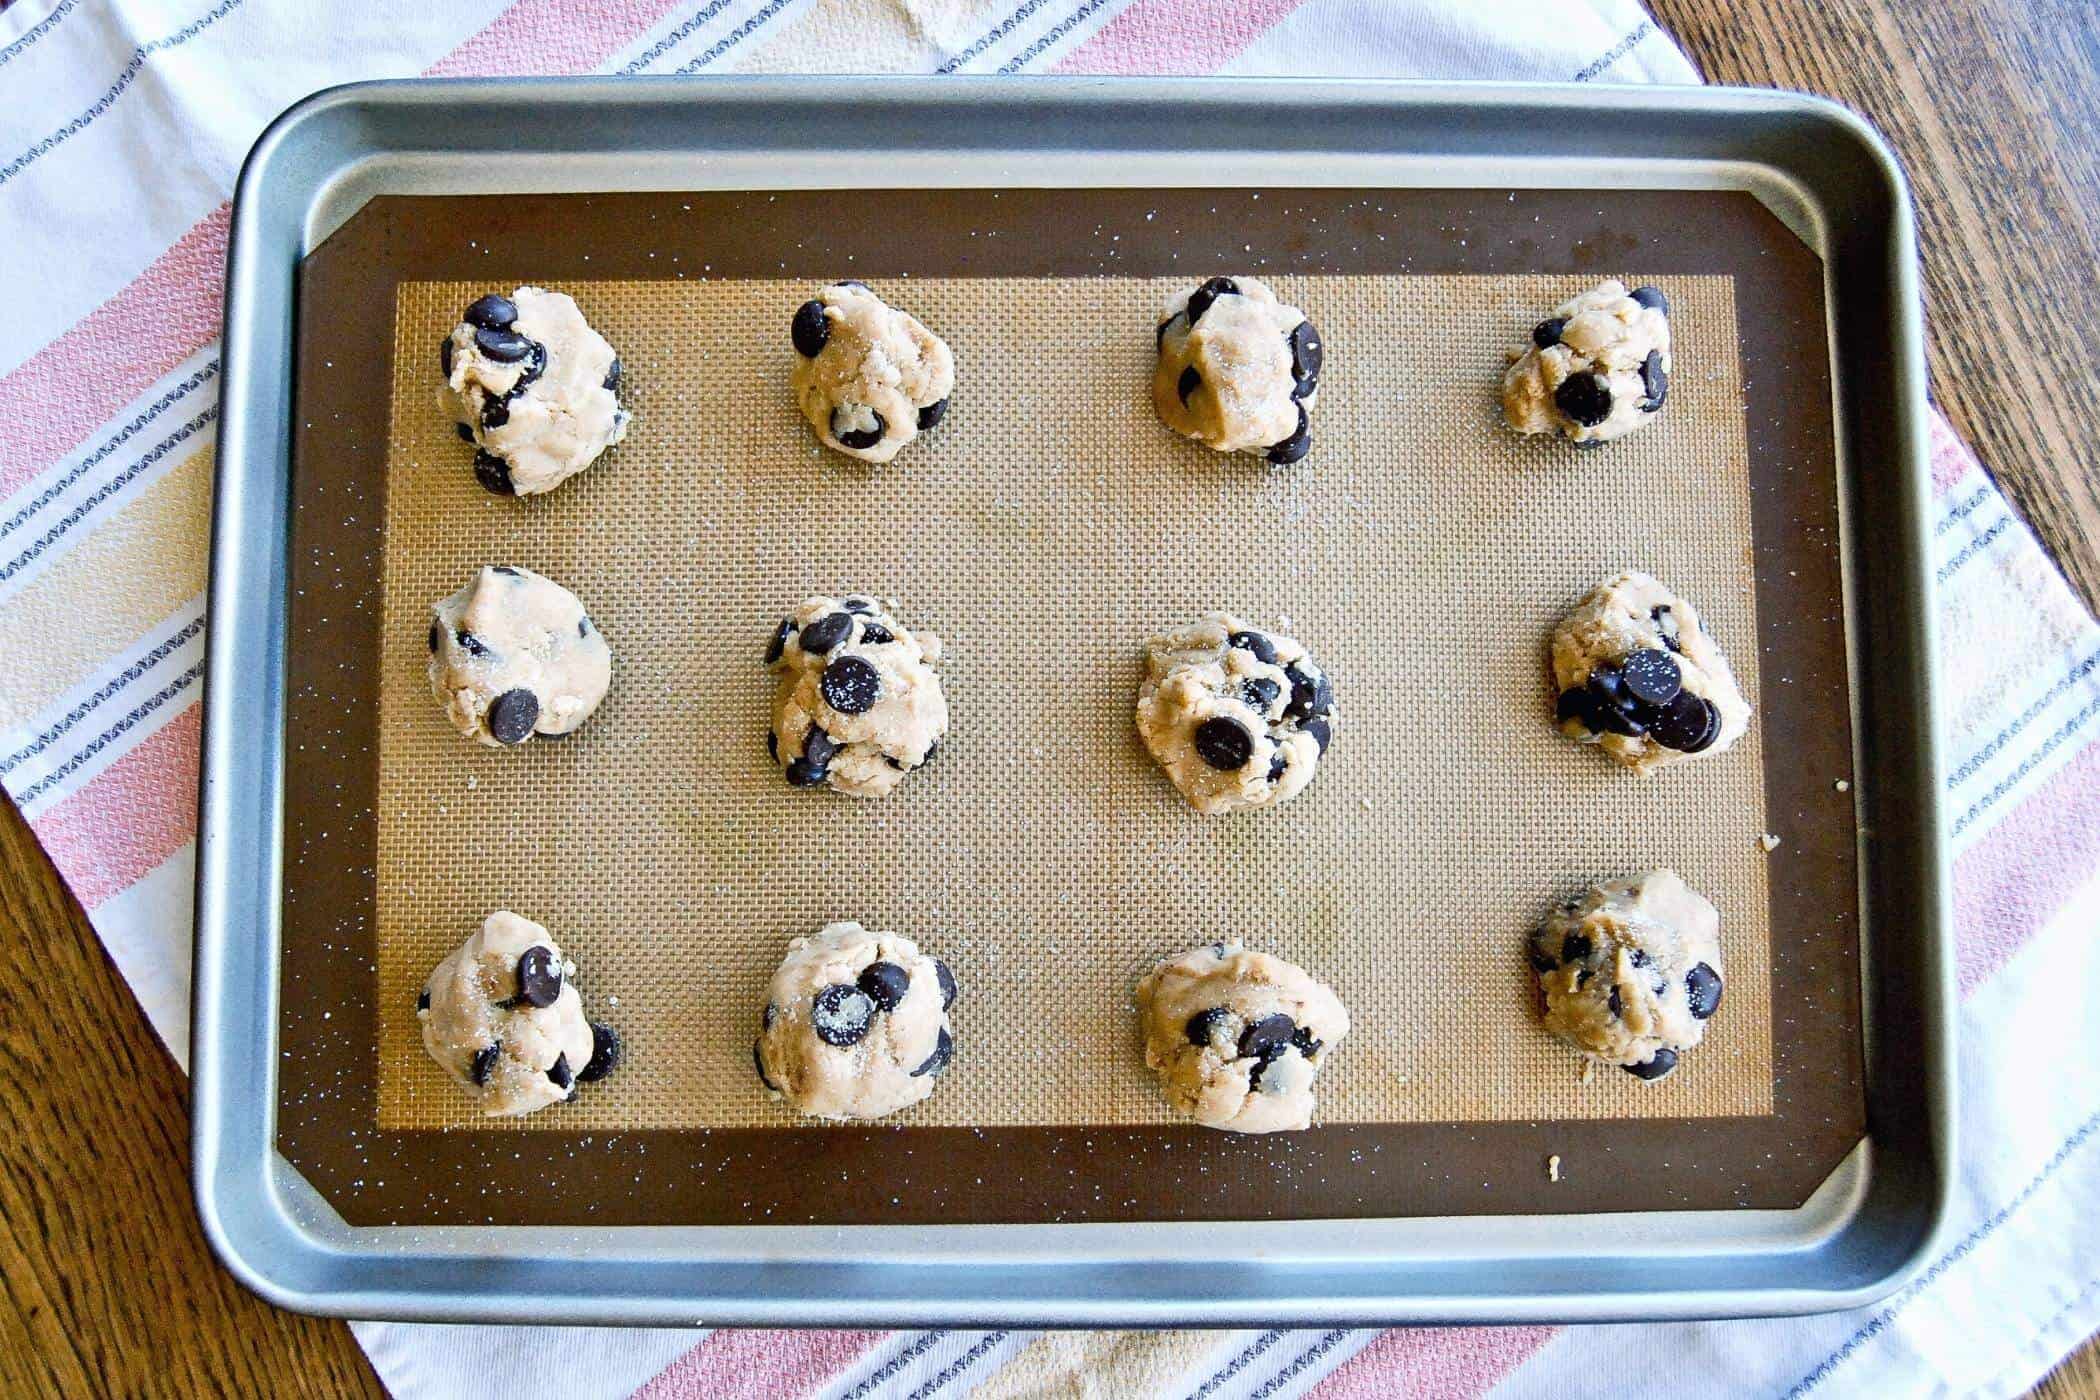
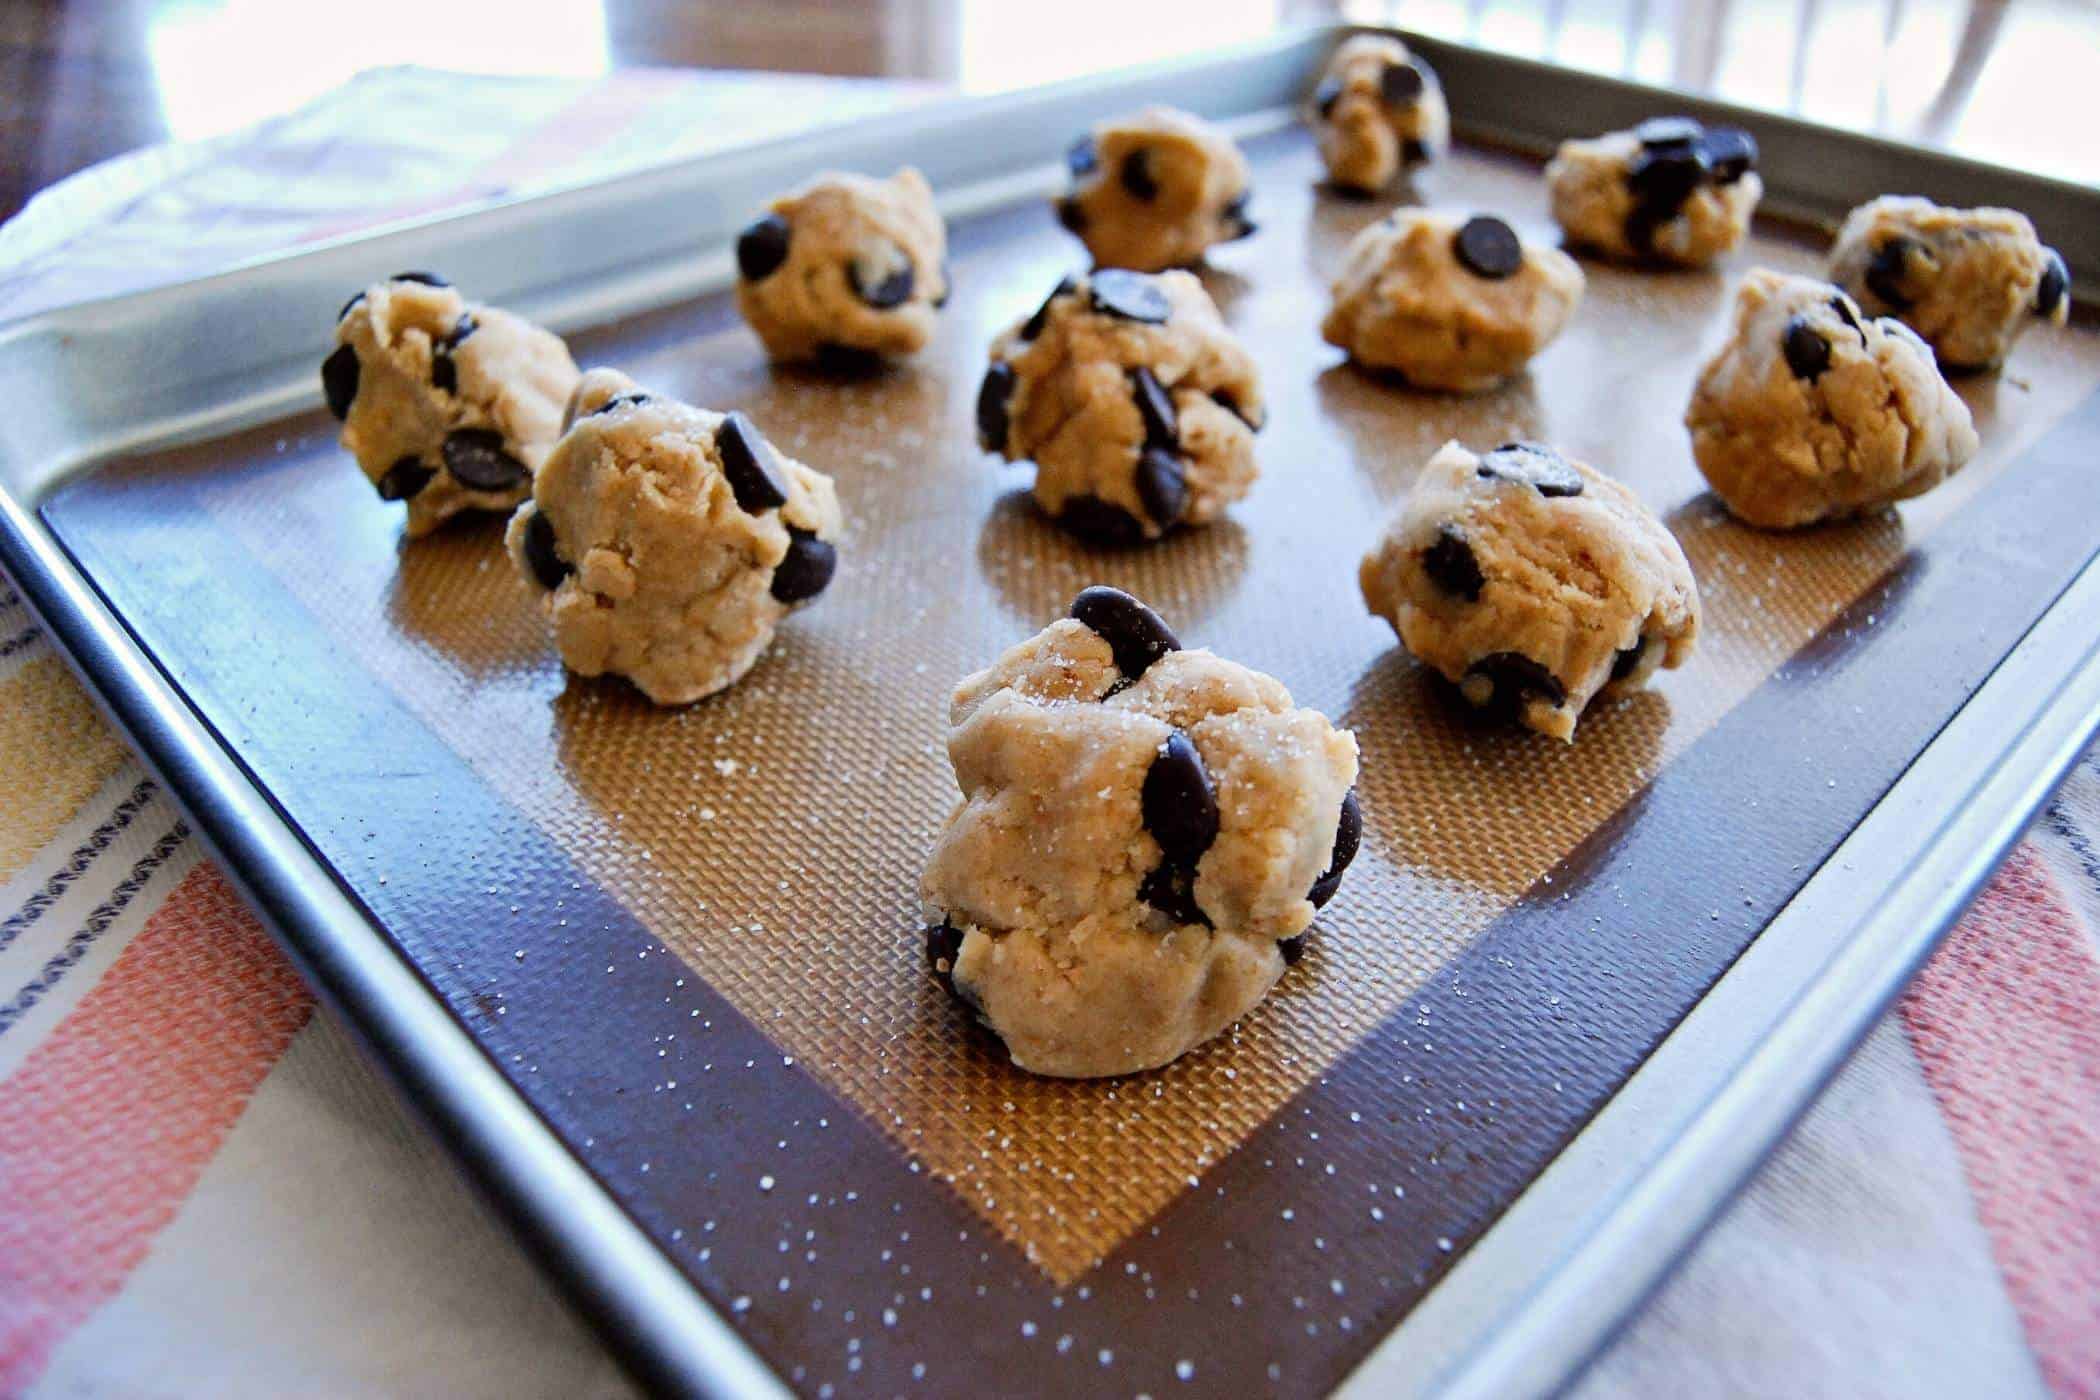
Once these cookies have chilled, simply place large balls of dough on a baking sheet and cookie them for about 17 minutes in a 350-degree oven. Then transfer them to a wire rack and allow them to cool for 10 minutes more before devouring them.
Helpful Hints
- If using the two flours, I've found that the dough tends to become a tad bit dry. To fix this, I've added 1-2 tablespoon of water to help moisten it up and make it easier to work with.
- Once your dough has chilled for a while, it can become quite hard to form into balls. A good little trick is to form the balls ahead of time. Then place them in a bowl or on a silicone-lined pan, cover with plastic wrap, and put the dough balls in the fridge to chill. So much easier than trying to hack away at the cold dough after it's been chilling for days. Plus you're then that much closer to your finished cookie!
- Watch your baking times. You want these cookies to only just start turning a nice golden brown, which typically takes around 17-20 minutes. However, I've found that erring on the side of caution is best with these. Leaving them in the full 20 minutes makes them almost too crisp. Everyone's oven behaves differently so just check them at around 15 minutes and don't let them start browning too much.
How Long Can The Dough Chill?
I can typically get about 30 cookies from this recipe. However, if you don't want to make them all at once, you can totally make a small batch of these cookies and store the rest of your dough in the refrigerator for up to 3 days to make later.
(Pro-tip: I've also been known to store my dough in the freezer for up to 3 months, then just make 1 or 2 cookies when I'm feeling a craving for them. There's nothing like that fresh-out-of-the-oven cookie taste!
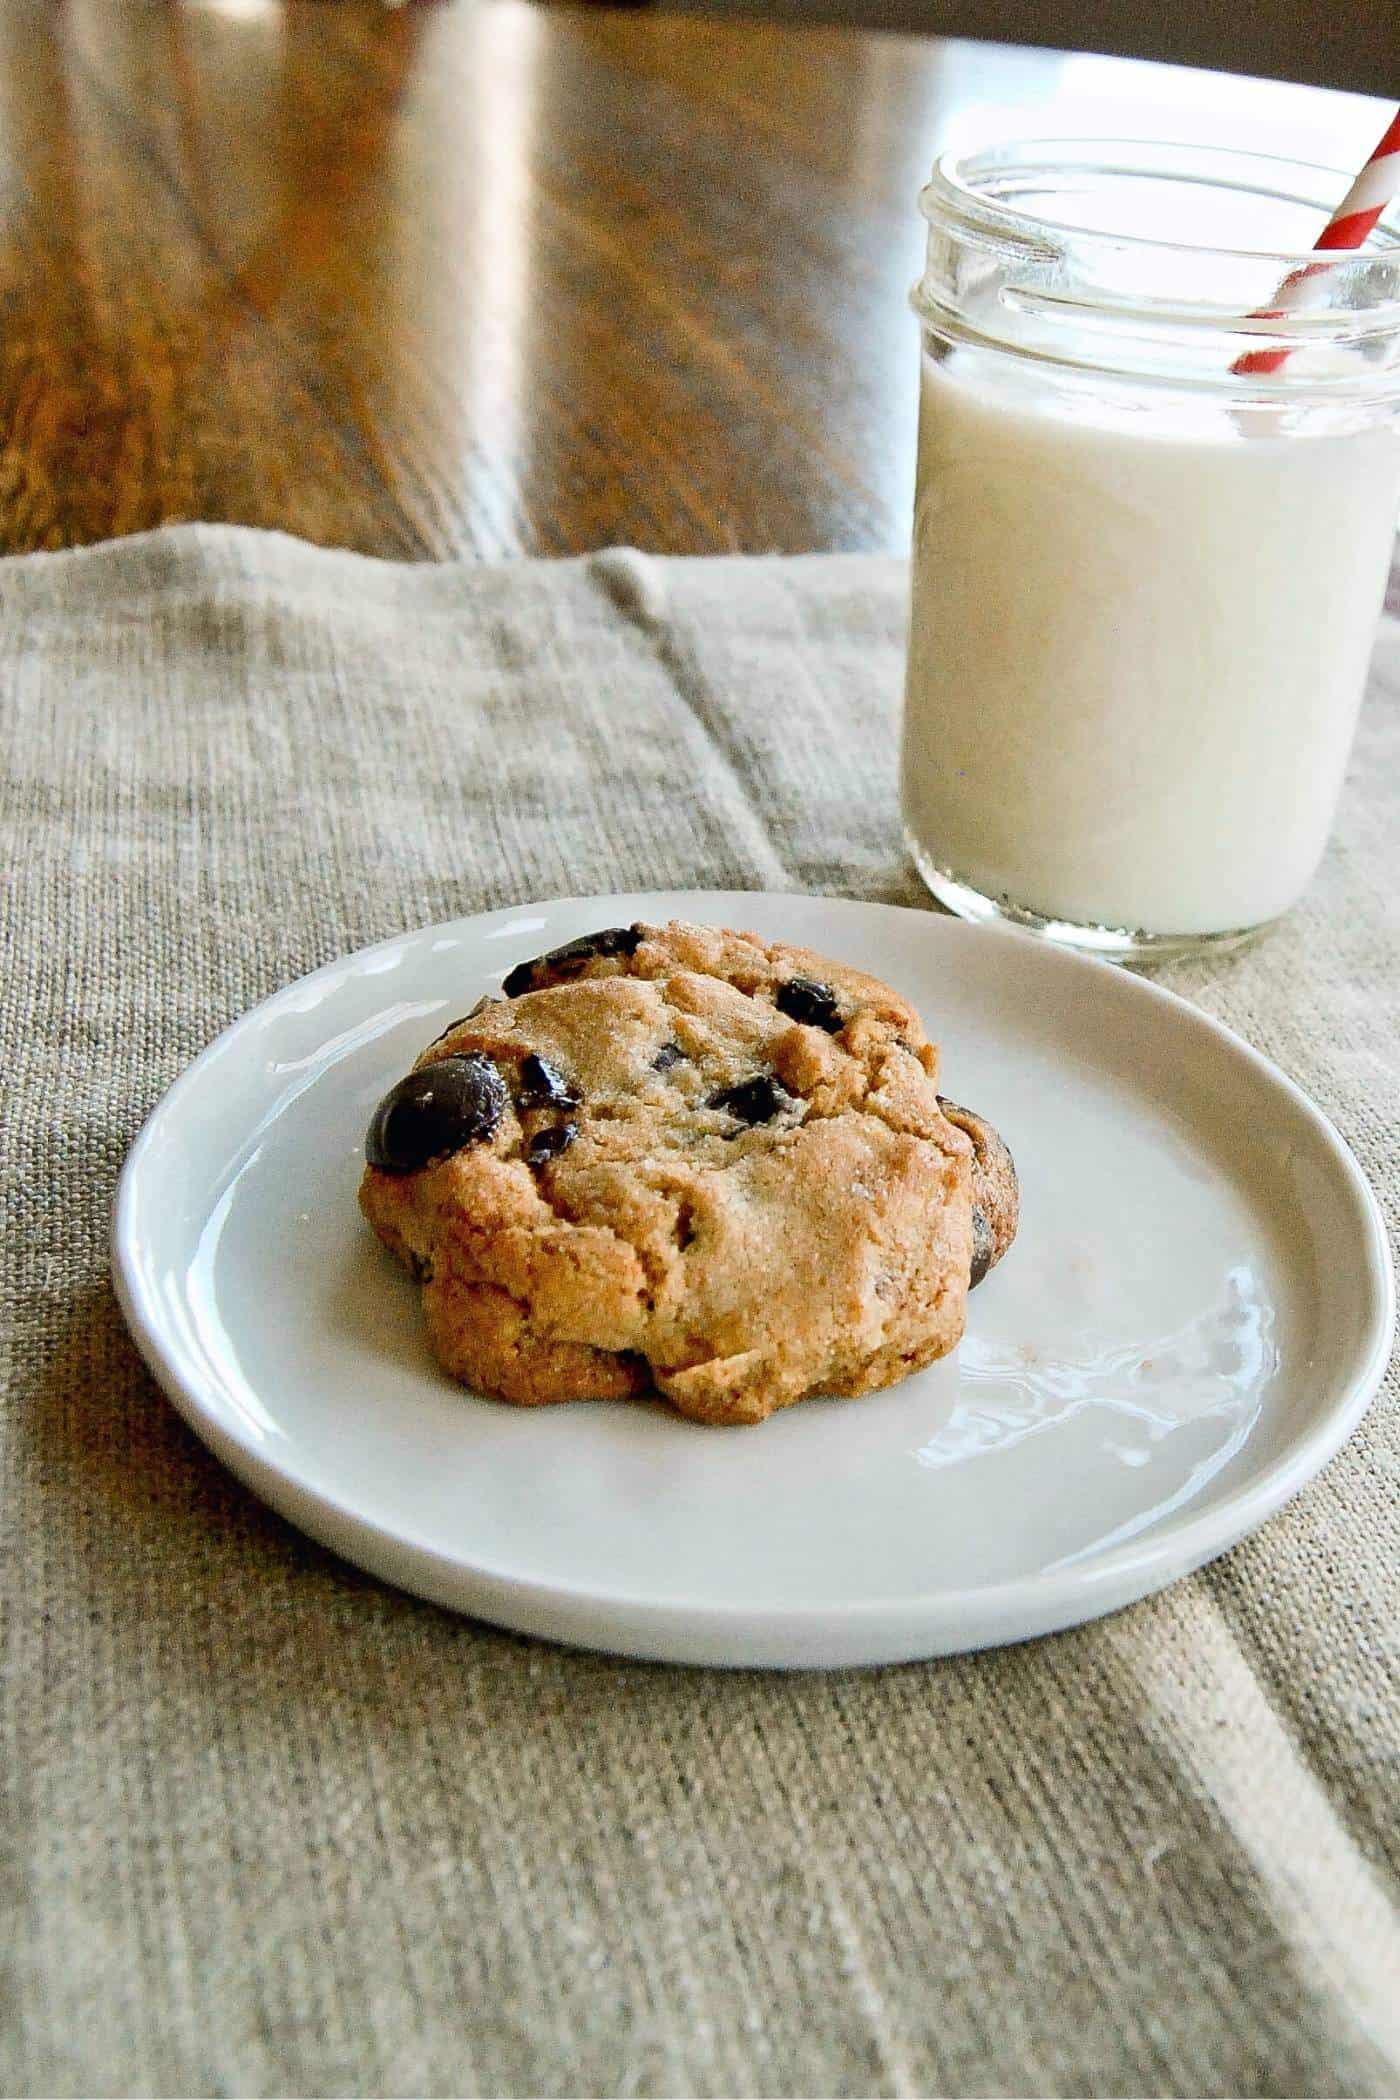
So, in honor of Ruth, and all the other amazing women out there doing their part to invent, create, teach, lead, empower, parent, fight, protect and inspire...make these cookies today. And then eat them. All. You deserve it.
Happy International Women's Day!
If you try these New York Times Chocolate Chip Cookies, let me know what you think in the comments below!
More Amazing Cookie Recipes
- Halloween Candy Monster Cookies
- Snickerdoodle Cookies With Vanilla And Maple
- Soft Ginger Molasses Cookies
- Soft Pumpkin Cookies With Cream Cheese Frosting
- Soft Sugar Cookies
- Chocolate Chip Marshmallow Cookies
Recipe
The New York Times Chocolate Chip Cookies
Ingredients
- 1 ⅞ cup cake flour
- 1 ⅔ cup bread flour
- 1 ¼ teaspoon baking soda
- 1 ½ teaspoon kosher salt
- 1 ¼ cup unsalted butter, at room temperature
- 1 ½ cup light brown sugar
- 1 ⅛ cup granulated sugar
- 2 eggs
- 2 teaspoon vanilla extract
- 3 ⅓ cup dark chocolate chips (at least 60% cacao content)
- sea salt
Instructions
- Mix the cake and bread flour together in a medium bowl. Then add the baking soda, baking powder, and salt and stir to combine.
- In a larger, separate bowl, cream the butter and sugars on medium speed until very light. Add the eggs and vanilla and mix together. Slowly, add the dry ingredients and mix until just combined. (Note: Depending on the flours you are using, I’ve found this mix to be a tad dry. If needed, add 1-2 tblsp of water to help with this).
- Slowly fold in the chocolate chips. (It may seem that you are adding an ungodly amount of chocolate chips. You are. Just go with it – I promise it’s worth it.)
- Wrap the dough in plastic wrap and refrigerate for 24 – 72 hours. (Three things here: 1. The dough may still seem a bit dry and crumbly at this point. It’s ok - after it’s chilled for a while it becomes more manageable and sticks together a bit more easily. 2. To make forming the dough balls easier, do this step ahead. of time, before chilling the dough, and then chill the dough balls in a bowl or on a baking sheet covered with plastic. 3. As I said above, if you really can’t wait, or are not good at planning ahead, like me, a 3 hour chill time still turns out a fabulous cookie.)
- Preheat the oven to 350 degrees F and line a baking sheet with parchment paper or a baking mat.
- If you didn't make your dough balls before chilling the dough, scoop out large balls of dough and place on the baking sheet (I use a cookie scoop and just molded the dough with my hands.)
- Sprinkle the dough with sea salt and bake until they just start to turn a golden brown, typically around 17-20 minutes. (I’ve found that erring on the side of caution is best with these, as leaving them in for the full 20 minutes makes them almost too crisp. But this could just be my oven. Just note to check them at around 15 minutes and don’t let them start browning too much.)
- Let cookies cool on a wire rack for 10 minutes.
- Hide cookies before family descends like vultures and eats the whole lot. (I kid, but no. Really.)
- Store any leftover cookies in an airtight container for up to 3 days, or in the freezer for up to three months. (Trust me – they won’t last that long!)
Notes














Heather says
I love your recipes. Is there a chance you can add a printable link to each recipe?