
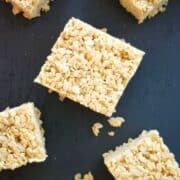
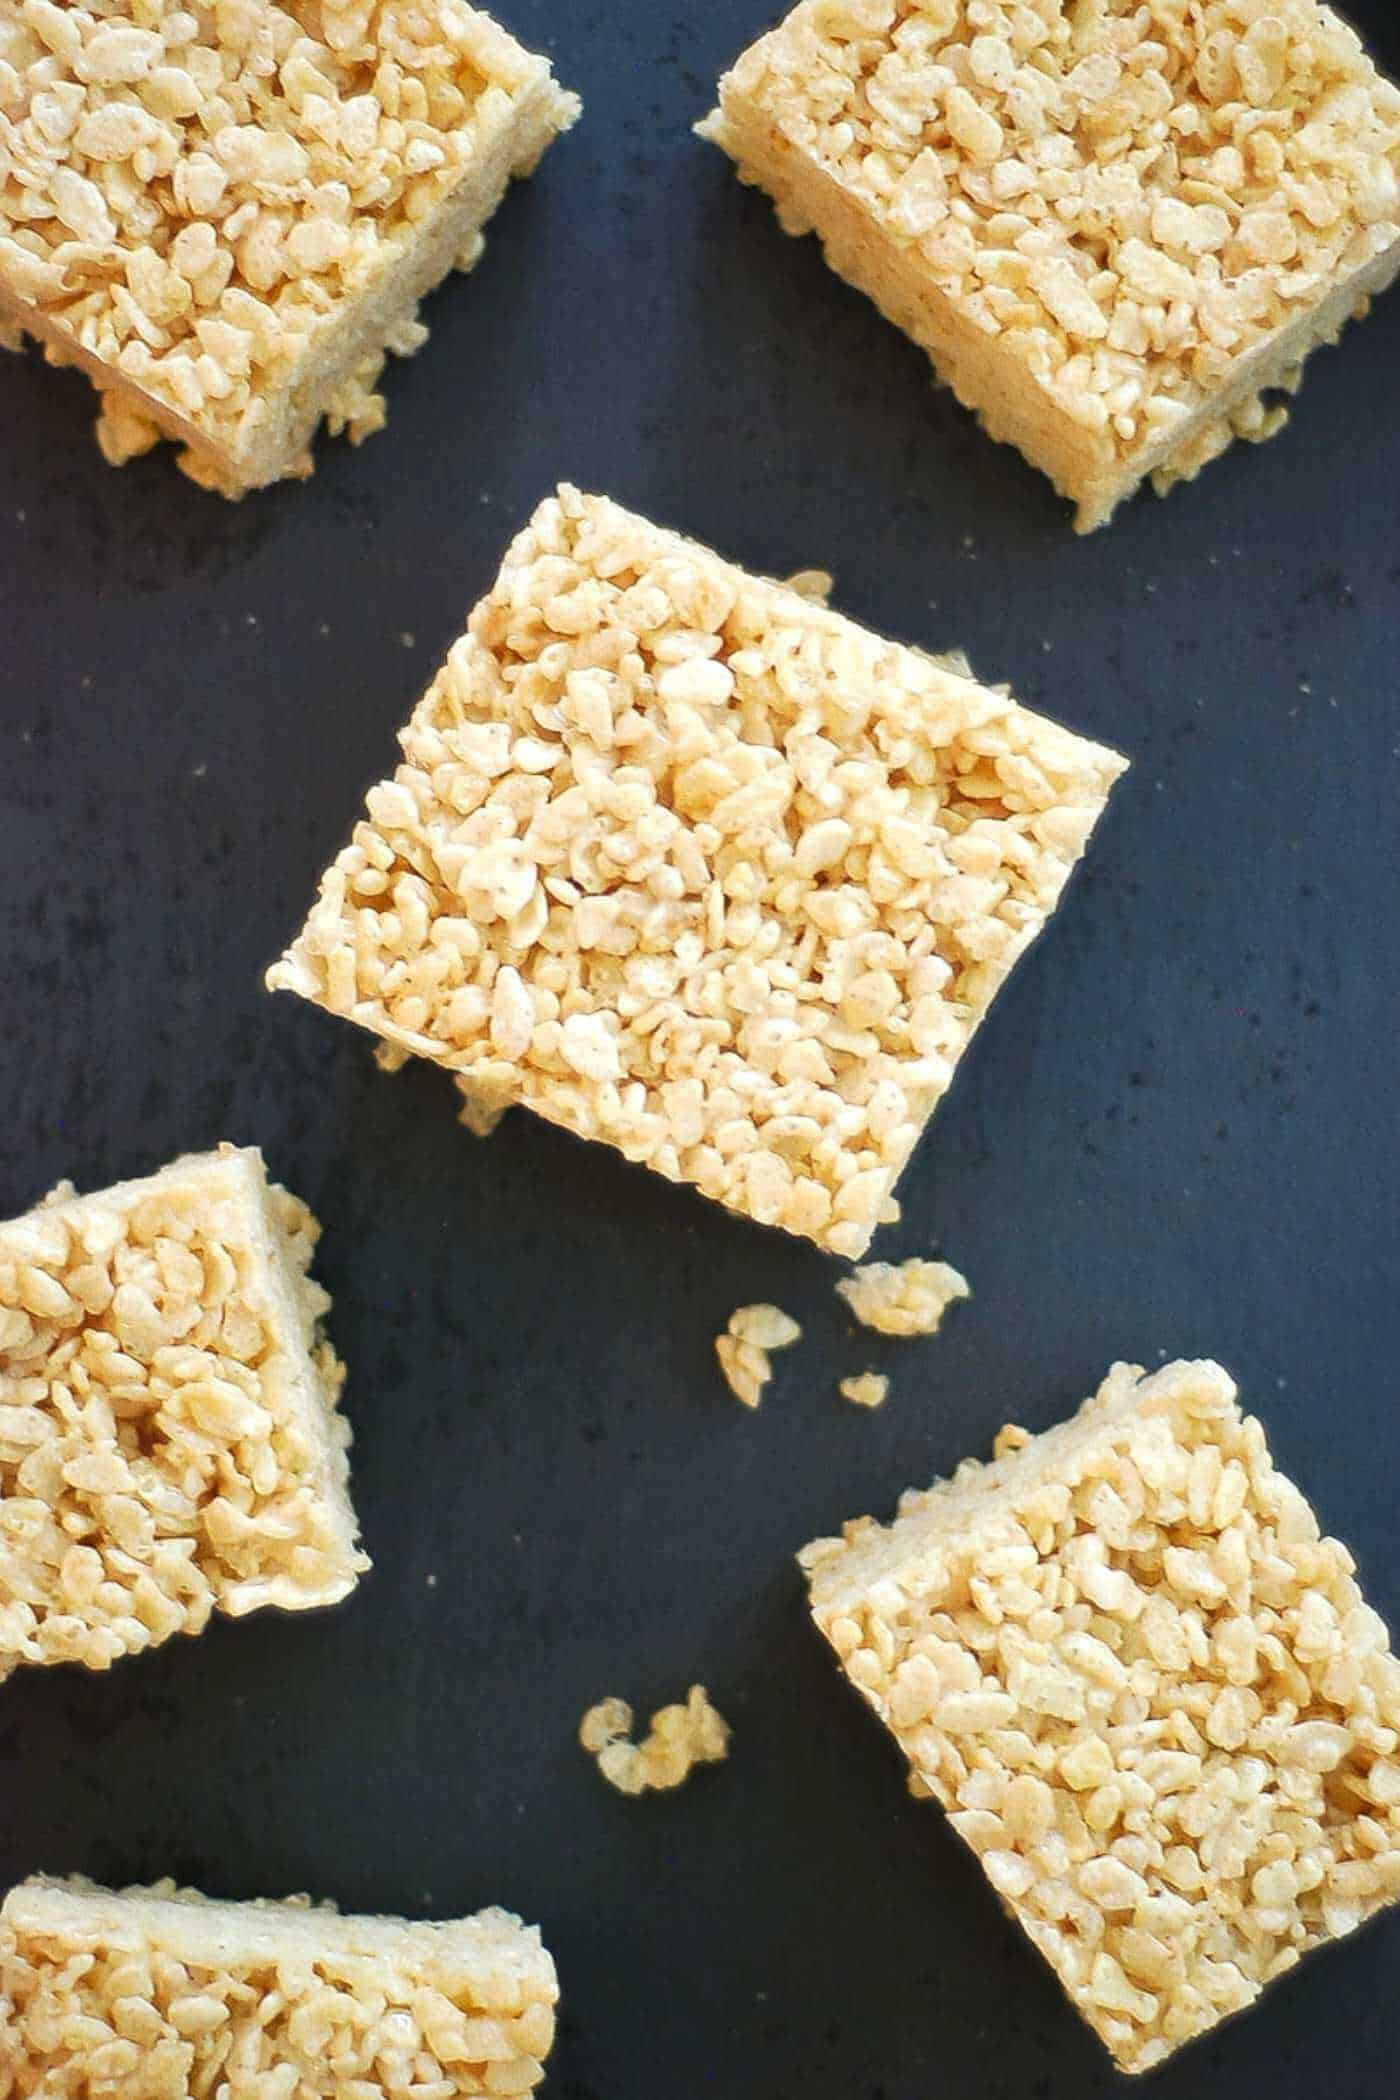
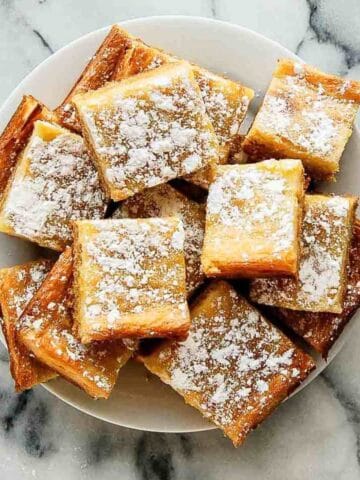
Brown Butter Rice Krispie treats take your basic rice krispie bar and elevate it to the next level. Browning the butter gives these treats a subtle nutty flavor, and a little bit of salt and vanilla make these treats extra special. After trying these brown butter rice krispie treats, you won’t want to make them any other way!
Ok, so chances are, you’ve made classic rice krispie treats in the past. (And if it's your first time, yay!) They’re not hard to make, and they’re always a fan favorite. But I’m telling you, once you try this browned butter version, you’ll never go back to basic rice krispie treats again.
One of the best things about rice krispie treats (IMHO) is that there are so many ways to customize them. Add some sprinkles to make them festive. Throw in some graham crackers, marshmallows, and chocolate to make S'mores Rice Krispie Treats. Or even try these adorable Mikey Mouse Rice Krispie Treats, which will have your kids swooning for days!
And of course, one of my favorite variations on the classic is the Brown Butter Rice Krispie Treat. Brown butter rice krispie treats are soooo much better than the recipe on the back of the rice krispie box. There’s just something extra special about browning the butter that raises the bar on these crispy rice bars and transforms your childhood favorite into an elevated treat suitable for even the fanciest dessert board. They taste amazing and I’m OBSSESSED with these babies.
And I think you soon will be too.
(Looking for more brown butter desserts? These brown butter snickerdoodles and easy ooey gooey bars are two of my faves!)
In This Post
What Makes These Rice Krispie Treats So Special?
- Nostalgic childhood treats. These treats are based on the classic recipe that we all know and love. Ooey gooey marshmallows, buttery goodness, and crispy rice cereal.
- That nutty brown butter flavor. The flavor of these crispy treats is elevated by browning the butter, giving these treats a sophisticated nutty flavor.
- A touch of flaky salt. A sprinkle of flaky sea salt only enhances the flavor of the browned butter, and the vanilla gives it a touch of extra sweetness.
- Easy recipe. As with most rice krispie treats, these are super easy to make and only require about 15 minutes, start to finish. They're the perfect last-minute dessert, and great when you don't feel like actual baking.
- Aaaahhhhmazing! The best part? They’re so good! We can’t get enough of these delicious brown butter rice krispie treats!
Key Ingredients
Another great thing about this recipe is that you don’t need too many ingredients to make it. In fact, you probably have most of them already!
- Butter. A staple in most rice krispie treats. The butter helps provide a delicious flavor to these treats, especially when you brown it. (Browned butter = the secret ingredient!) When you brown butter, you are melting the butter, allowing the water to cook away until the milk solids are left and begin to brown within the butter. It adds an amazing subtle nutty flavor to these rice krispie treats. It's an extra step, but one that's well worth it.
- Marshmallows. To give them that ooey-gooey texture.
- Puffed rice cereal. Store-bought rice krispie are the main ingredient. I recommend using real rice krispie cereal here, not generic rice puffs. I find the generic puffed cereal to be a bit spongy whereas I can always count on branded rice krsipies to be nice and crunchy.
- Vanilla extract. Adding a splash of vanilla after the butter has been browned takes this recipe over the top.
- Salt. This just enhances the flavors of everything else.
How To Make These Brown Butter Rice Krispie Treats
Making these sweet cereal treats is easy. I pretty much follow the original recipe on the Rice Krispie box, with the addition of brown butter, vanilla, and a touch of salt. Here's how to make them:
- Prep your pan. You'll want to make sure you have a well-buttered pan ready to go. (Seriously - make sure the bottom and sides of the pan or glass dish are well coated so that these don’t stick to the sides.) Alternatively, you can use parchment paper in the pan and just give it a light coat of nonstick cooking spray. This approach makes it easier to lift the treats out of the pan.
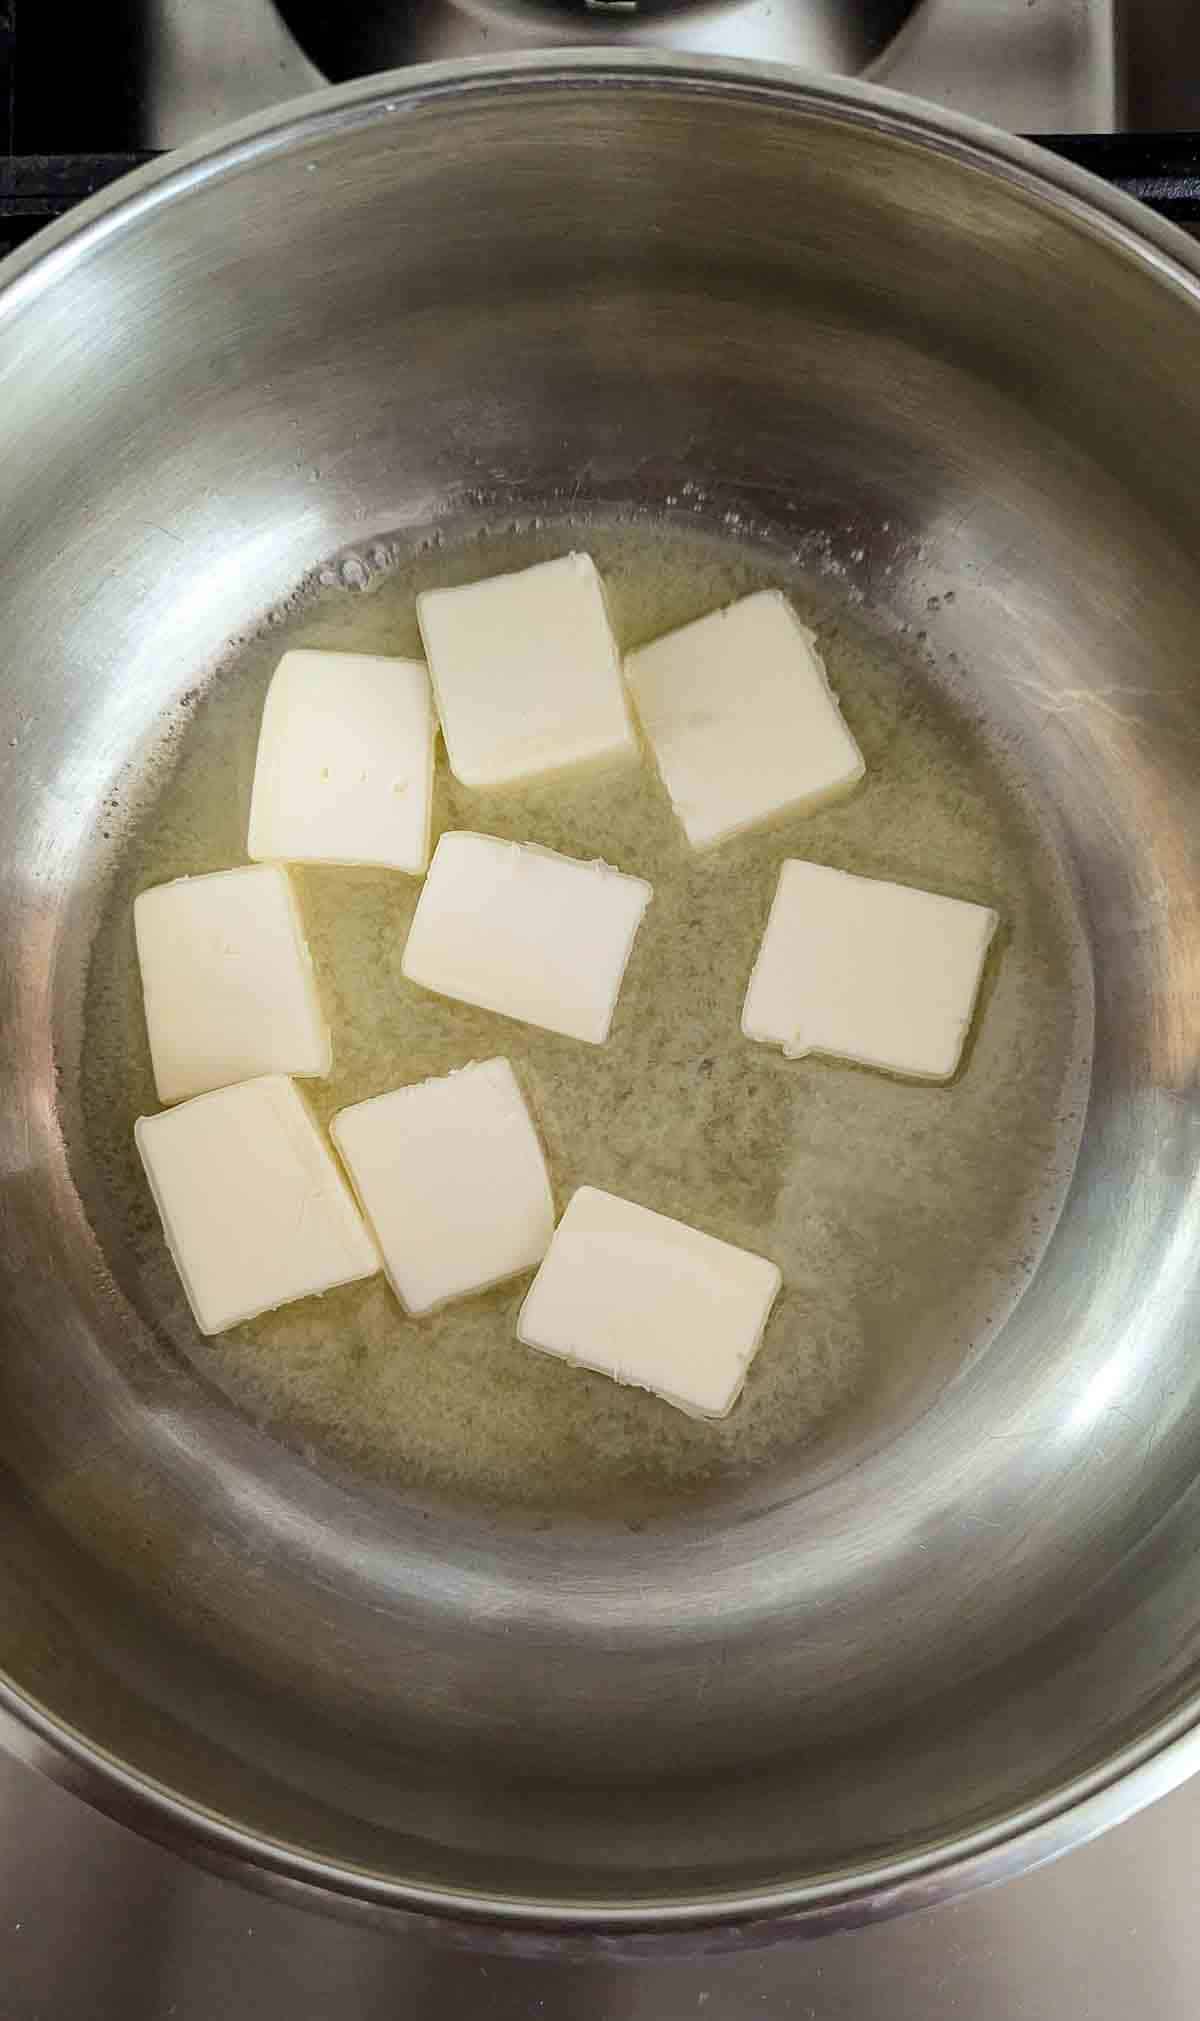
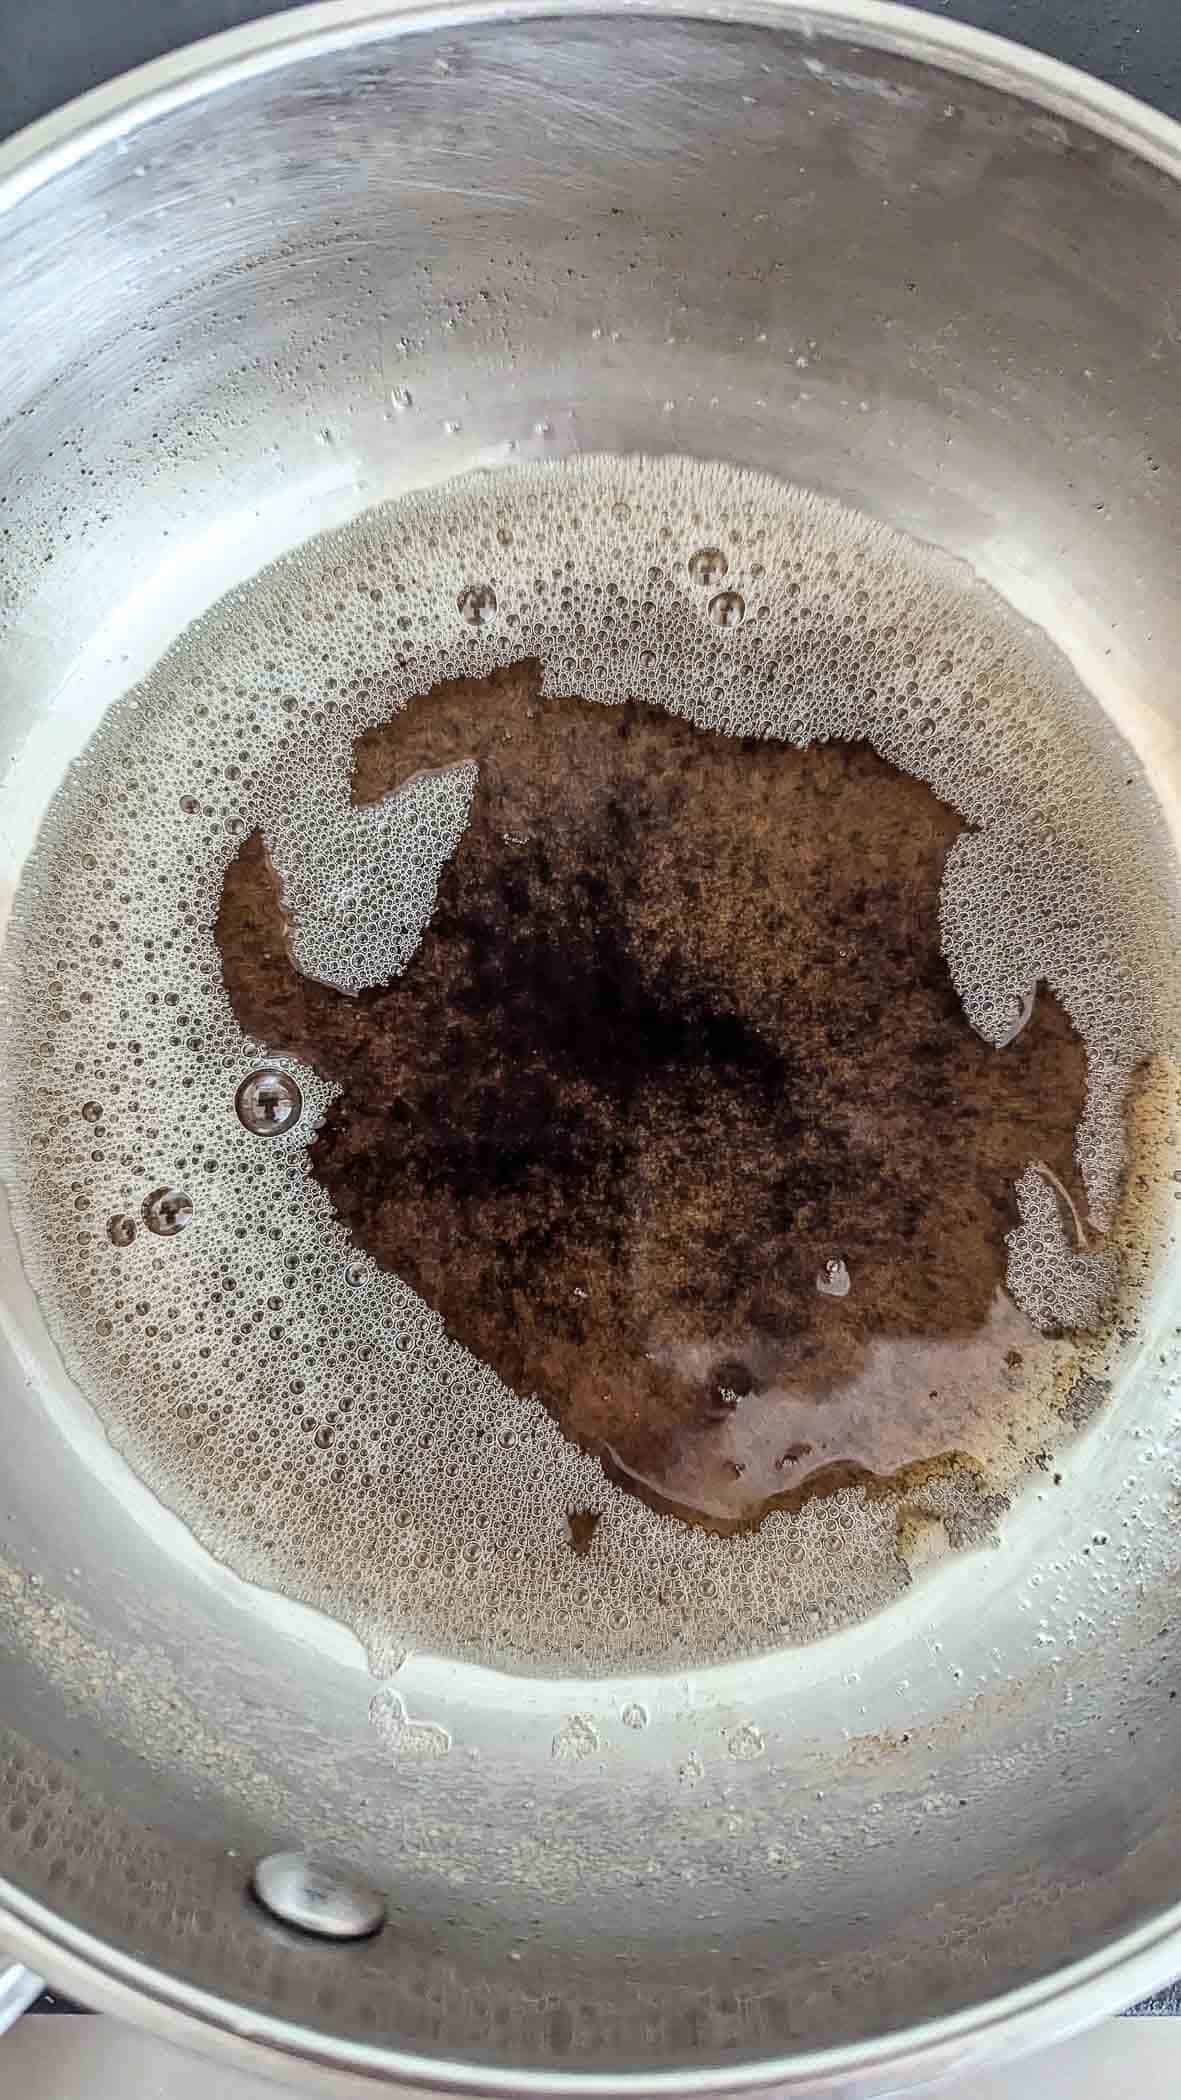
- Brown the butter. In a large saucepan, brown the butter over medium-low heat. This is actually the hardest part of the recipe, and it's easy to mess up if you don't keep an eye on it. Heat a large pot over medium-high heat and add your butter. Allow the butter to melt, and then stand by as the butter begins to foam. If this doesn’t happen within a few minutes of melting, turn your heat up slightly. Watch the butter closely.
The foamy mixture should start to dissipate and turn into a light golden brown color, with browned bits at the bottom (those are the toasted milk solids). Stir the butter constantly at this point with a wooden spoon or a rubber spatula. Remove it from the heat when you start seeing the browned bits and the mixture starts to give off a nutty aroma.
- Add the vanilla, salt, and marshmallows. After the butter has been browned, add the vanilla, salt, and marshmallows. Stir everything together until the marshmallows have melted and the mixture has turned a pale brown color.
- Add in the rice krispie cereal. Slowly add in your rice krispies. I used about 10 ounces of rice krispies (not quite a full 12-ounce box), but as I said above, don’t add them all at once. Mix them slowly, and add more if you need to, depending on the texture you want. Don’t add too many, or the rice krispie treats will be too dry and crumbly.
- Add the mixture to your pan. Once everything is well combined, spoon the mixture into your prepared pan. Press the mixture gently into the bottom of the pan until it is evenly spread into the pan. I like to use a buttered spatula to do this, but you can also use a sheet of wax paper to lightly press the rice krispies into the pan with your fingers. Just be sure not to press them too hard or they’ll be compacted and dense instead of light and airy.
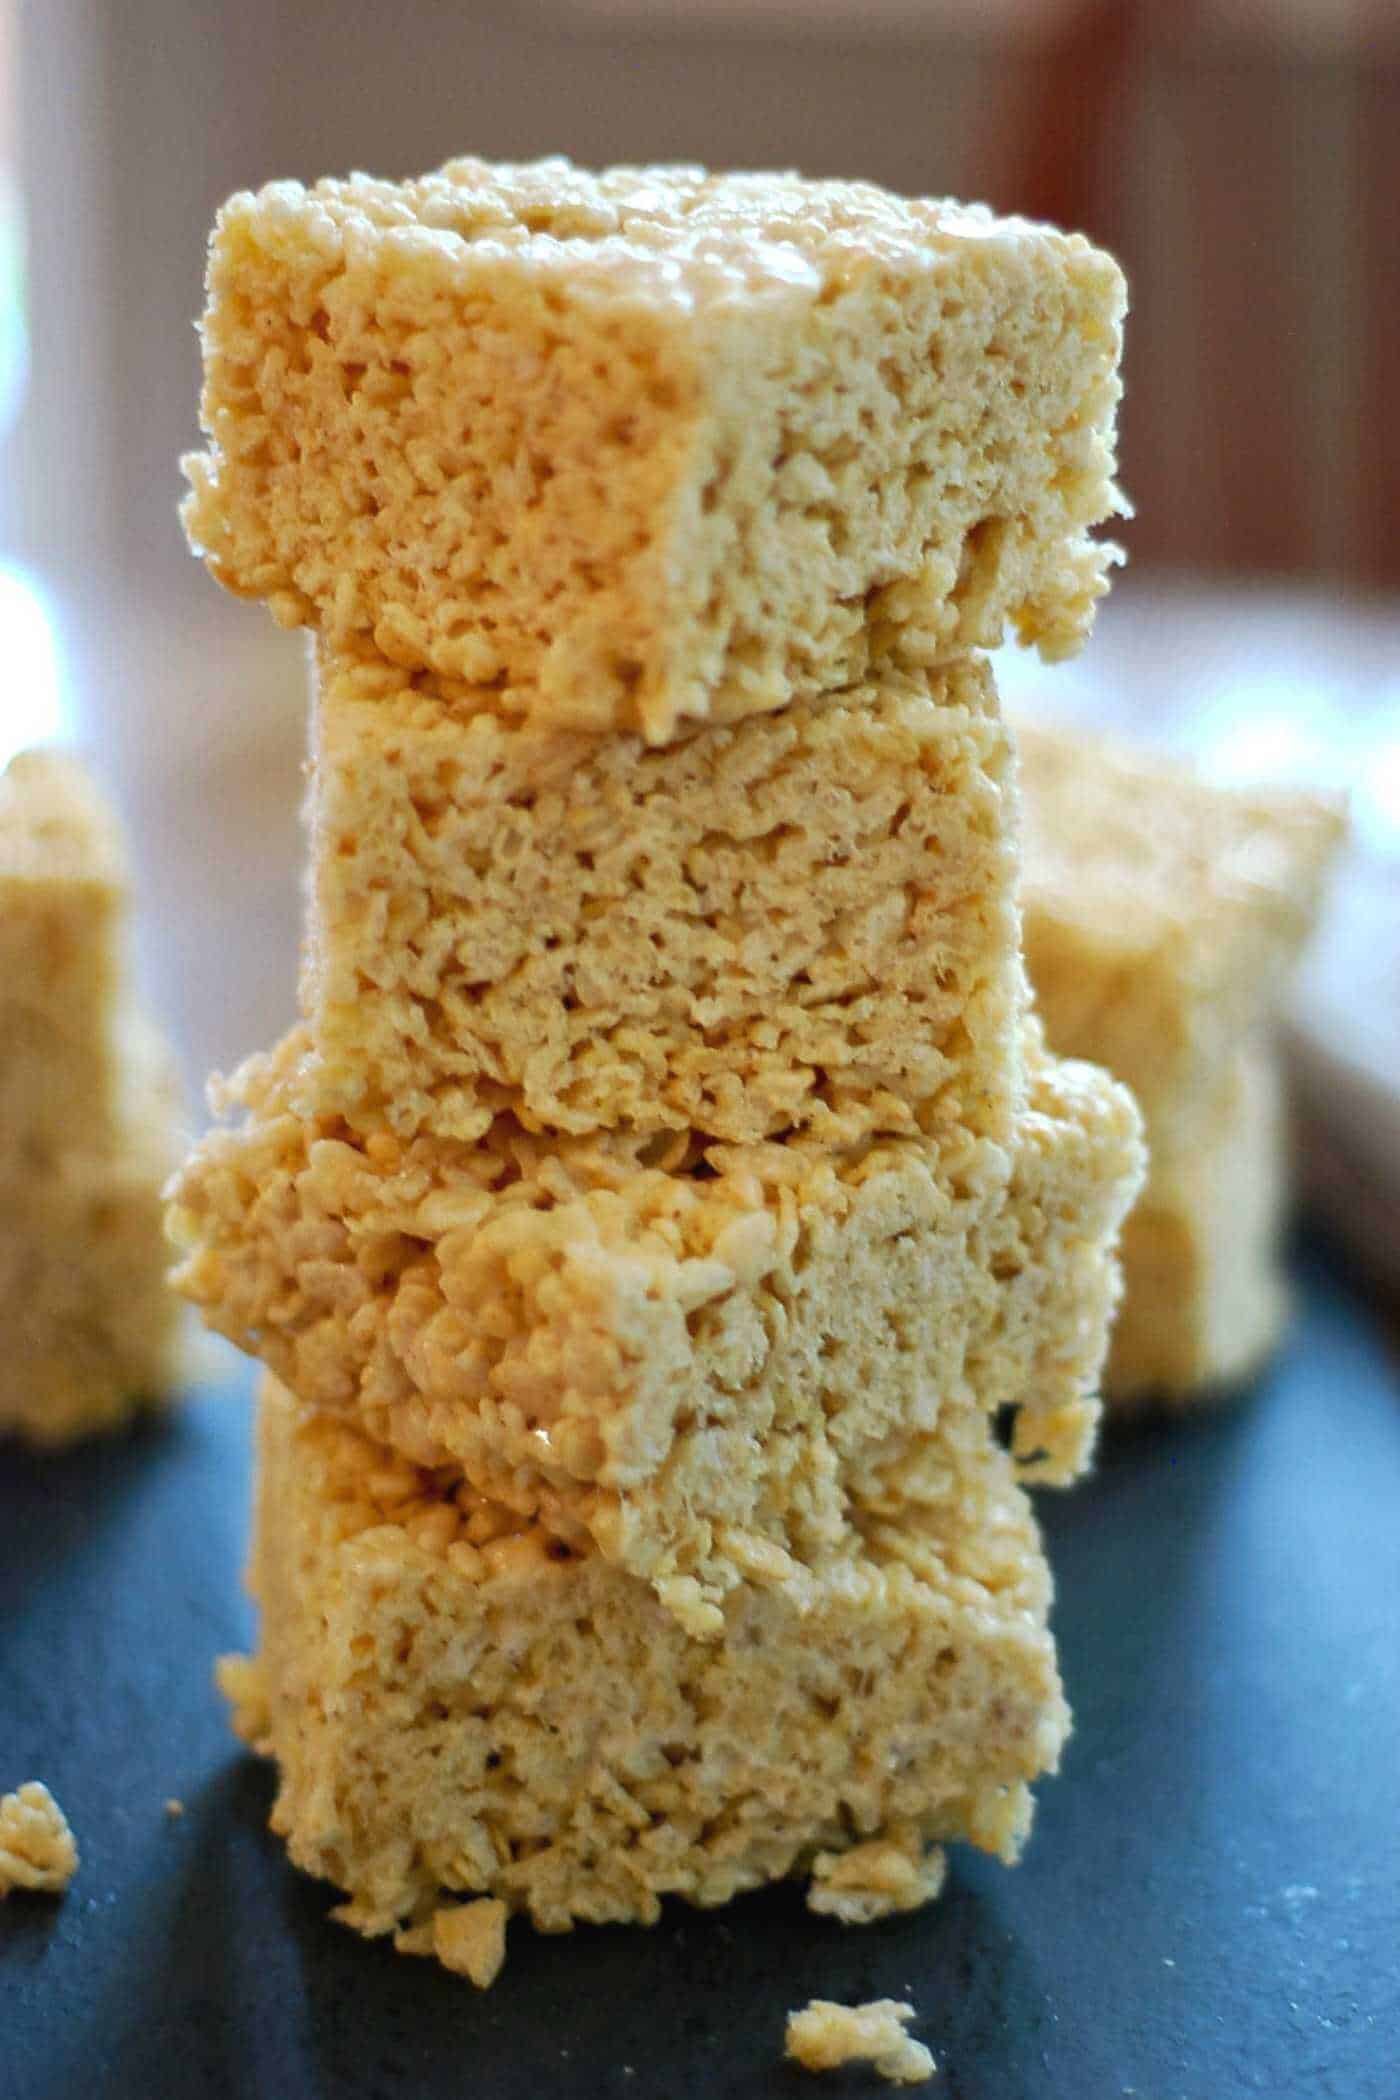
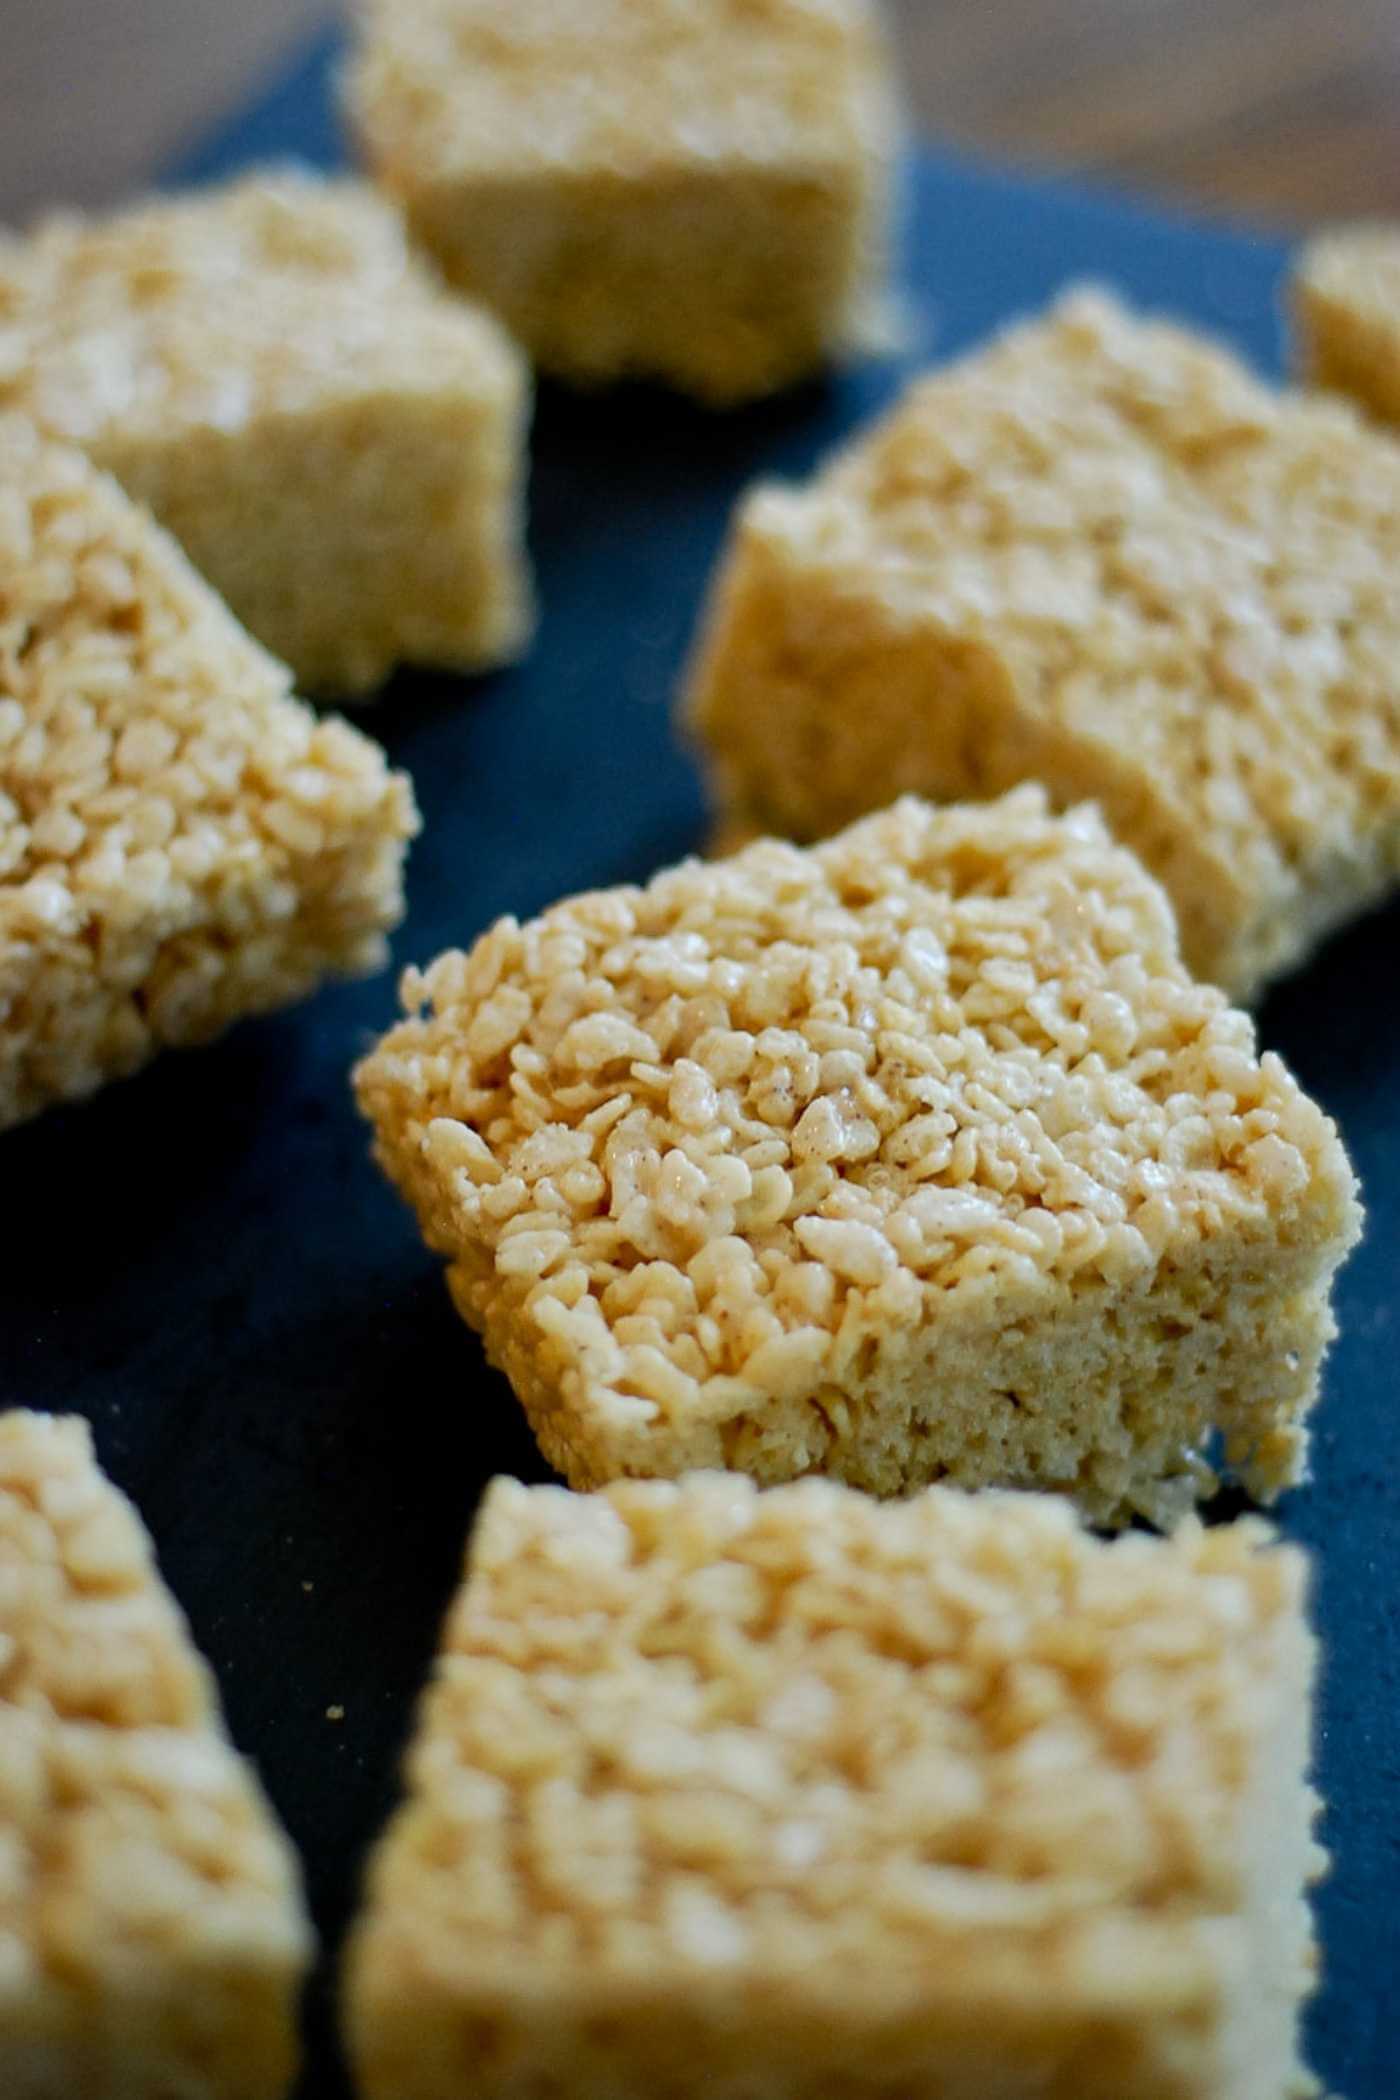
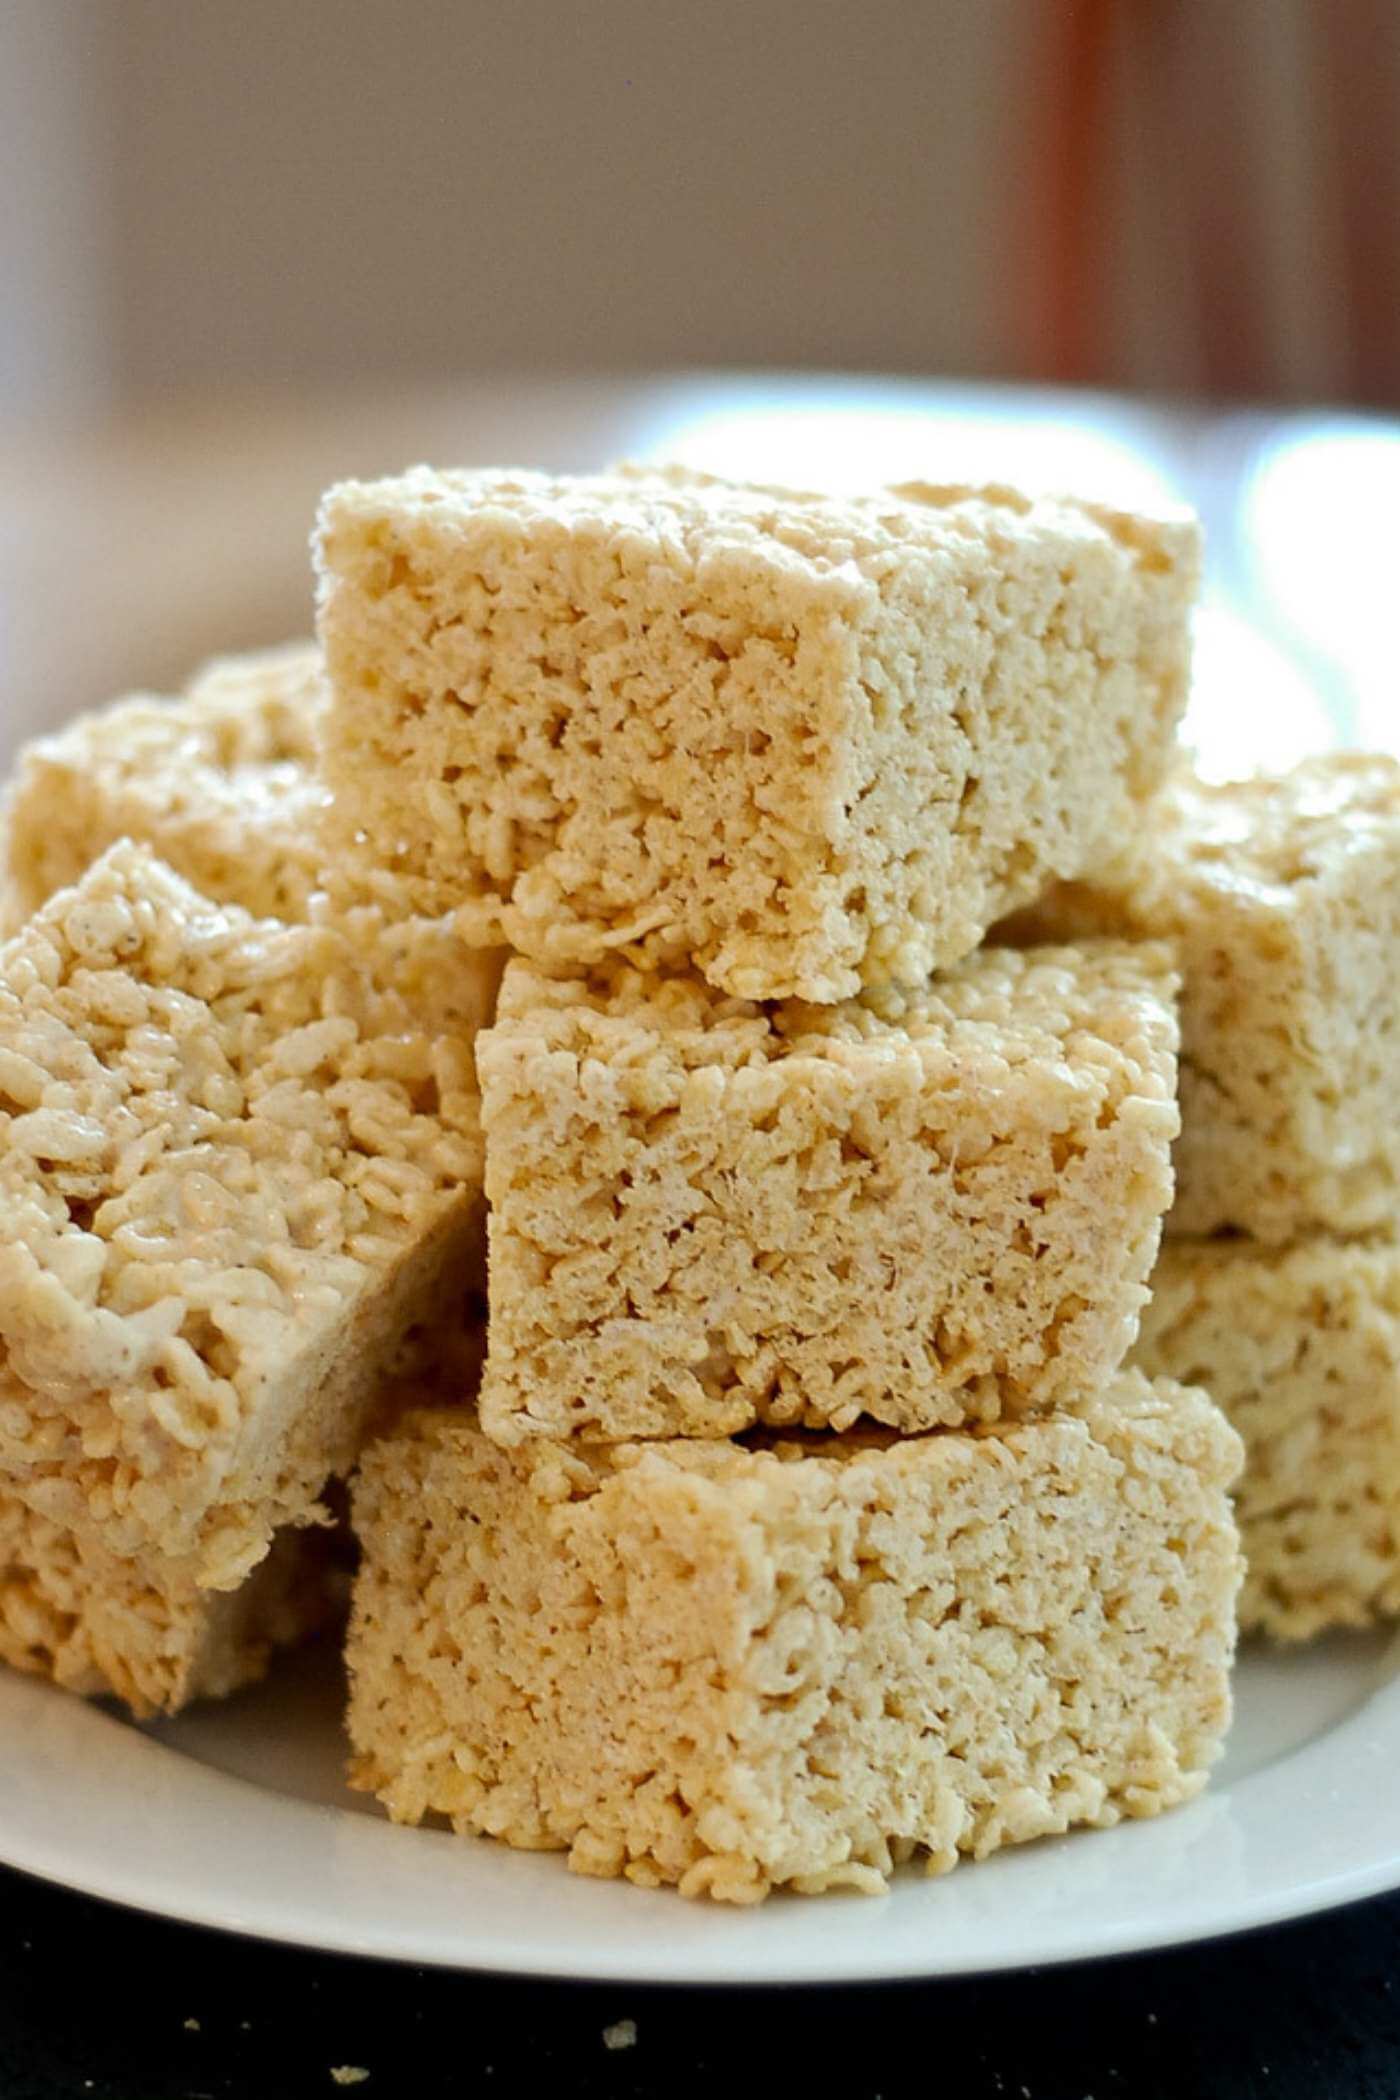
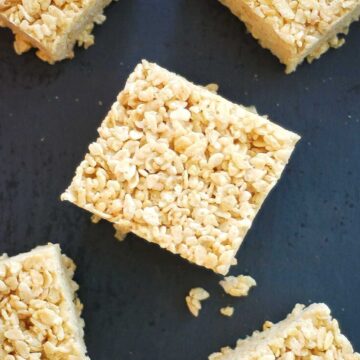
- Cut the brown butter rice krispie treats into squares or bars. Allow the rice krispie treats to cool for about 5-10 minutes, then use a sharp knife to cut the treats into squares or bars and serve. (Or, keep them all to yourself. They are easy to devour!
Variations
Of course, there are as many ways to change this recipe up as you can think of. Here are a few ideas.
- Add sprinkles. The ultimate birthday treat! Some fun colored sprinkles give these classic treats a festive vibe.
- Add some chocolate chips. Brown butter AND chocolate? Totally indulgent.
- Add peanut butter. Peanut butter is a classic addition to the traditional rice krispie treat recipe, and it also goes incredibly well with this version.
- Cut them into shapes! Don't settle just for the standard square bars - use a sharp cookie cutter to cut these into fun shapes like hearts or stars for a special occasion.
Frequently Asked Questions
You can store these brown butter rice krispie treats in an airtight container at room temperature for up to 2 days.
Wanna know the secret to great rice krispie treats? The perfect ratio of marshmallow and butter to cereal. Too much cereal and you’ll end up with dry, crumbly rice krispies. Too much butter or marshmallows, and your treats will be too moist and will fall apart easily. I like to slowly add the rice krispies to the marshmallow mixture until I get just the right texture I’m looking for. You can always add more cereal if you need to.
If you make these delicious brown butter rice krispie treats, let me know what you think of them in the comments, and be sure to tag me on Instagram with a photo @frontrangefed so I can see your masterpiece!
I always use the mini marshmallows since I think they take less time to melt than the jumbo marshmallows. If you're feeling extra, you can also use homemade marshmallows.

If you make these brown butter rice krispie treats, let me know what you think in the comments below! And don't forget to tag me with a pic on IG so I can see your masterpiece!
More Delicious Dessert Recipes!
- S’Mores Rice Krispie Treats
- No-Bake Peanut Butter Energy Balls
- Peanut Butter Oatmeal Bars (With Bananas And Chocolate Chips)
- Homemade Soft Cinnamon Sugar Pretzels
- Soft Sugar Cookies
- Brown Butter Snickerdoodle Cookies
Recipe
The Ultimate Brown Butter Rice Krispie Treats
Ingredients
- 10 oz unsalted butter
- 2 10 ½ oz bag of mini marshmallows
- 10 oz rice krispie cereal
- 1 teaspoon vanilla
- ¼ tsp salt
Instructions
- Prepare your pan. Butter a rectangular glass or metal cake pan well, ensuring the entire surface and sides are covered.
- In a large pot, over medium heat, brown your butter. This should take roughly 5 minutes - once the butter has melted, it will start to foam, and then turn clear, turning quickly to brown. Keep a close eye on the butter as it browns, stirring often. You’ll know it’s done when it starts to smell slightly nutty.
- Add ¼ teaspoon of salt and 1 teaspoon of vanilla to the butter mixture and stir well. Add the marshmallows and turn the heat to very low. Stir the marshmallows and the butter mixture consistently until the marshmallows have fully melted and the entire mixture is a pale brown color.
- Add the rice krispe treats to a Remove the pan from heat and add the rice krispie cereal. Stir with a rubber spatula until the cereal and marshmallow mixture is evenly mixed
- Spoon the mixture into your prepared pan and press it gently with a buttered spatula into the pan. Be sure not to press too hard - you don’t want the mixture compacted too much, rather, you want these rice krispie treats to be light and airy.
- Allow the treats to cool for 5-10 minutes, then cut with a sharp knife into squares and serve.
Notes
- Using fresh ingredients will ensure these brown butter rice krispie treats come out great. If you're using those marshmallows or rice krispie cereal that has been languishing in your cupboard for the past 6 months, be warned that your treats may come out stale and tough, not light, airy, and gooey!
- I used unsalted butter here, but if you happen to use salted butter, omit the salt from the recipe above.
Nutrition

Comments
No Comments