
Lemon Ricotta Cookies are soft Italian cookies that have a tangy, lemony taste, and a light, airy, and fluffy texture thanks to using ricotta cheese in the dough. The lemon icing makes them extra special. They're a great Italian Christmas cookie, but can be enjoyed any time of year!

Every year my family makes requests for what types of Christmas cookies I should make for the season. We typically make 4 to 5 different kinds and like to try out new recipes, but there are a few classics that are always asked for. These fluffy lemon ricotta cookies are a constant and we love making these delicious cookies at Christmas time or for any special occasion. They're the perfect blend of moist and chewy, and they have a great soft texture that everyone loves. You're going to love these lemony cookies!
(Looking for more delicious lemon desserts? Try my easy Lemon Cake with Strawberries, Lemon Biscotti Cookies, or this delicious Keto Lemon Pound Cake!)
In This Post
Lemon Ricotta Cookies = The BEST Italian Cookies!
This cookie recipe is one of my family's favorites and is always requested around the holidays. What's so special about this classic Italian cookie recipe?
- Soft and chewy texture. These Italian ricotta cookies are light and airy and have a soft, chewy, and fluffy texture.
- Delicious lemony flavor. These lemony ricotta cookies have a sweet but tangy flavor and the lemon adds a nice brightness to the cookie.
- Easy to Make (easy lemon cookie). These fluffy cookies do require a little bit of chill time to allow the batter to form and to make the dough easier to handle, but mixing the batter for this easy lemon cookie takes minutes and they bake in under 15 minutes.
- Great for the holidays, or any time. We make this classic Italian Christmas cookie every Christmas holiday, but they're great any time of year. They'd be a delightful treat for Easter celebrations or Mother's Day too!
- Sweet lemon glaze recipe. These cookies are great on their own, but the bright lemon flavor adds an extra element of lemony sweetness to these cookies and makes them extra special.

Key Ingredients
These lemon ricotta cookies have all your basic cookie ingredients, with a few key ingredients to make them really unique:
- Flour. I typically just use all-purpose flour here with great results.
- Butter. Use unsalted butter for these cookies.
- Eggs.
- Sugar. Regular granulated sugar.
- Vanilla . Use pure vanilla extract for these cookies. You'll need it for the lemon ricotta cookie dough and the delicious glaze that will go on top.
- Ricotta cheese. The ricotta cheese is the secret ingredient here and has a similar effect in this cookie as the sour cream does in my soft sugar cookies - it amps up the texture of the ricotta cookie, making it super soft, creamy moist, and light. I use 2% Ricotta cheese (but you could use whole milk ricotta too with great results.)
- Fresh lemon juice and fresh lemon zest. The lemon adds brightness and tanginess to both the lemon ricotta cookies and the lemon icing.

How To Make This Italian Lemon Ricotta Cookie Recipe
Making these soft chewy ricotta cheese cookies couldn't be easier.
- Cream the butter and sugars. In a medium bowl using an electric mixer, or in the bowl of a stand mixer with the paddle attachment, cream the butter and sugar together at medium speed, then add the ricotta cheese, lemon zest, vanilla extract, and eggs and beat until well combined.
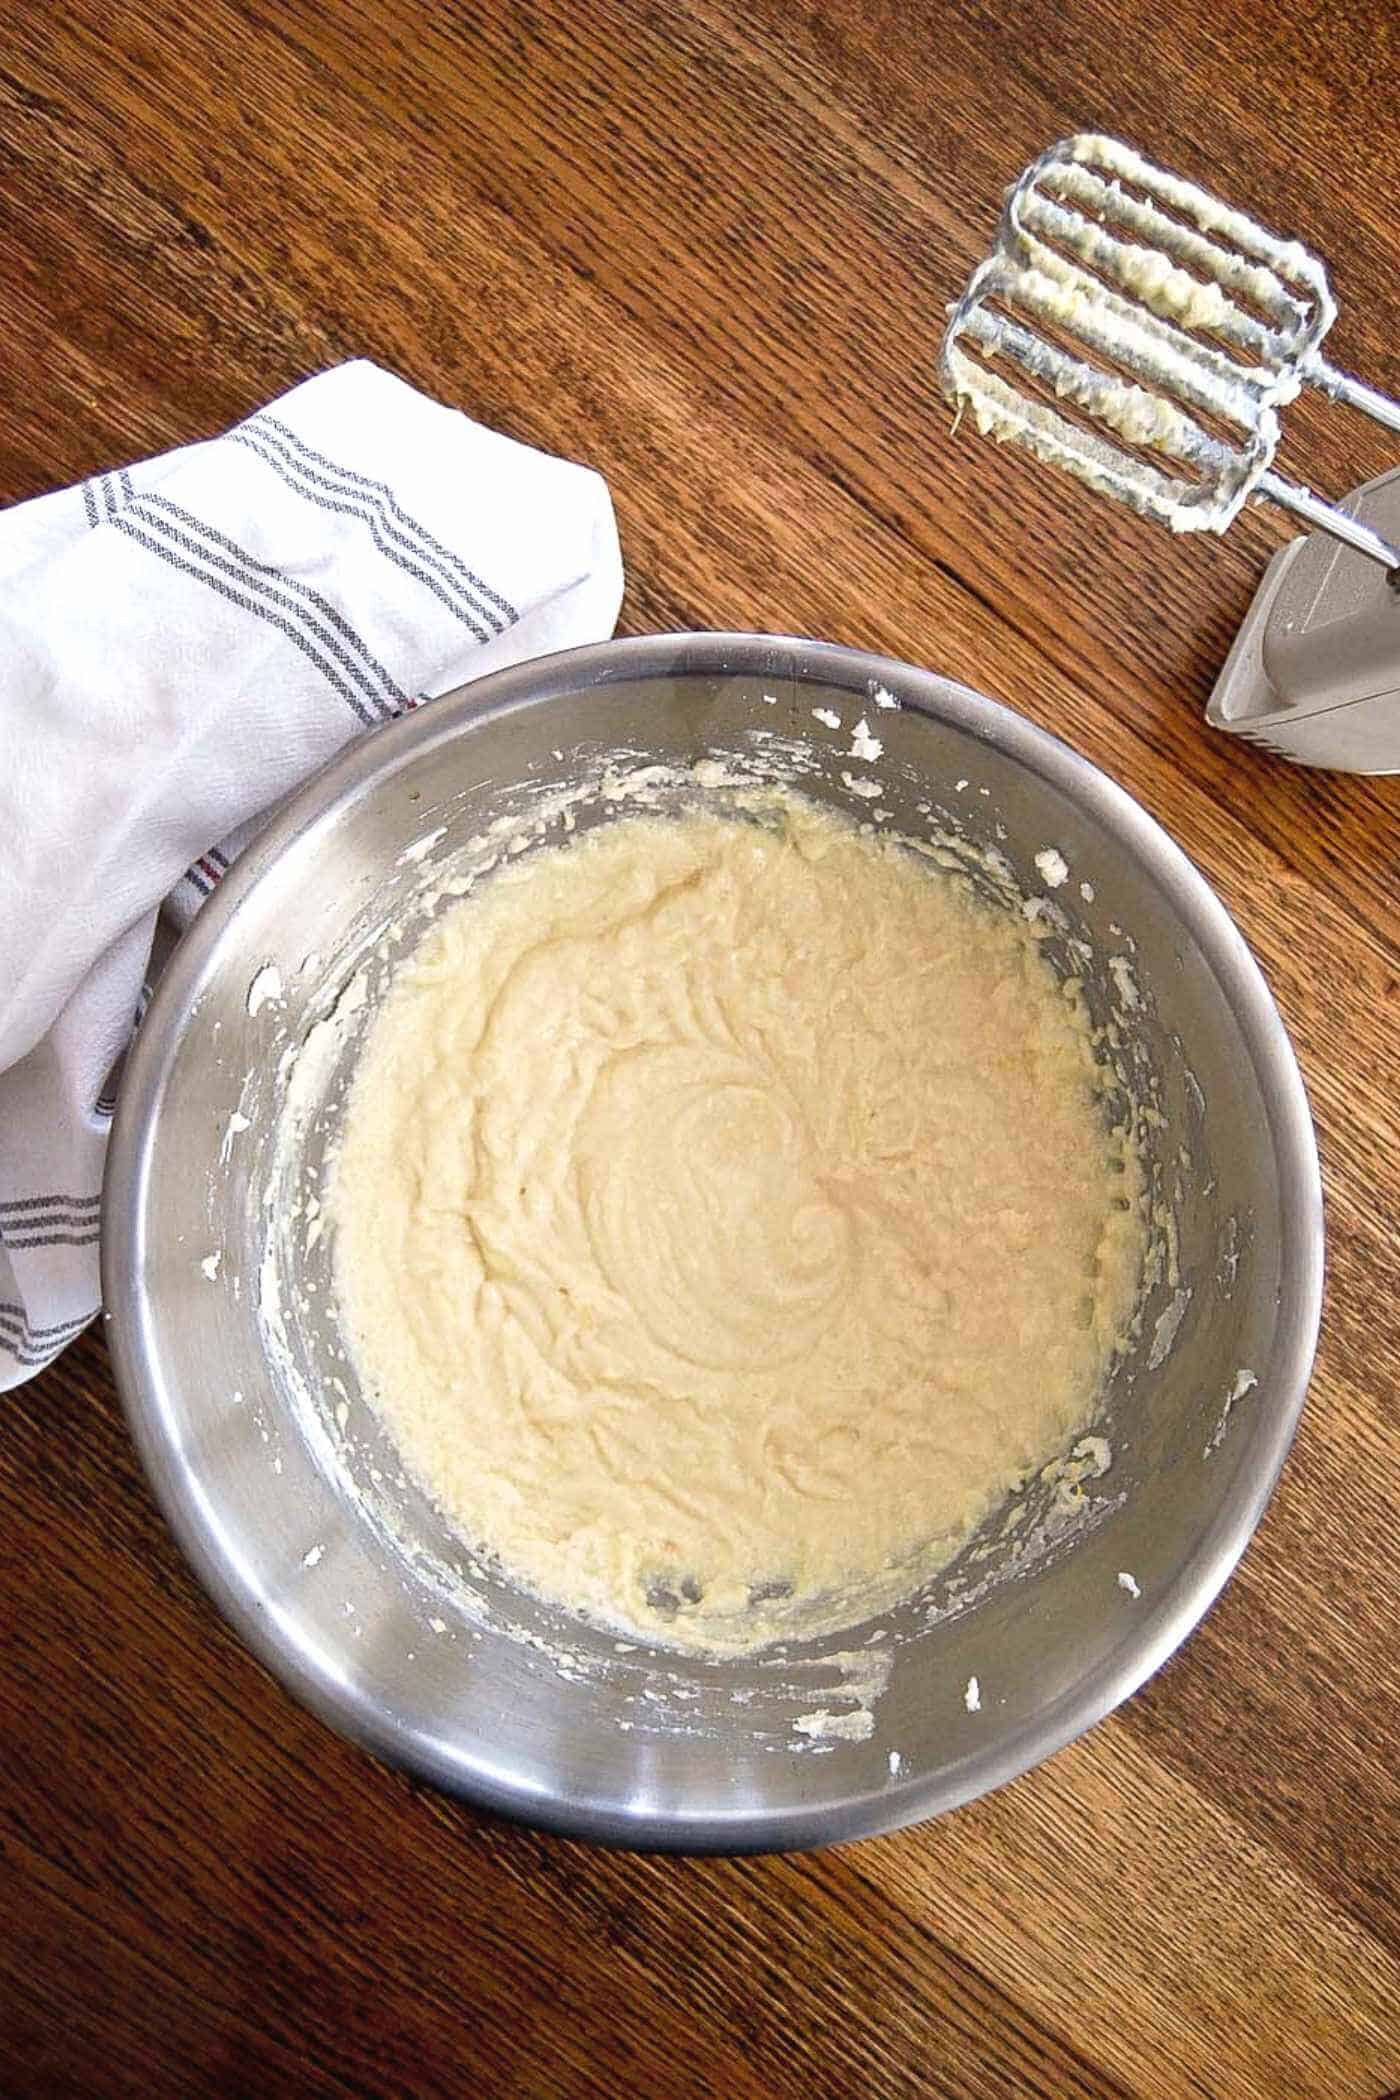
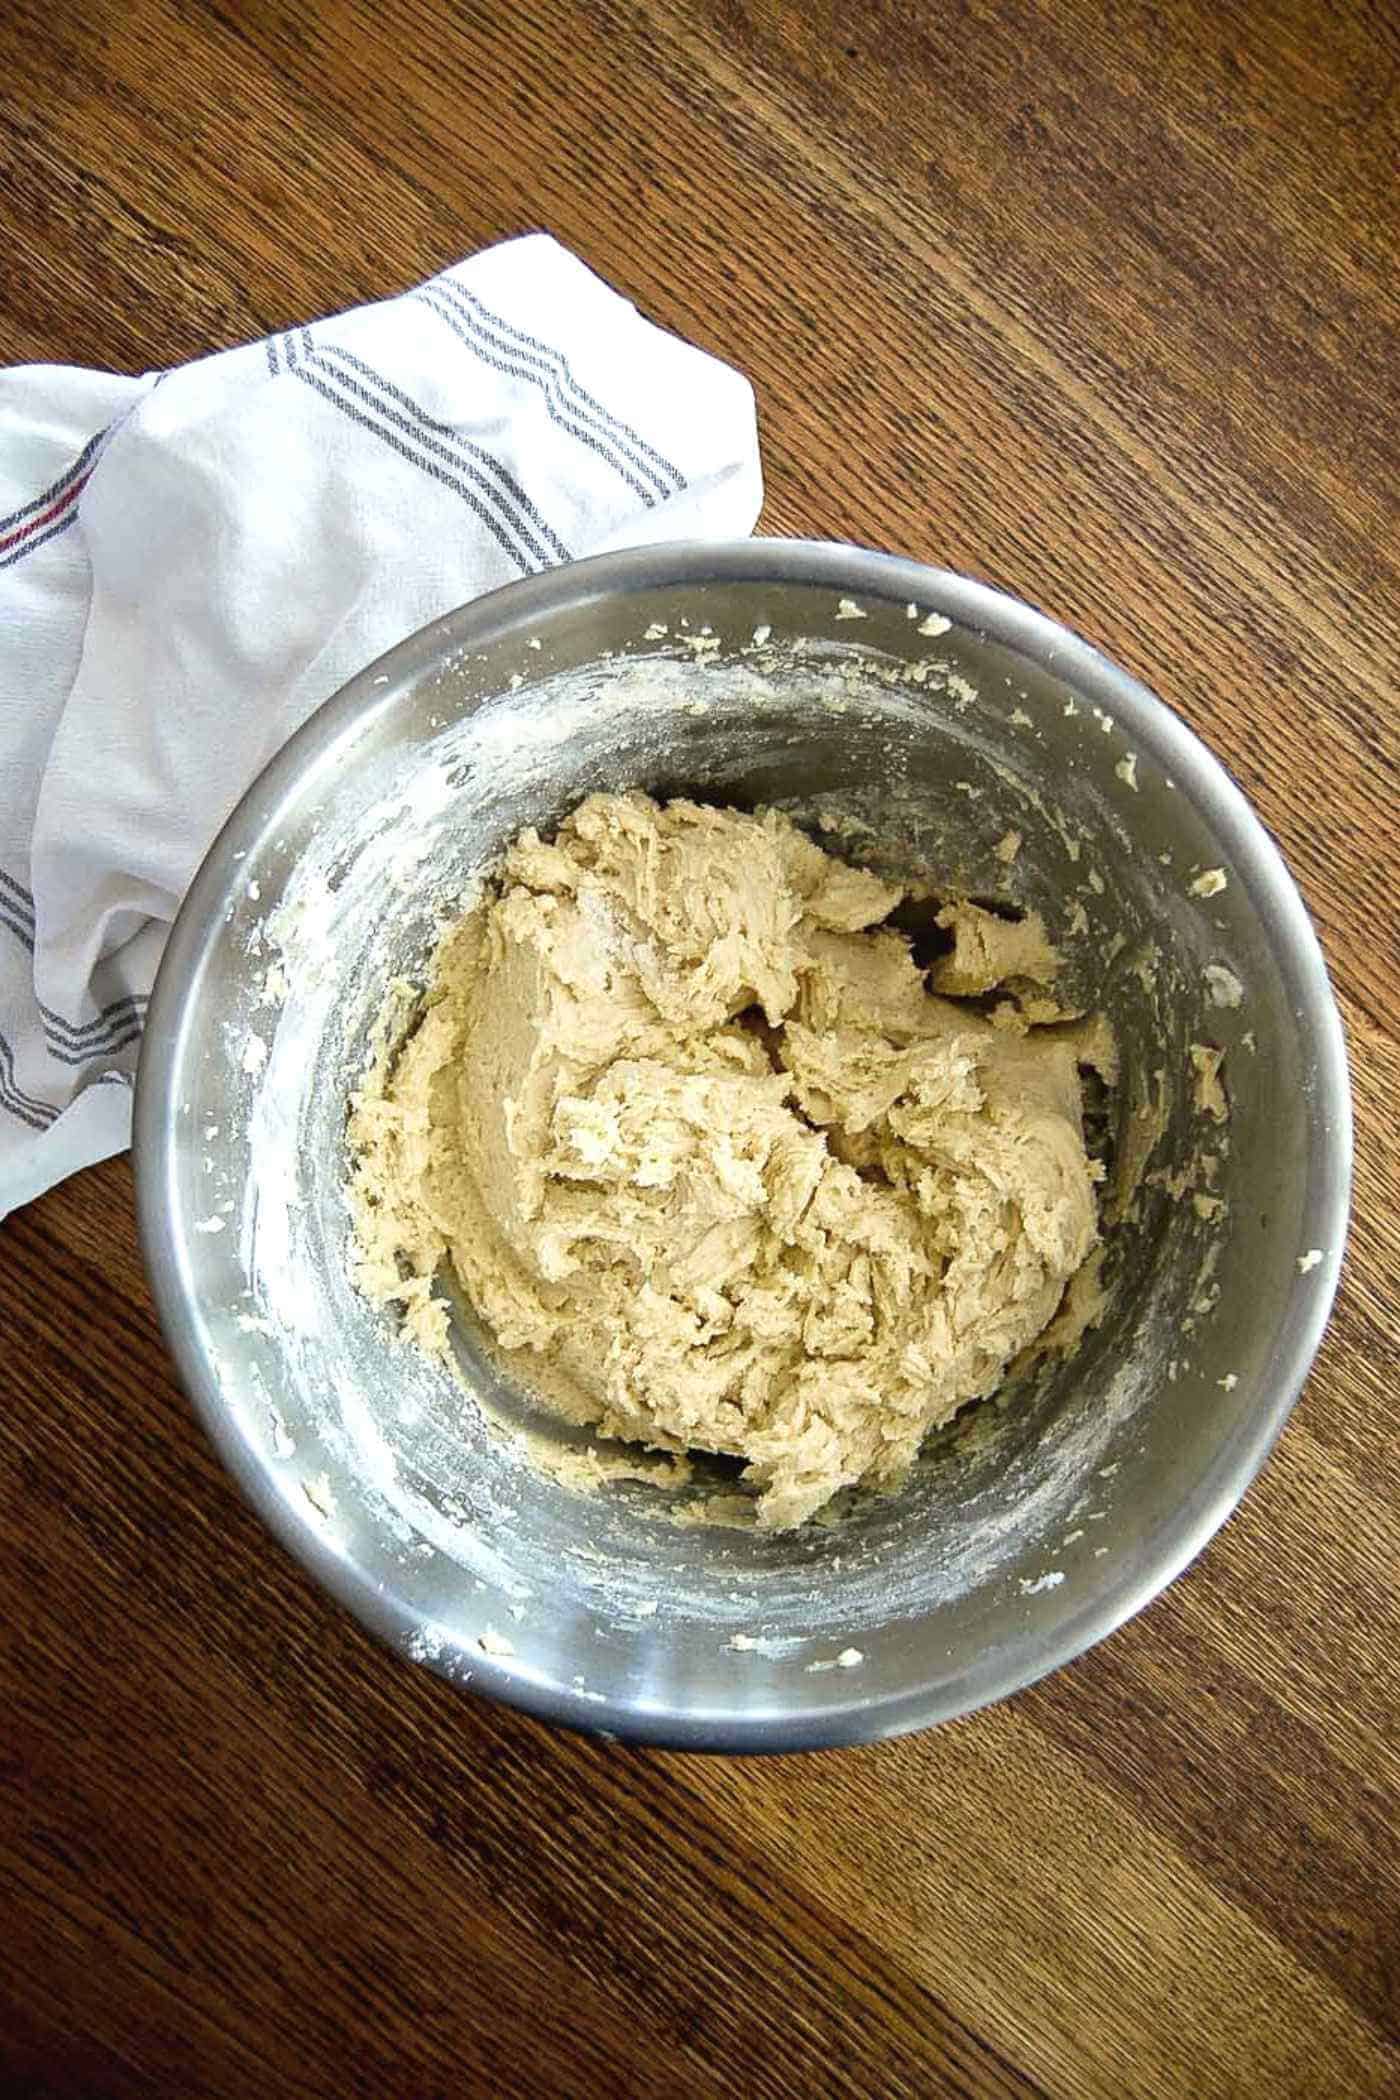
- Add the dry ingredients. In a separate bowl, mix the flour, baking soda and salt until well combined. Then add the flour mixture to the ricotta mixture and beat until the dough begins to form. This is a wet, sticky dough and it will appear fairly shaggy - this is normal! Form the dough into a ball, wrap it in plastic wrap, and chill dough in the refrigerator for at least an hour, or up to 3 days until you're ready to bake the cookies.
- Prepare the baking sheets. When you're ready to bake these ricotta cookies, line a large cookie sheet (or 2!) with parchment paper or a slip mat and allow your oven to come to 350 degrees before taking the dough out of the fridge and forming the dough balls. This dough will be sticky so it's important to keep it chilled right up until you're ready to bake the cookies, and even between batches, to make it easier to handle.
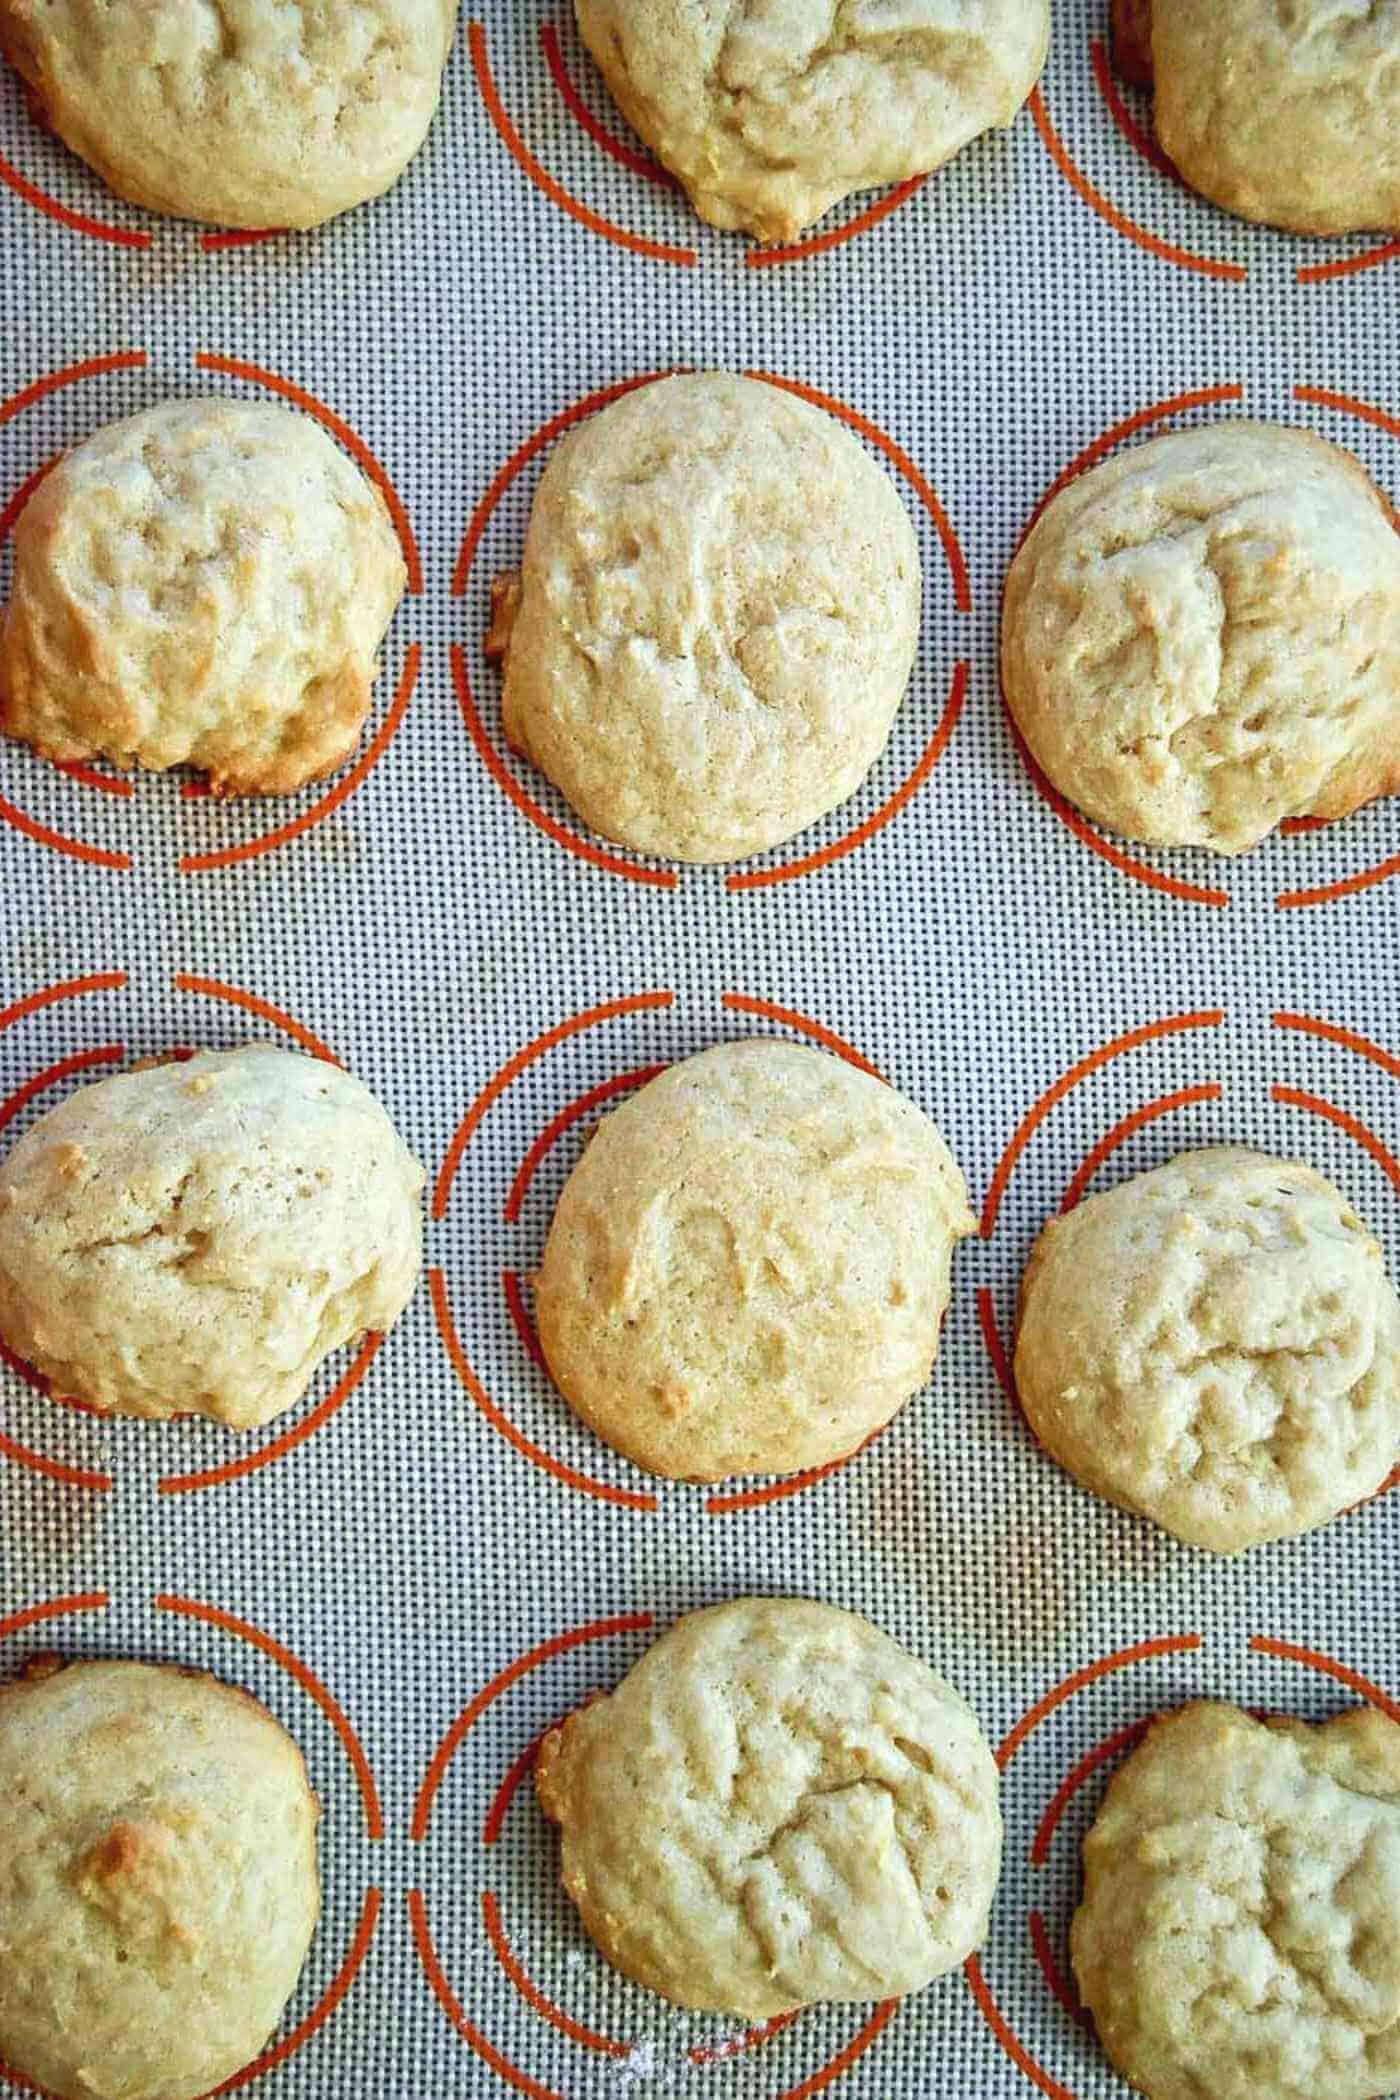
- Form the cookies. Form the cookies by scooping out about 1.5-inch balls and placing them on the prepared baking sheets. Using a cookie scoop makes this a bit easier, but if you don't have one, you can also wet your hands slightly and roll the balls with your hands then place the dough balls on the pan. (You'll need to rinse your hands often!) Make sure to leave plenty of space around each dough ball (about an inch around) as these will spread slightly. Place the dough back into the refrigerator until ready to make your next batch.
- Bake. Bake the ricotta Italian cookies for about 12-14 minutes, or until the bottom of the cookies is a nice golden brown. Remove from the oven and allow to cool on the pan for 5 minutes before transferring to a wire rack to cool completely on a cooling rack. Allow cookies to cool completely before icing the cookies.
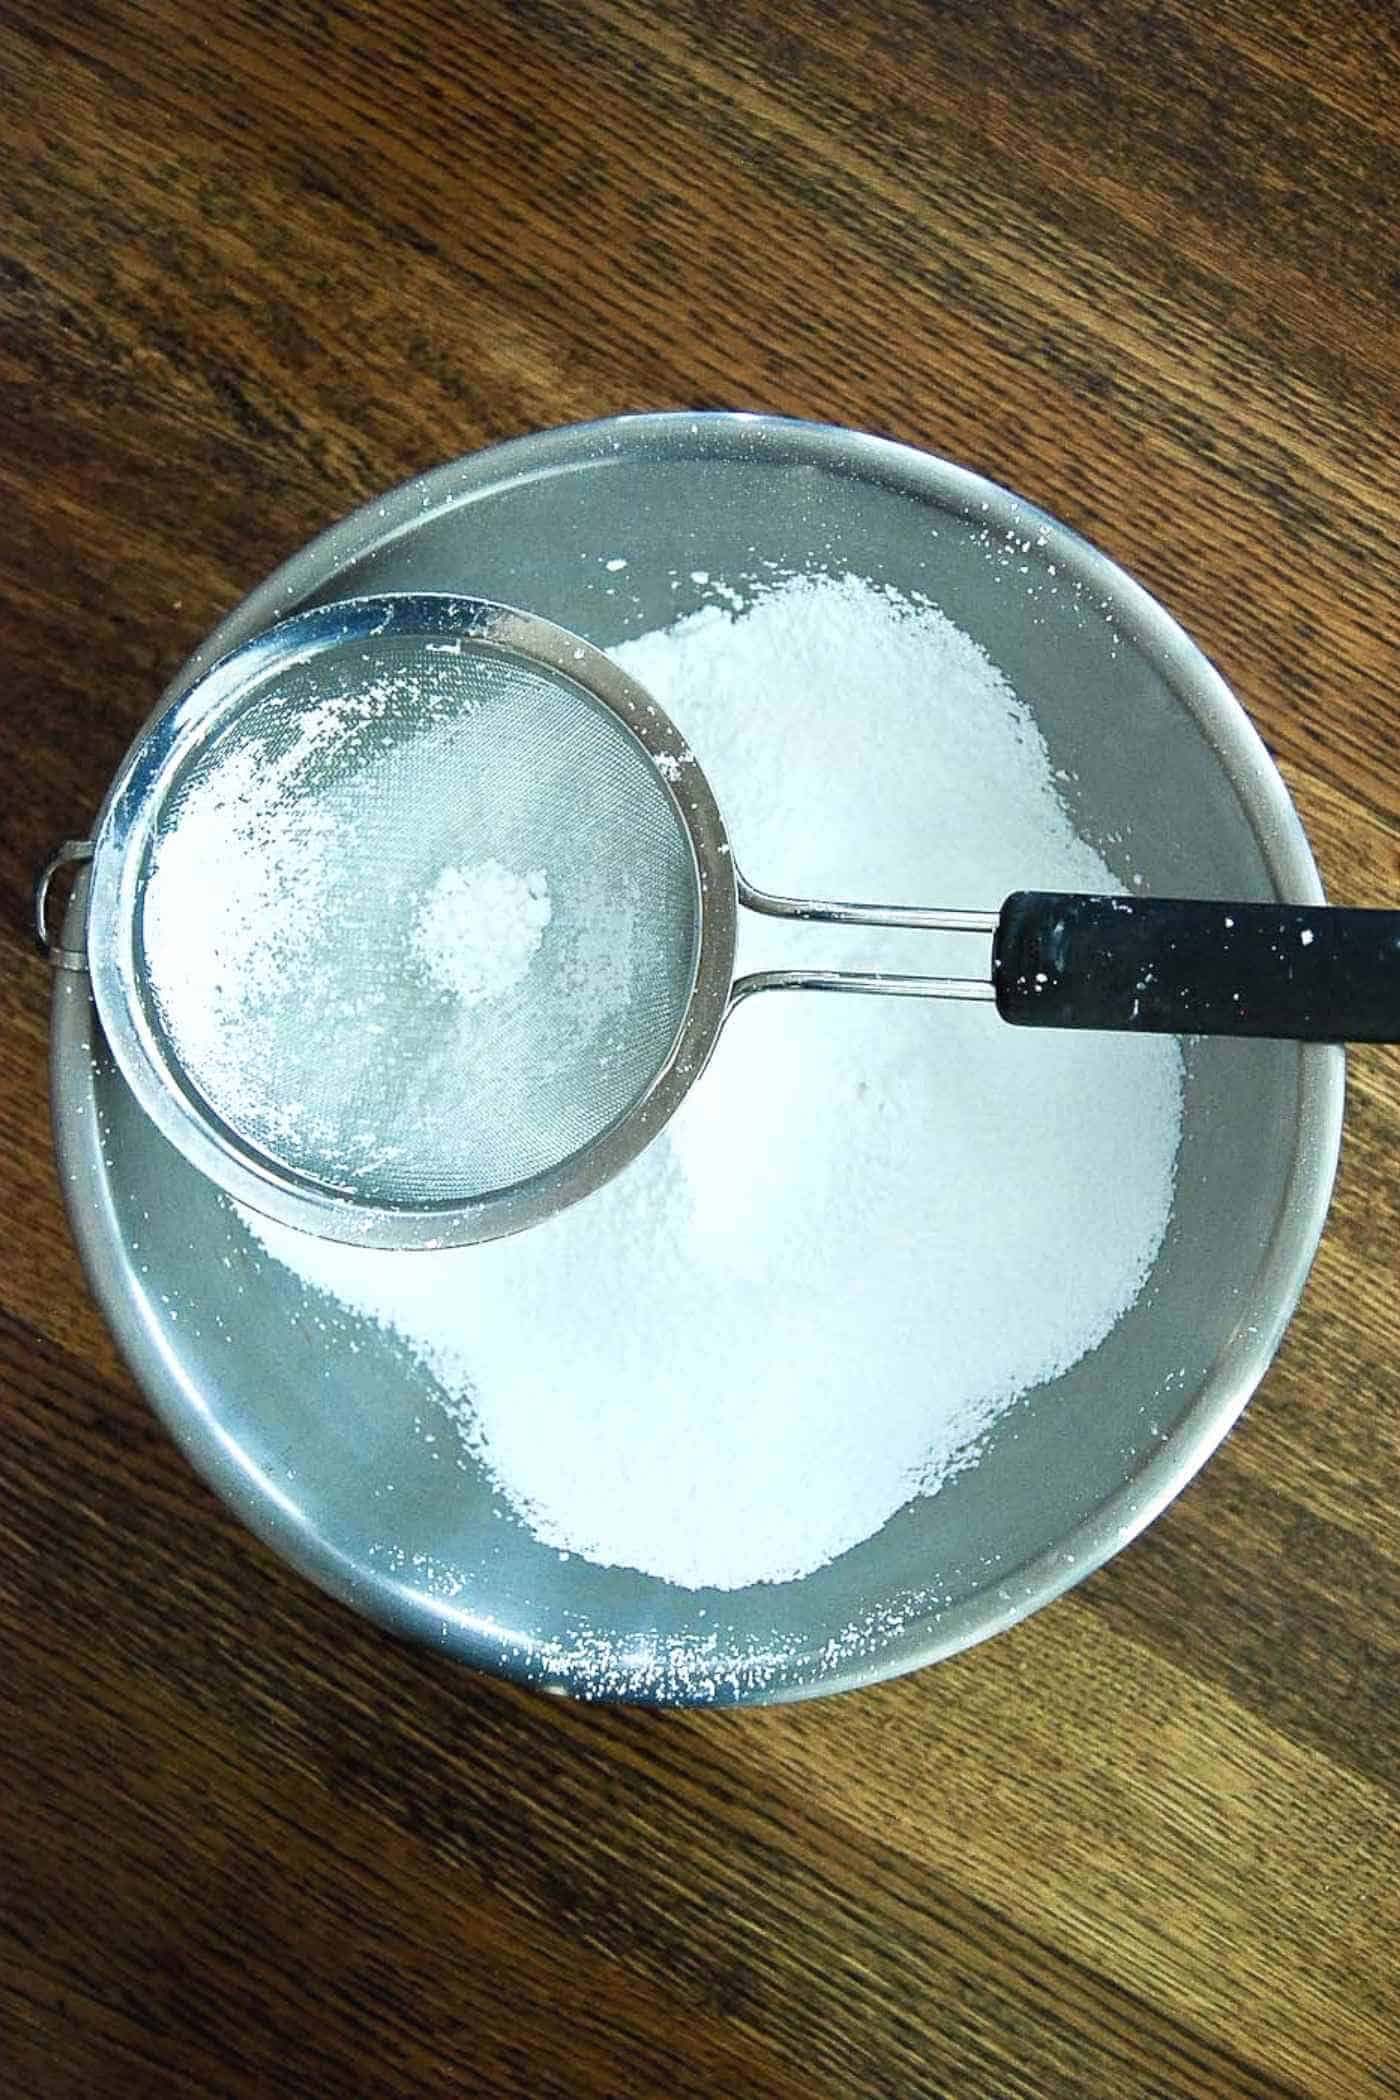
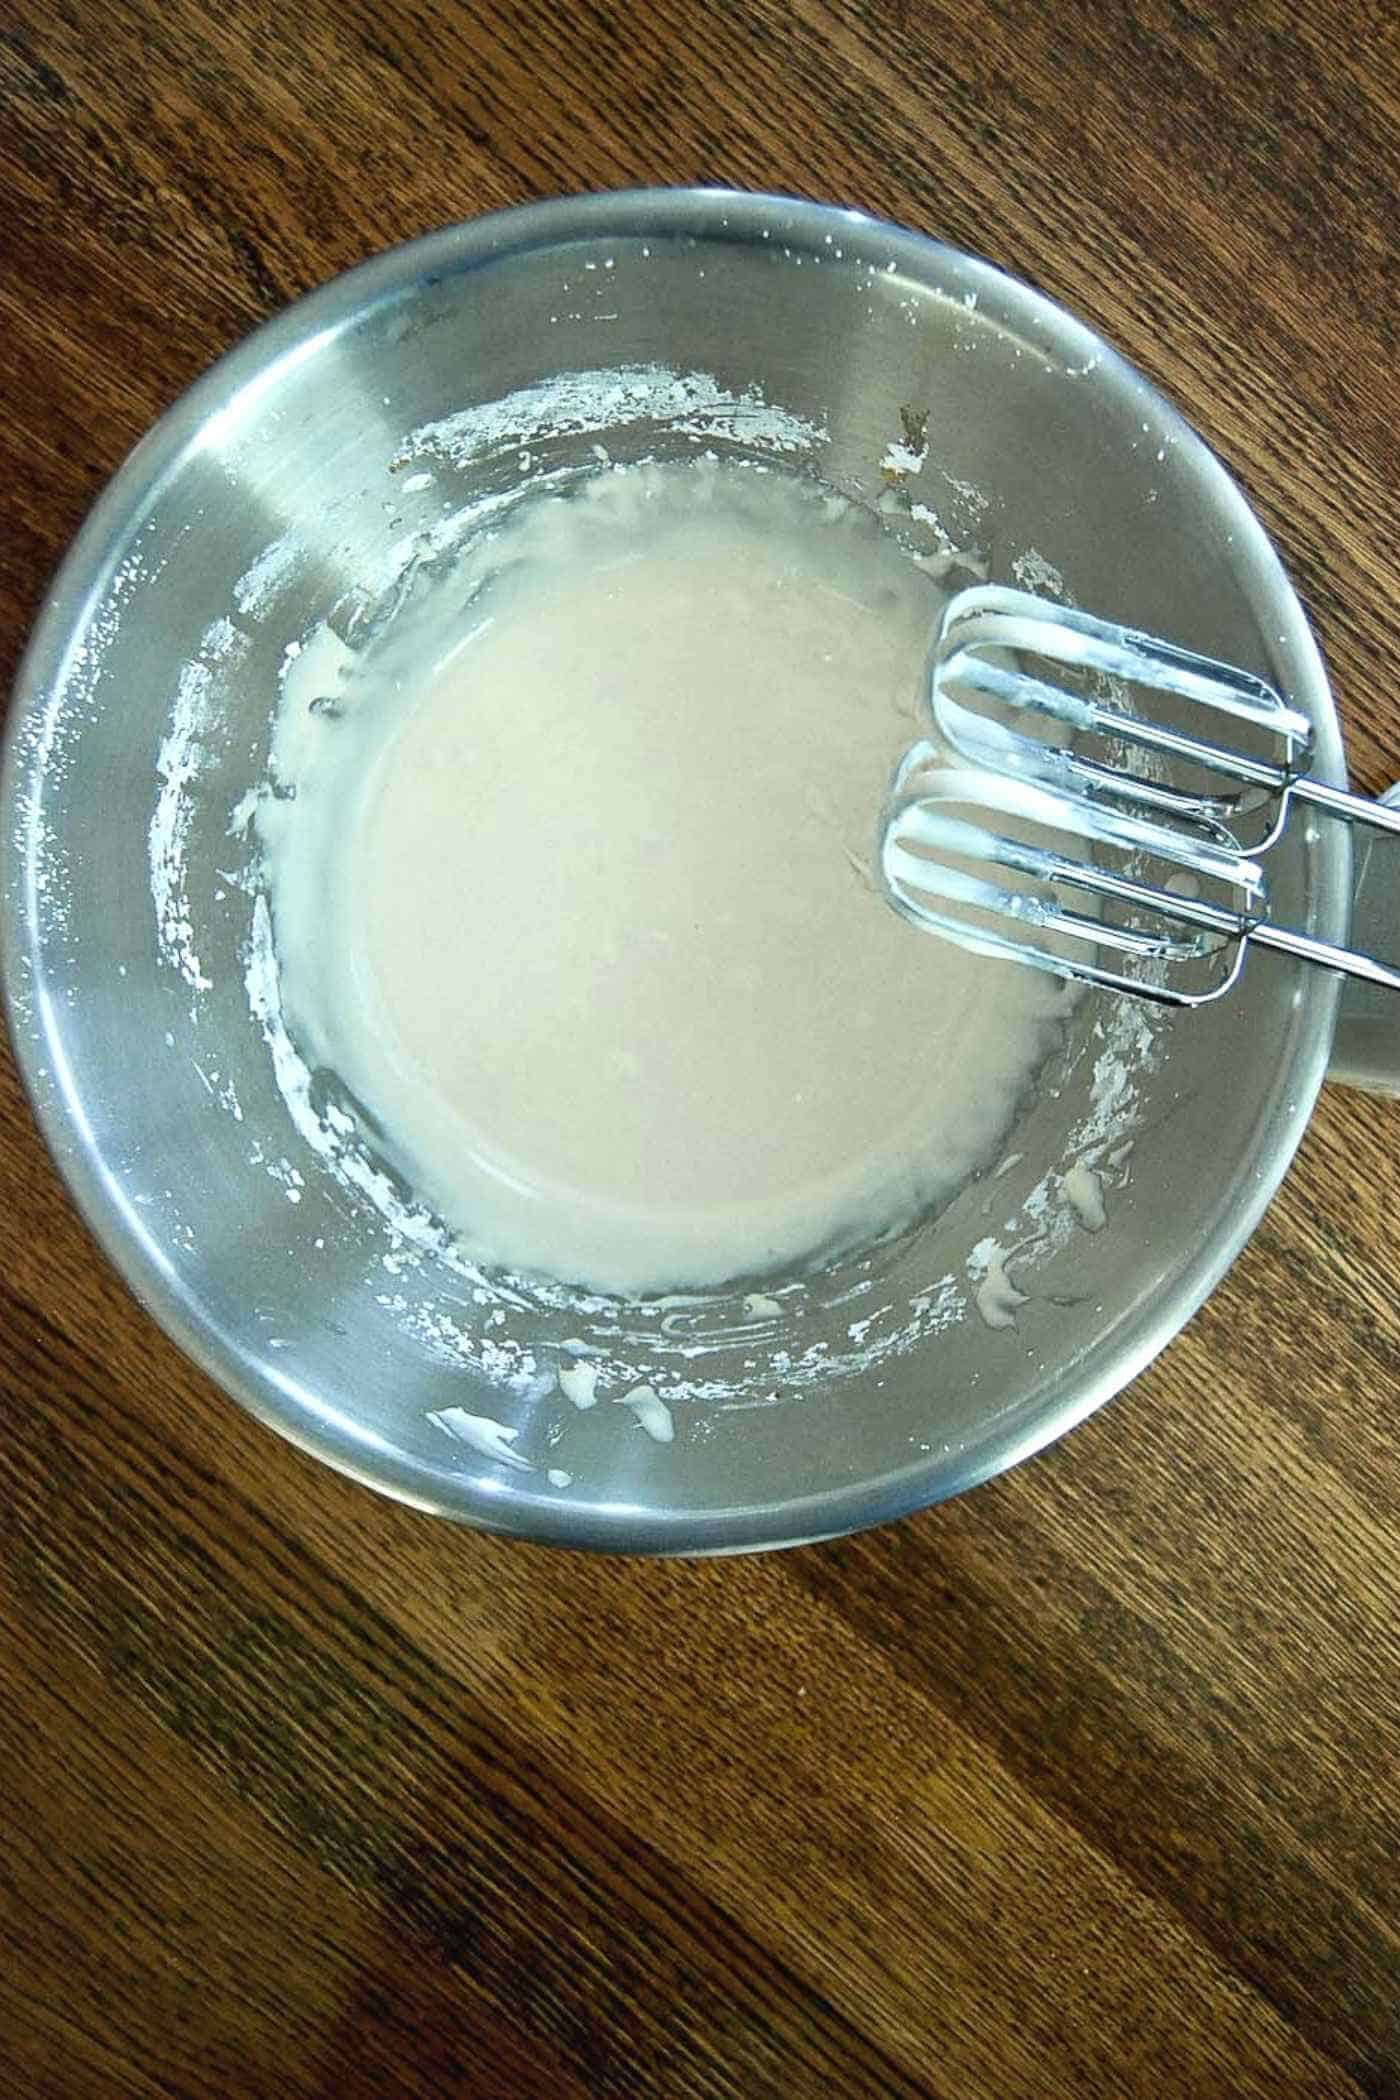
- Make the lemon icing. This lemon icing recipe is easy to make. Sift the powdered sugar to ensure no clumps remain. Then add melted butter, lemon juice, and vanilla and stir to combine. Slowly add in a little milk at a time to form a spreadable icing. Add the milk carefully - less milk will produce a thicker icing while more milk will create a thinner icing/glaze.
- Ice and decorate. Add the lemon glaze to the top of the cooled cookies, add sprinkles if desired, and allow the icing to set completely, about 30 minutes, before serving or storing.
Variations And Substitutions
This recipe produces a perfectly delicious and moist cookie every time, but there are a few ways you can customize these a bit depending on your preference. Here are a few ideas:
- Use a different cheese. Try using whipped cream cheese instead of the ricotta for a bit of a heavier cookie.
- Add some different flavors. Instead of lemon, you could try orange zest or almond extract to mix up the flavor of these delightful treats.
- Use lemon extract. If you don't have fresh lemon juice and zest, you can always use a splash of lemon extract to get that delicious lemony flavor.
- Be creative with your decorations! I used Christmas sprinkles here since I made these during the holidays, but you can switch these out for whatever event you're making them for: Valentine's Day, Easter, Mothers Day....these are the best cookies for any time!

Tips For Success
- Make sure the ingredients for the lemon cookies are at room temperature. Allow all ingredients for the dough should come to room temperature before making the dough.
- Chill the dough for at least an hour before making the cookies. This dough is very sticky and chilling it will allow the batter to develop and the dough to be more manageable when forming the cookies.
- Use a cookie scoop, or wet hands to form the dough. When forming the cookies, know that the dough will be sticky, even after chilling, and especially after sitting even for a few minutes out of the fridge. Form the dough balls using wet hands, or a small cookie scoop.
- Keep lemony cookie dough chilled between making the batches of cookies. As the dough warms, even for a little bit on the counter, it becomes harder to handle. Keep it chilled right up until you're ready to bake, and between batches.
- Allow enough room on the pan for these Italian lemon ricotta cookies to spread slightly. I made these using a 1 ½ inch cookie dough scoop. At most, I typically put 12 cookies on the pan. Cookies will spread about an inch around so be sure not to crowd them on the pan.
- Allow the cookies to cool completely before icing. These Italian cookies are light and airy and will be slightly fragile when still warm. Allow them to cool completely before icing them to prevent them from breaking or tearing the tops.
- When making the lemon icing, add the milk slowly. Too much milk with make this lemon glaze too thin. Mix in just a little milk at a time to ensure the icing does not thin out too much.
- When icing the cookies, add any sprinkles you want immediately. The glaze will set after several minutes and it will be difficult for the sprinkles or other toppings to stick to the glaze after it has hardened.
- Allow the lemon glaze to set completely before serving or storing. This will prevent the icing from smudging before it's completely cooled.

Frequently Asked Questions
Yes! you can make the dough ahead of time and chill it for up to 3 days. You can also freeze the fully made lemon ricotta cookies for up to 3 months.
Allow the cookies to cool completely and be sure the icing has completely set. Store the ricotta lemon cookies in an airtight container, with cookies stacked between parchment paper, in the fridge. Cookies will keep well for 1 week in the refrigerator.
Yes. Because the icing contains milk and butter, these cookies are best stored in the refrigerator.
Yes! If freezing, pack cookies in an air-tight container or freezer bag, with cookies stacked between parchment paper, and keep in the freezer for up to 3 months.

Did you make these Lemon Ricotta Cookies? Tell me what you thought in the comments, and don't forget to tag me with a pic on IG @frontrangefed!
More Great Cookie Recipes!
- Sour Cream Sugar Cookies
- Orange And Almond Shortbread Dipped In Chocolate
- Soft Ginger And Molasses Cookies
- Date Cookies
- Snickerdoodle Cookies With Vanilla And Maple
- Mexican Wedding Cookies Recipe
Recipe

Lemon Ricotta Cookies - The BEST Italian Cookie Recipe!
Ingredients
For The Cookie Dough
- 2 sticks unsalted butter, softened
- 2 cups granulated sugar
- 1 ¾ cup 2% ricotta cheese
- zest of ½ lemon
- 4 teaspoon vanilla extract
- 2 eggs
- 4 cups flour
- 2 teaspoon baking soda
- ¾ tsp salt
For The Icing
- 1 tablespoon butter
- 4 cups powdered sugar
- 2 tablespoon lemon juice
- 1 ½ teaspoon vanilla
- ¼ -½ cup milk add a little at a time until icing reaches desired consistency.
Instructions
Make the dough.
- Cream the sugar and butter together until smooth. Then add the ricotta cheese, lemon zest, vanilla extract and eggs and beat until well blended.
- Add the flour, baking soda and salt to the wet ingredients and beat until a shaggy dough forms and everything is well combined.
- Wrap in plastic wrap and refrigerate for at least 2 hours, or overnight.
- When you're ready to make your cookies, remove from the fridge and immediately form your dough balls. Form each cookie into a dough ball, about 1 ½ inches. The dough will be sticky so use a cookie dough scoop, or roll with slightly damp hands. (You'll have to rinse repeatedly).
- Place dough balls on a cookie sheet aobut 2 inches apart. If you're making the whole recipe, you'll likely have at least 2 pans. Bake cookies for 7 minutes, then rotate the pans (moving the top to the bottom and the bottom pan to the top rack of your oven) and bake for an additional 7 minutes. Cookies will be done when they are a light golden brown on the bottom, and they spring back slightly when tapped.
- Remove the cookies from the oven and allow to cool before icing.
Make The Icing
- Melt the 1 tablespoon of butter in the microwave.
- Whisk in the powdered sugar, lemon juice, vanilla extract, and a little bit of the milk. Add more milk until the icing becomes smooth and easy to spread onto the cookie. Allow the icing to harden, then serve or store (in an airtight container in the fridge, or in the freezer for up to two months.)
Notes
- Make the dough with room temperature ingredients for the best results.
- The chill time for these cookies is imperative, otherwise, it will be extremely difficult to form into balls and the cookies will spread too much when baking.
- This dough is STICKY and easiest to handle when it's cold. Using a cookie scoop makes forming the dough balls a bit easier. Or you can slightly wet your hands and form the balls using your hands. You'll just need to rinse them after every few cookies as the dough will begin to stick together, and to your hands.
- Allow enough room between the cookies on your baking sheet. They do spread a little, even when chilled. I typically only place about 12 cookies on a baking tray at a time.
- Chill dough between batches. If making the entire quantity, you'll likely have about 4 pans of cookies. Be sure to chill the dough between batches to ensure it doesn't get too warm. Otherwise, the cookies will spread - a lot. You may even want to form the cookie balls, place the cookie sheets in the refrigerator for 5 minutes, then put them immediately into the oven.
- Cool before icing. Allow the cookies to cool completely before icing them. If they aren't completely cool, the cookies may be too fragile to spread the icing, and you may end up breaking/tearing the tops of them.
- When making your icing, add just a small amount of milk at a time until you get the desired consistency. Too much milk will make this icing runny, and more of a glaze vs. a proper icing.
- Allow the icing to set completely before storing the cookies.
- Store the cookies in an air-tight container, between layers of parchment paper, for a week in the refrigerator or up to 3 months in the freezer.
Explore More with AI


Maxene says
What a fantastic recipe! These cookies turned out perfectly light and airy. They're a new favorite treat in our house!
Allie says
These are so delicious! The texture is heavenly, and they taste amazing. Everyone loved them!
Melissa says
I love these lemon cookies, and they never last long in my house. They are full of lemon flavor and are so soft and airy.
jane says
New Favorite! Thank you so much for sharing this recipe!
Marcie says
These turned out really good! I will be making these again for my Christmas cookie tray.
Shelby says
I loved the light texture of these cookies! And as lemon is one of my favorite flavors the pick me up up was perfect. Great for an afternoon treat.
Sarah Jenkins says
Thank you Shelby!
Janice says
I recently made these lemon ricotta cookies, and they were a hit! The balance of tanginess and sweetness is perfection. Plus, the kids absolutely loved it! I will be making this again!
Sarah Jenkins says
Thanks Janice!
teresa capotosto says
Has anyone froze them? My biggest concern...
Sarah Jenkins says
Hi Janice!
I have frozen them - both just the unbaked dough (just remove from freezer, allow to thaw a bit and bake when ready) and the fully made, iced cookie. Both work great! For the baked cookies, if you're not going to eat them within a couple of months, they may dry out a tiny bit in the freezer, like most cookies, but still taste really good. But if you plan on freezing them now then eating at Christmas time/New Years in just a week or two you should be good. Hope tht helps!
Jane says
These cookies are so good! They're soft and chewy, but also crispy on the edges. The lemon flavor is subtle, but it has a nice balance with the vanilla and ricotta cheese.
Sarah Jenkins says
Thanks Jane!
claud says
I love how these cookies turned out, they had the perfect combo of lemony- goodness and sweet fluffy texture. I can't wait to impress my friends with these cookies next week when they come over for coffee!
Sarah Jenkins says
Love the lemon! They'll be great for a coffee date!
Erin says
These cookies were just like the ones I got at an Italian bakery last year! Probably even better. And I love how easy they were! Will be making these again for Christmas. 🙂
Sarah Jenkins says
Thanks Erin - glad you liked them!