Salt bagels are a classic New York treat and are so easy for you to make at home! These bagels are dense and chewy on the inside, and deliciously crispy on the outside with the perfect amount of flakey sea salt on the top. These salted bagels are ideal for sandwiches or as a base for generous amounts of cream cheese. Delicious!

If you typically shy away from making your own bagels - I’m here to tell you to stop. These bagels are really so easy to make (albeit, they do take a bit of time). But if you have the patience to wait them out, you’ll be rewarded with the most delicious, chewy, and dense on the inside, crispy on the outside bagels with the perfect touch of sea salt added for a delightfully salty crunch. They are perfection and worth every second you spend making them. (And truly, they are not hard to make.) Grab your apron and buckle in.

Jump to:
Why make your own bagels?
Making your own bagels may not be high on your list of things to do over the weekend, but trust me, they are so worth it. Here are all the reasons I love these salt bagels:
- Fairly easy. I’ve long thought that making bagels would be hard. But if you’ve ever made a loaf of bread, it’s really not much harder than that. A little bit of mixing and kneading, some boiling and baking, and you’re done. The hardest part is at the end where you have to wait for them to cool before slicing into and devouring them.
- Fresh bagels!!! I don’t know about you, but living in small town Colorado, a good bagel is not something that’s easy to come by. Sure, if you’re in New York you are probably able to pop around any corner and grab something delicious. But if it’s an authentic fresh bagel you’re after, in most parts of the world it will be hard to come by. No more, my friends. Even you New Yorkers may find these straight-from-your-own-oven-bagels too good to be true.
- You can mix up the flavors. While I’m making salted bagels this round, this recipe is also a great base for any other topping you desire. Poppy seeds, sesame seeds, herbs - customize these however you wish.
Ingredients
You don’t need very many ingredients to make a salt bagel, and you probably already have a lot of these lurking in your pantry.
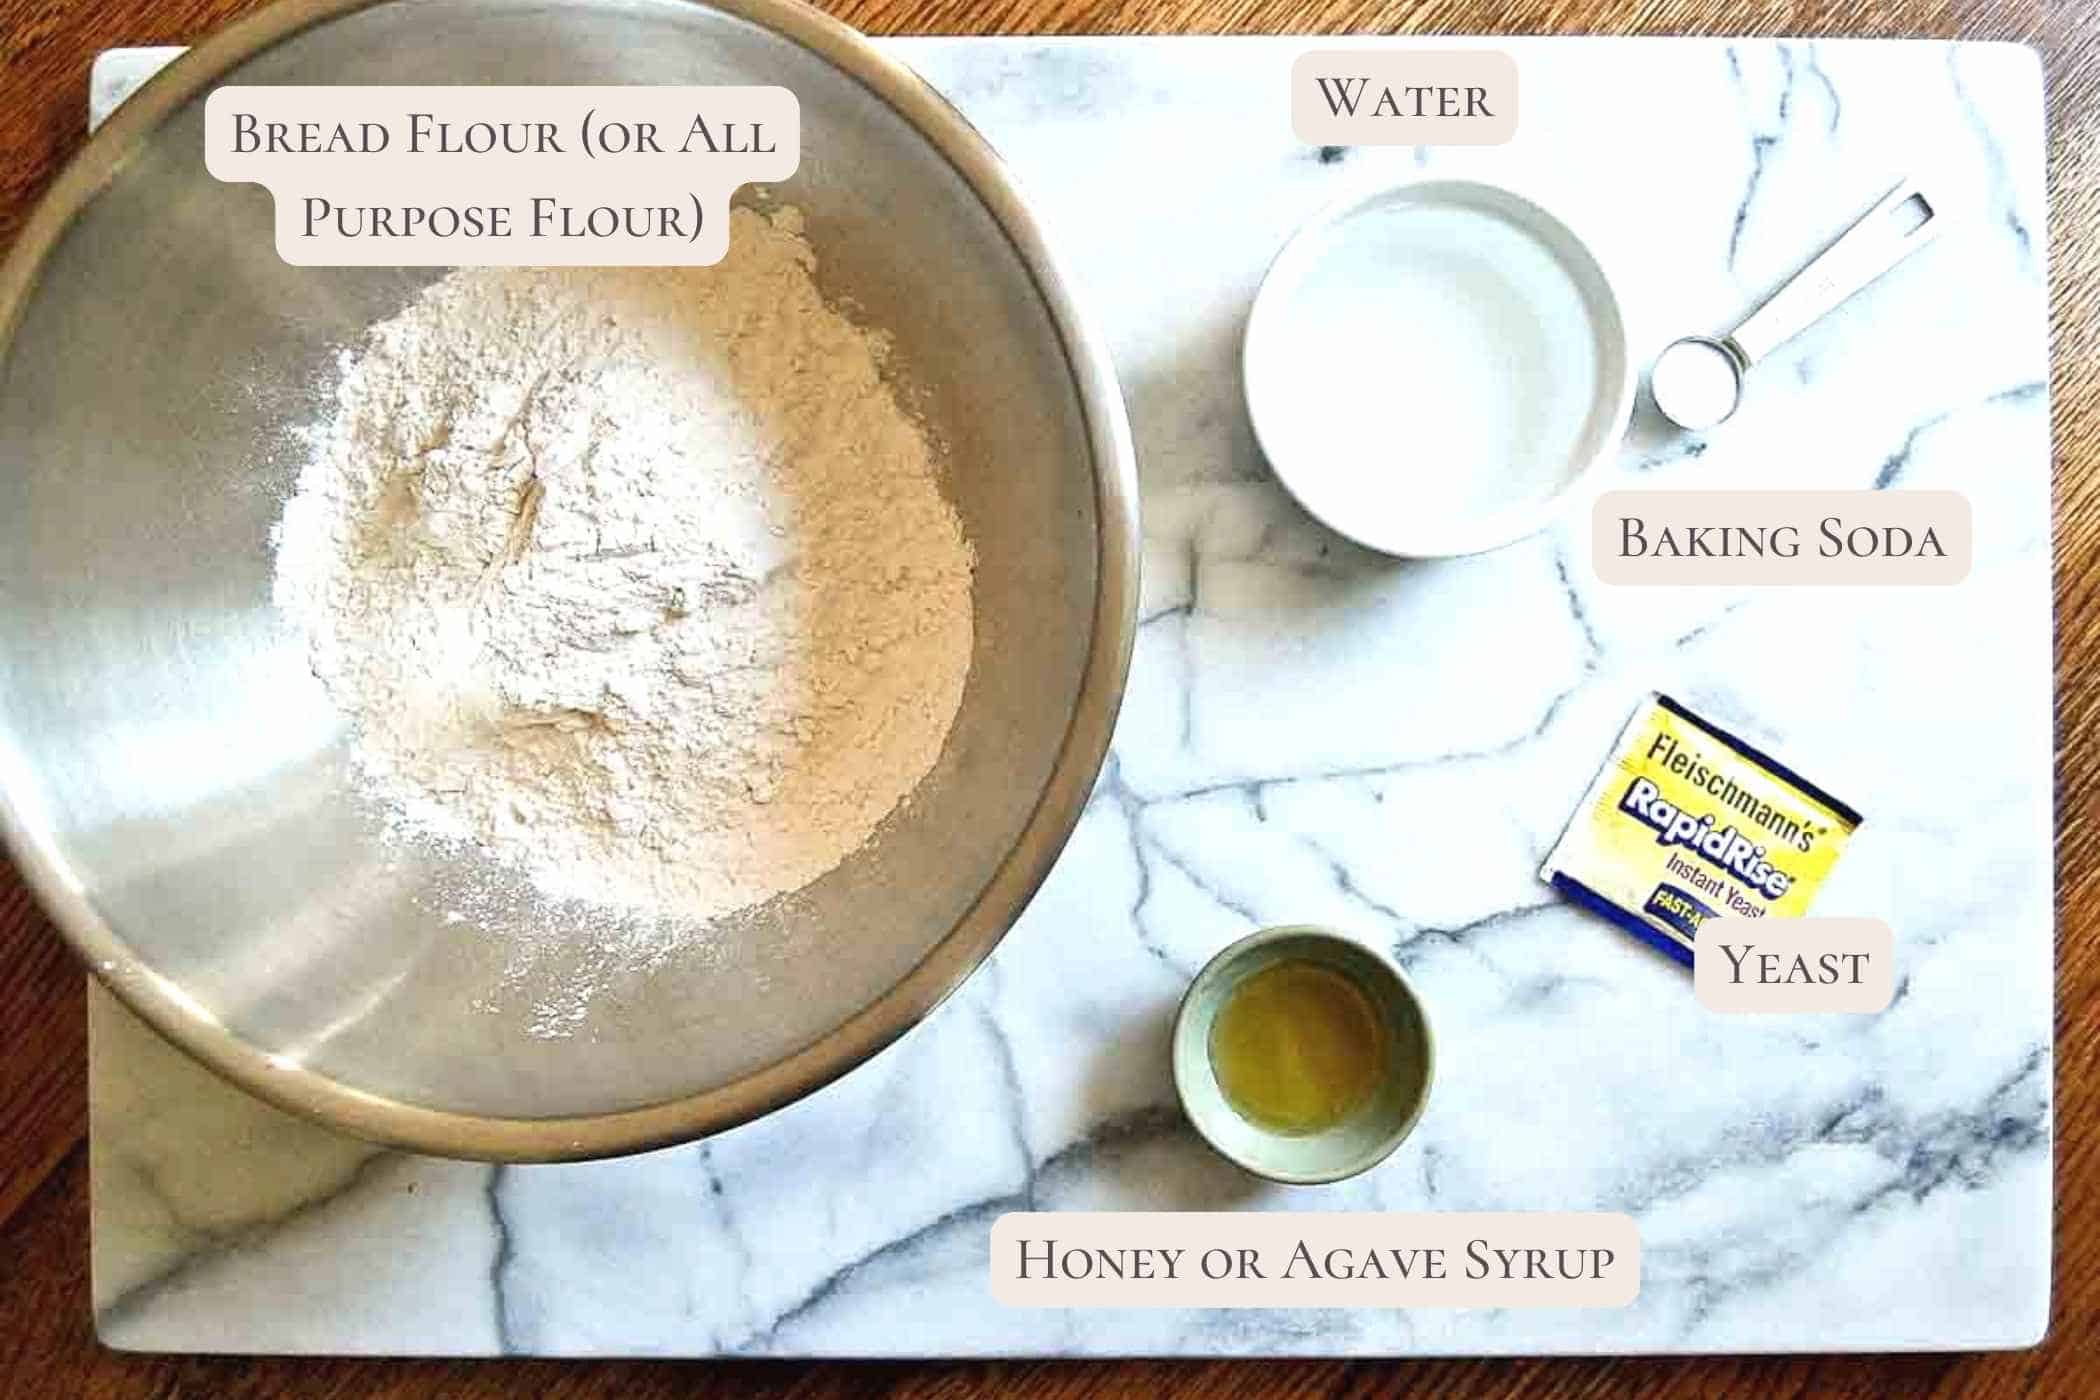
- Bread flour. Using bread flour creates a chewier, crispier bagel due to it’s high protein content. But using all-purpose flour will still create an amazing salt bagel.
- Kosher salt. Don’t be confused with the salt needed on the exterior and the salt used for the interior of the salt bagel. Most bagels use a bit of kosher salt for flavor in the dough of their bagels. Since we’re making salt bagels here, I decreased the amount of salt normally used in making a traditional bagel just a bit.
- Instant yeast. This is what will help your bagel dough rise
- Honey. This helps to add just a touch of sweetness to the bagel.
- Warm water. To create the dough.
- Baking soda. You’ll use this when you boil the bagels. Baking soda makes the water more alkaline and, similar to when you boil pretzels, helps to give them that nice chewy crust.
- Coarse Sea Salt. You’ll want to use coarse sea salt for the topping - do NOT use table salt here as it will be entirely too salty and won’t give the bagels that crunchy topping we’re after.
How to make salt bagels
There are a few steps to making these salt bagels, but they’re not difficult, I promise! Below are a few of the key steps/considerations you’ll need to prepare for, but you can find the full instructions in the recipe card below!
Timing
This is a recipe you’ll need to plan a bit for. There are a few steps that require some downtime in between:
- The rise: After you make the bagel dough, it will need to rise in the refrigerator for at least an hour. I like to make the dough in the afternoon, then come back later in the early evening to shape the bagels.
- Shaping/proofing overnight: The bagels need to be shaped, then proofed overnight so you will just need to plan to do this before going out in the evening, or before going to bed.
- Rest time: Allow to rest outside of the fridge 90 minutes prior to baking. Be sure to plan for this extra time prior to boiling/baking!
Shaping the bagels
This is pretty easy and can be done a couple of different ways.
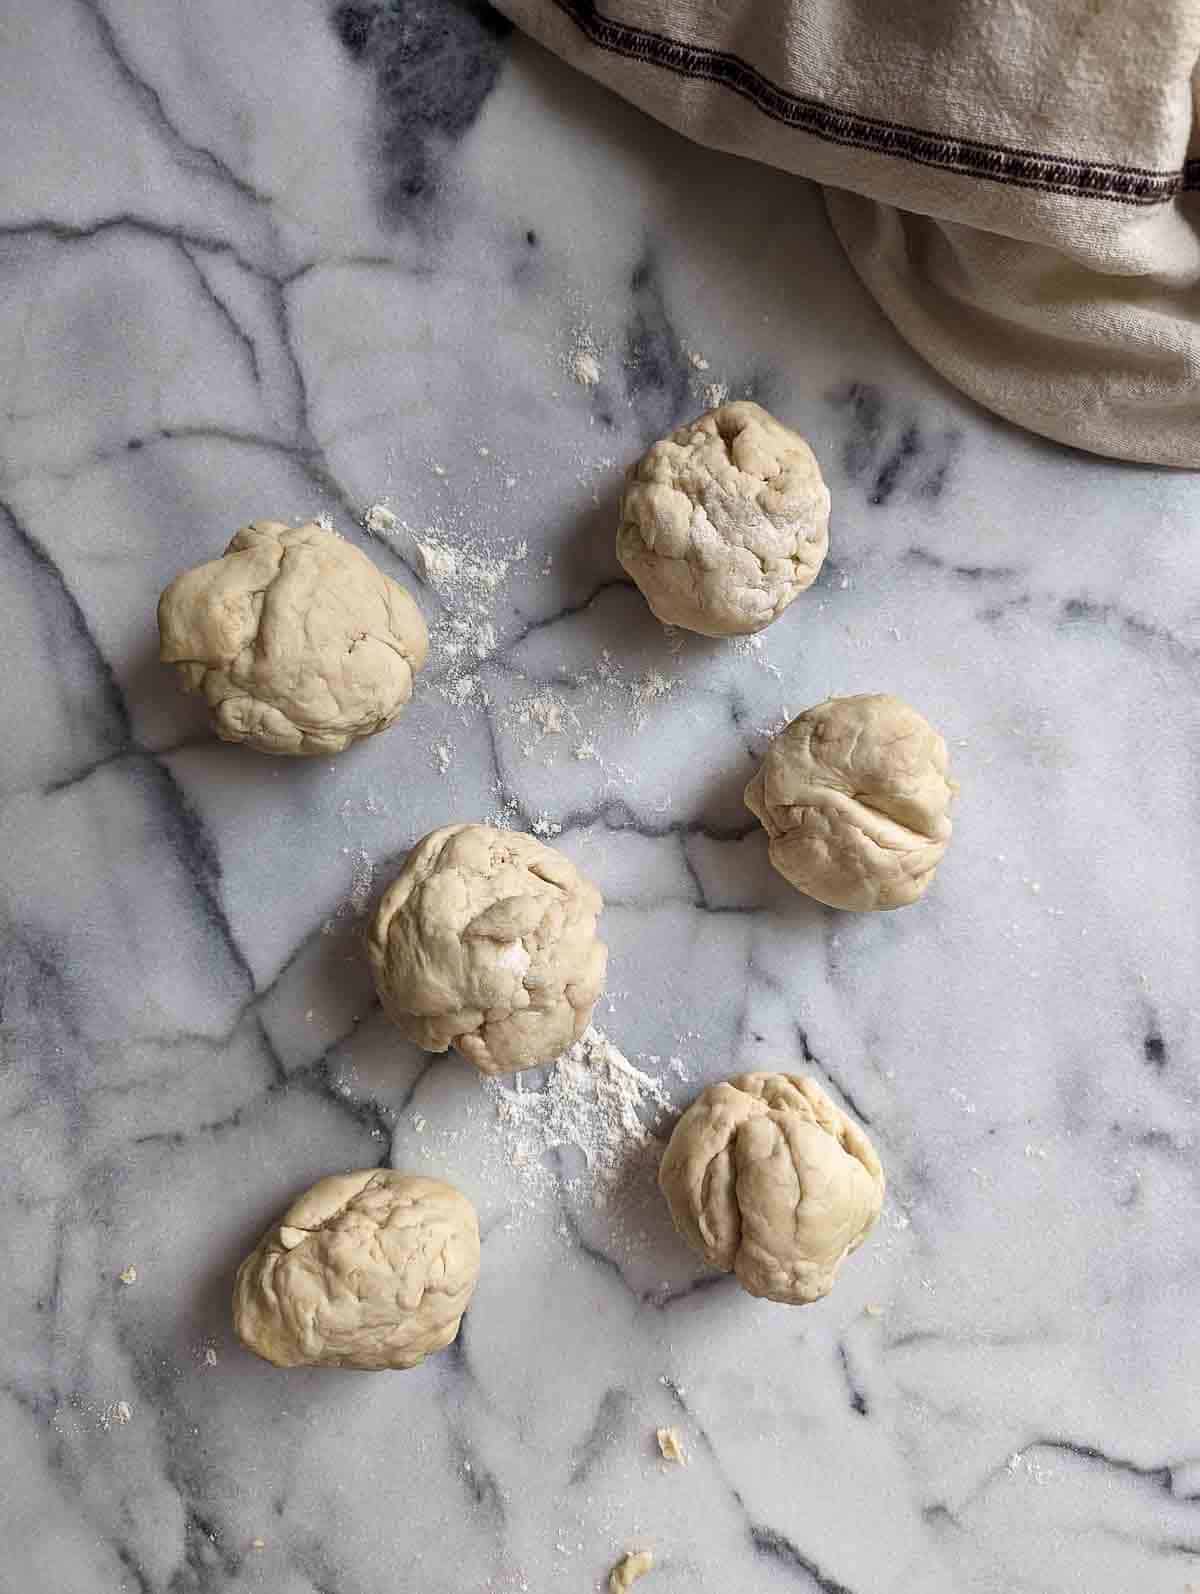
- You can divide the dough into 6-8 small balls, then roll the ball into a rope, then form it into a circle by pressing the ends together to form a seal.
- Alternatively, you can press your finger through the middle of the dough ball to form a ring. Either way works so go with the one you prefer. Just make sure to make all your bagels a similar size and thickness to ensure even baking.

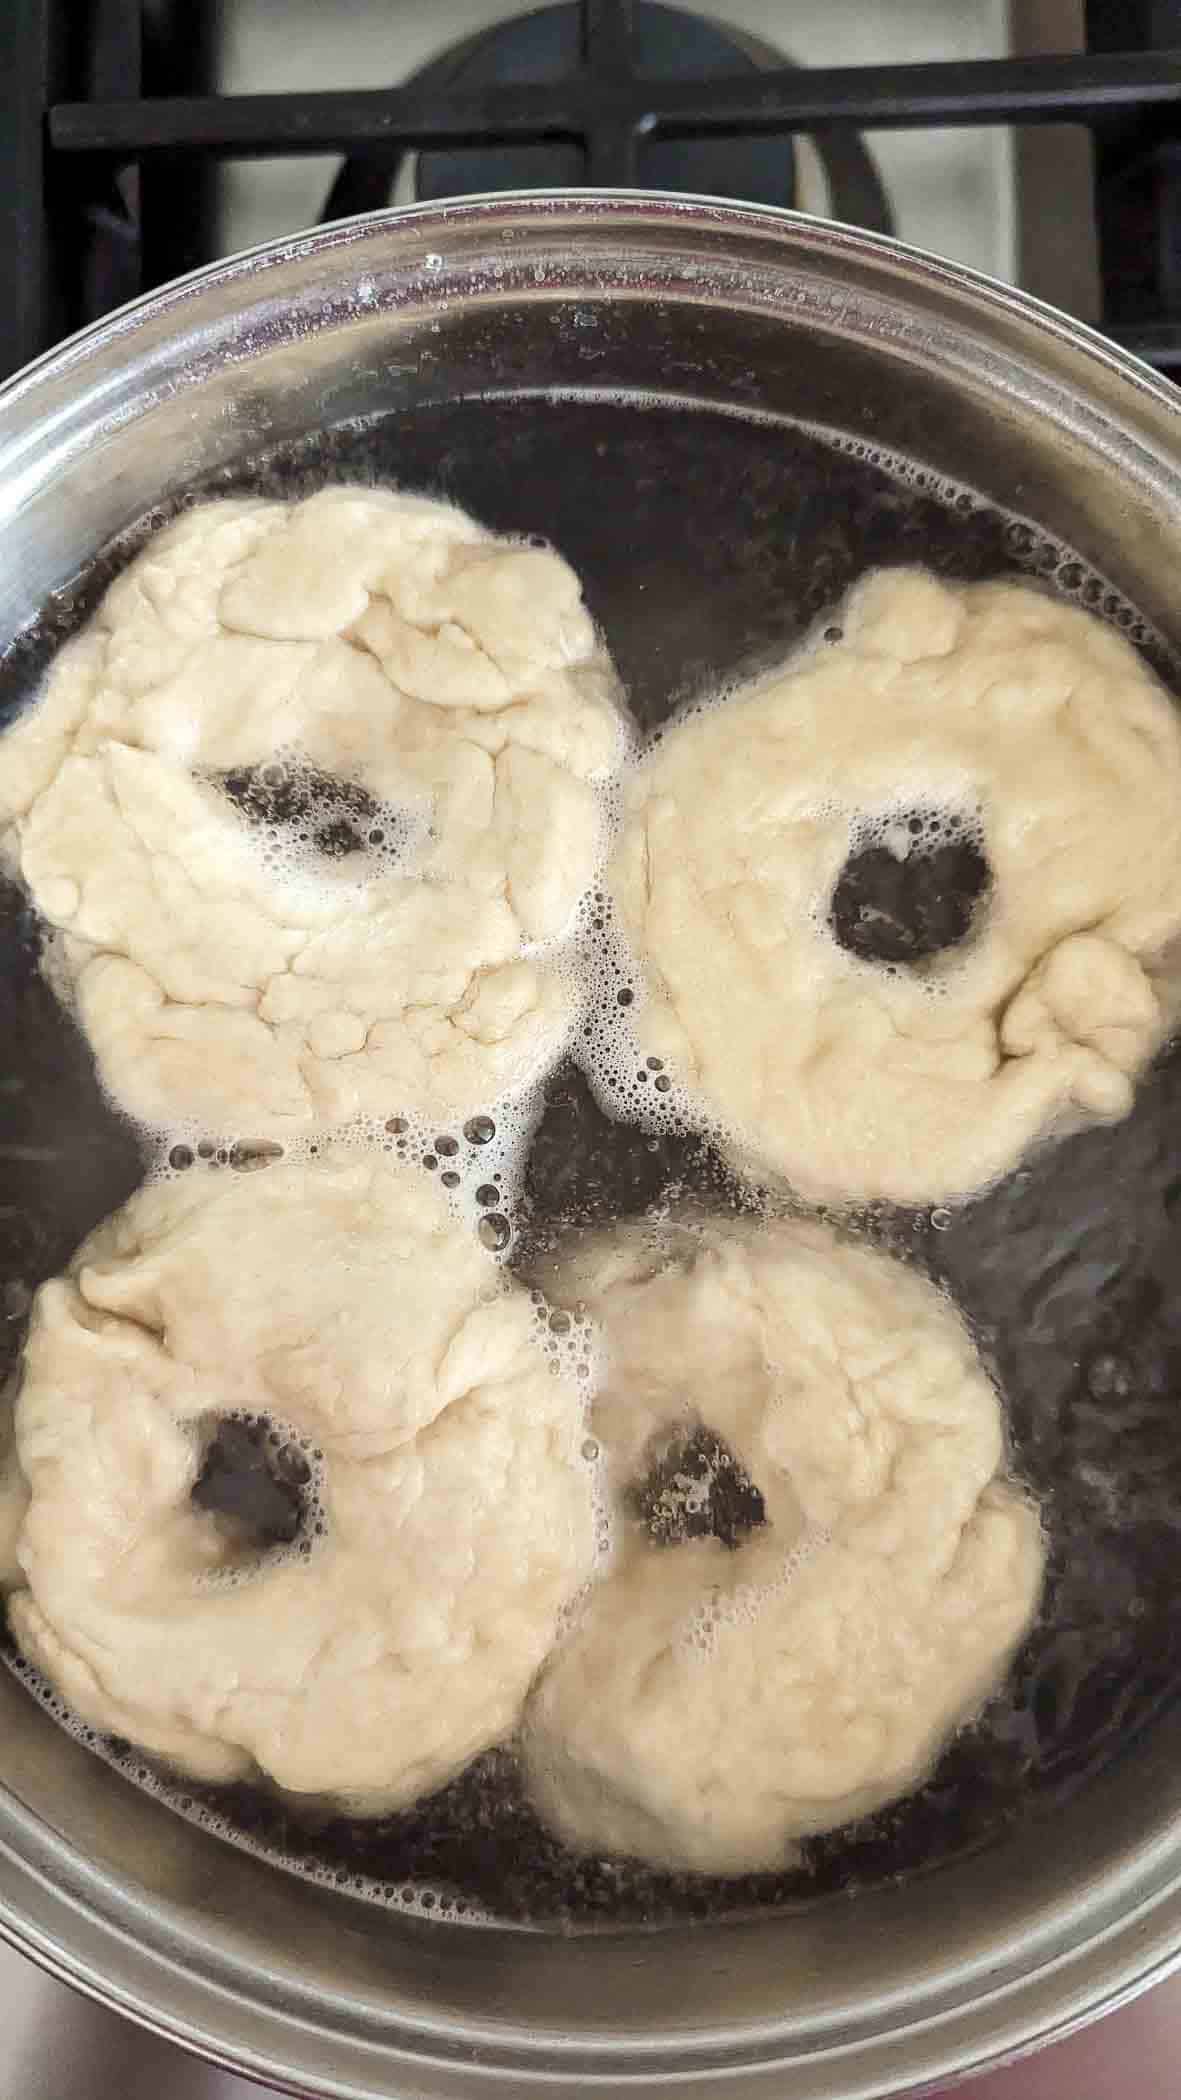
Boiling the bagels.
The reason you boil a bagel is to create a deliciously crunchy exterior. This is really just a quick poach in water with baking soda and a small amount of salt.
Baking
You’ll top your bagels with the coarse sea salt prior to baking them, then bake the bagels on a baking sheet, rotating the sheet about halfway through the baking process.
Cooling
This will feel like torture, but the salt bagels need to rest for 30 minutes after you take them out of the oven to ensure the inside is nice and chewy.

Tips For Success
- Weigh your salt. If you don’t want your bagel to be tooo salty, weigh it for consistent results. Different salt varieties will pack differently so it’s hard to measure the salt content by measuring tools alone.
- Make your bagels the same size. This helps them rise more evenly in the oven!
- Don't let them burn! When rotating the salt bagels, check the underside to make sure the bottom isn’t getting too dark. If it looks like it’s headed that way, place another baking sheet under the original one to cool down the browning on the underside.

Frequently Asked Questions
Bagels are best enjoyed fresh so plan on eating these right away! If you do find yourself with leftovers, it’s best to store these in a paper bag for a day or two or to freeze them in a plastic ziplock to keep them fresh for a longer period of time. Do not store salt bagels (or any bagel with a seeded topping) in a plastic bag if you’re not freezing them since they’ll tend to go soggy. You should also never store bagels in the refrigerator since they will dry out and harden quickly.
For the bagel base, you only need to use a small amount of kosher salt. I actually reduce the salt used in the bagle since we’re adding so much to the top. For a plain bagel, or if you’re using a topping that’s not salty, you’d likely want to add another teaspoon of salt to the bagel base.
However, for the salt topping, you want to use a thick, coarse sea salt. Do not use table salt for the topping.
Many recipes call for an egg wash to help your toppings stick and give the bagels that nice waxy brown finish. However, this isn’t necessary if you are boiling the bagels. Boiling the bagels helps to create that starchy seal on the outside and when you sprinkle the toppings on while the bagel is still wet, they’ll have no problem sticking to the bagel.
In all honesty, no. All-purpose flour will work just fine for bagels. However, if it’s a crusty, chewy bagel you’re after, bread flour is the way to go. The reason is that bread flour has a higher protein content. However, if you all you have on hand is all-purpose flour, don’t sweat it. These will still taste amazing.
Allow the salt bagels to come to room temperature and freeze them in an airtight plastic bag. Salt bagels can be stored in the freezer for 3-6 months.
How to eat a salt bagel
It may seem like you’d know how to eat a salt bagel - after all, it’s just a regular bagel, right? Except that it is, well, pretty salty. For this reason, this bagel is likely not one you’re going to want to enjoy with only a slab of butter.
I love salt bagels but find that I definitely need something to compliment the salt a bit. Think ample amounts of creamy spreads like cream cheese, hummus or avocado.
Choose a mild savory flavor - you want something that compliments the saltiness of the bagel but also doesn’t compete with it. Here are some ideas on how to enjoy a salt bagel:

Salt Bagel Toppings
- Cream cheese. The creamy cheese really tempers the saltiness of this bagel and creates the perfect combination of creamy, salty doughy goodness. You can experiment with different cream cheese flavors, but I find that plain, or savory cream cheese flavors, like garden vegetable, salmon, garlic, dill or chive cream cheese work best to compliment the saltiness of the bagel.
- Deli meat. There’s nothing quite like a perfectly cooked bagel piled high with cool turkey, a slice of cheddar or Swiss, and a thinly sliced tomato. Salt bagels are actually the perfect bagels for sandwiches since they pair so well with the meat and cheese.
- Veggies. Not a meat lover? You can keep things vegetarian by slathering the bagel with some cream cheese, then adding your choice of veggies. I love putting cucumbers, tomato, thinly sliced red onion and a handful of sprouts on top of these salt bagels.
- Hummus. Another great savory spread that goes well with a salt bagel.
- Avocado. A huge dollop of creamy smashed avocado is delicious on a salt bagel, and one of my favorite breakfasts! Top it with a sliced tomato and a fried egg and I could probably eat it for every meal.

If you try these delicious Salt Bagels, let me know what you think in the comments below. And don't forget to tag me @frontrangefed on Instagram so I can see your masterpiece!
Other delicious breakfast recipes
- Breakfast Charcuterie Board
- Sheet Pan Pancakes From Mix
- Quiche Florentine
- Zucchini Chocolate Chip Muffins
- Breakfast Flatbread With Eggs
- Easy Baked Blueberry Cake Donuts With Lemon Glaze
- Egg Muffin Cups
Recipe

Best Homemade Salt Bagels
Ingredients
For the bagel dough
- 3 ½ cups bread flour (or all purpose flour)
- 1 tsp salt
- ¾ tsp instant yeast
- 1 tablespoon honey or agave syrup
- 1 cup + 2 tablespoon water
For Boiling
- 1 teaspoon salt
- 1 teaspoon baking soda
- coarse sea salt
Instructions
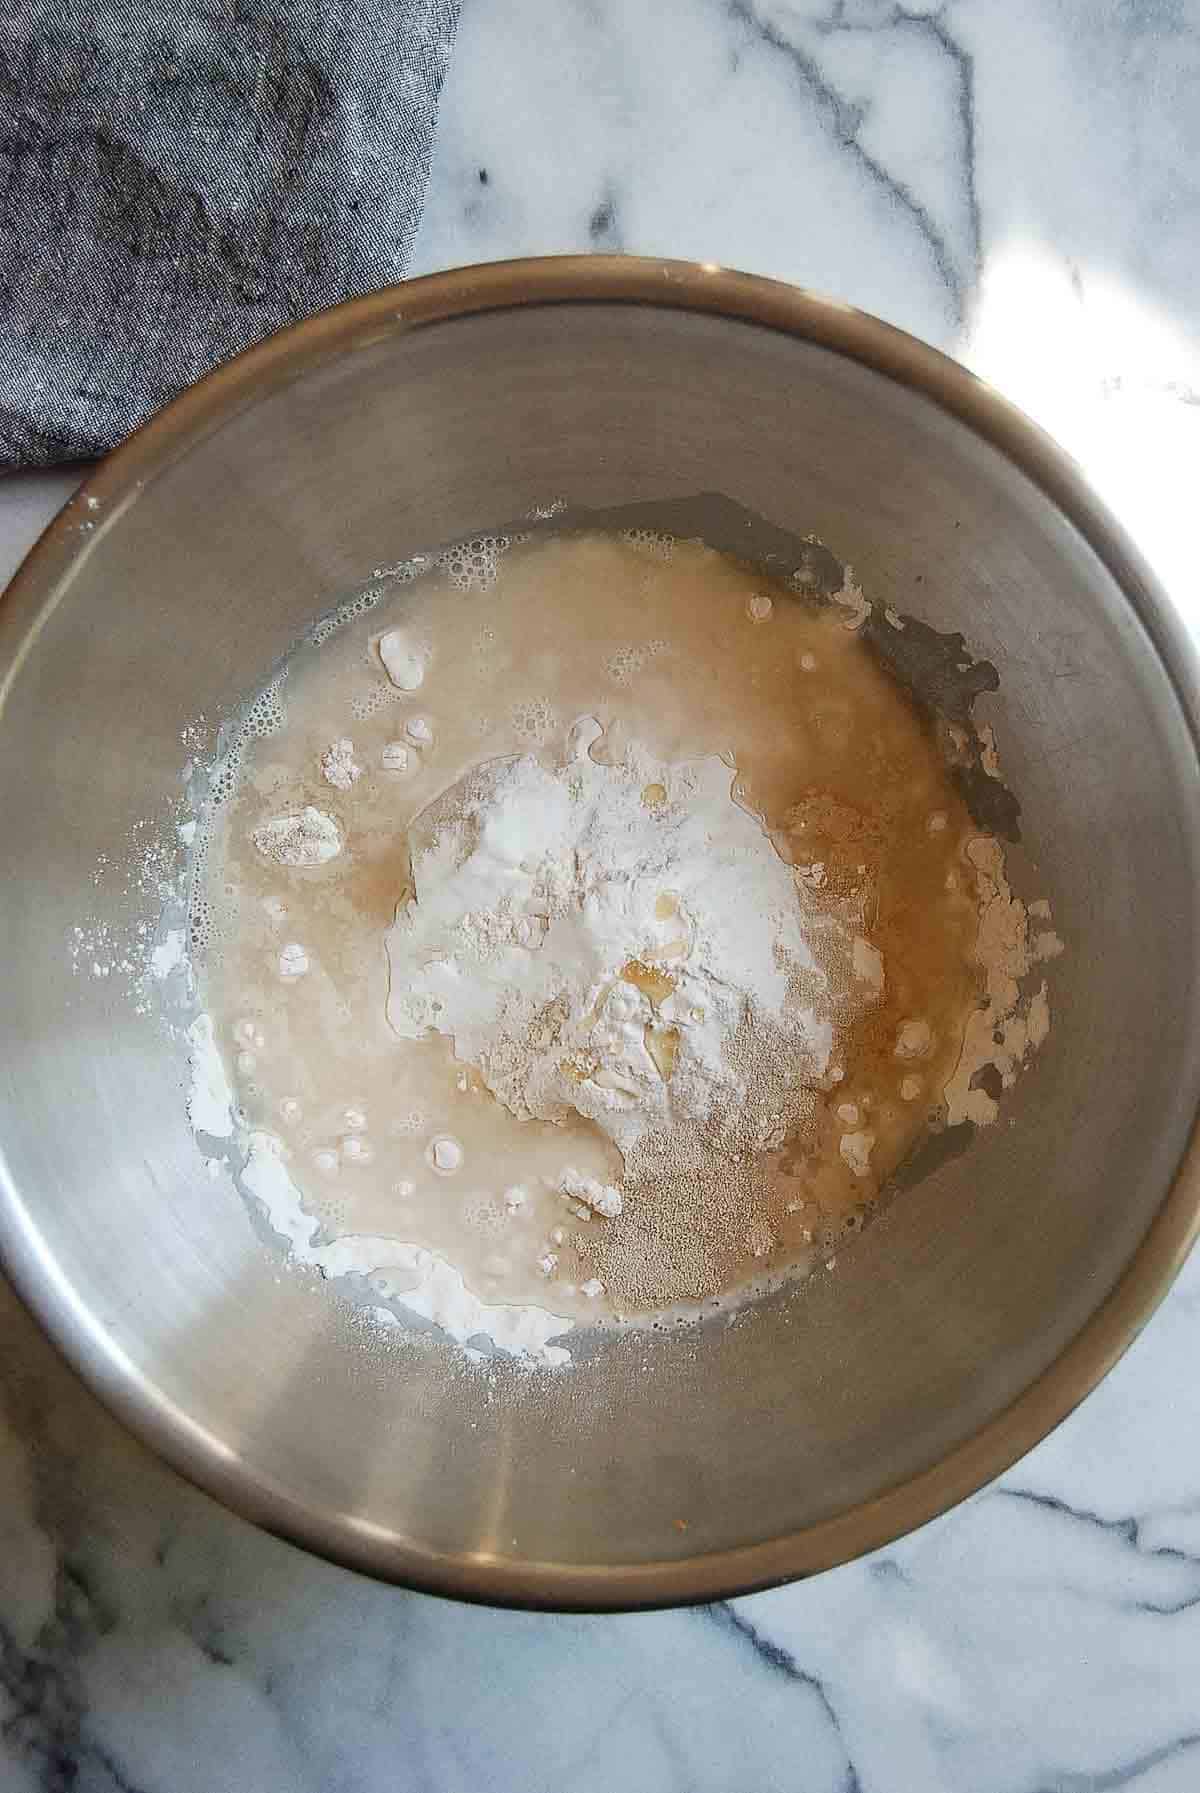
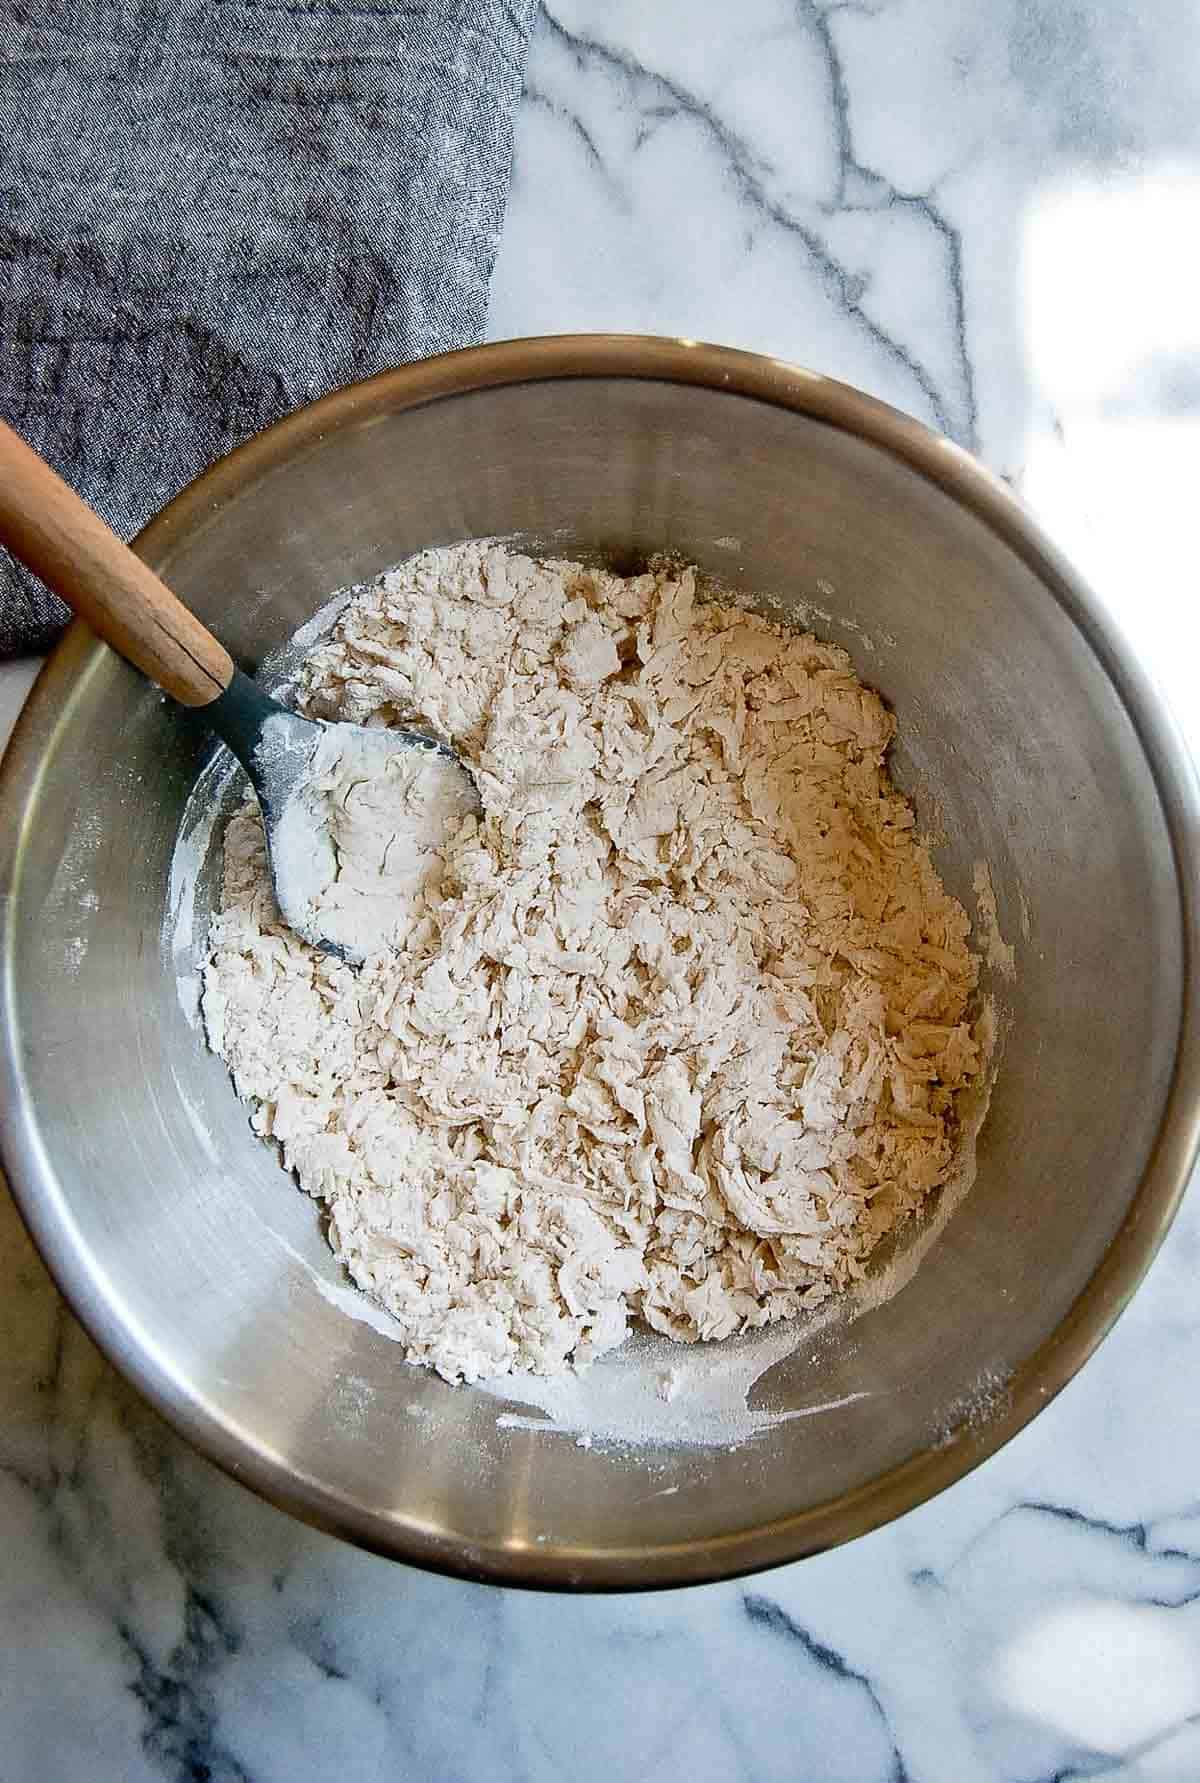
- In the bowl of a large mixer, add the flour, 1 teaspoon of salt, yeast, honey, and water. Using a paddle attachment, mix the ingredients until they form a shaggy, stiff dough ball. Allow the dough to rest for 5 minutes.
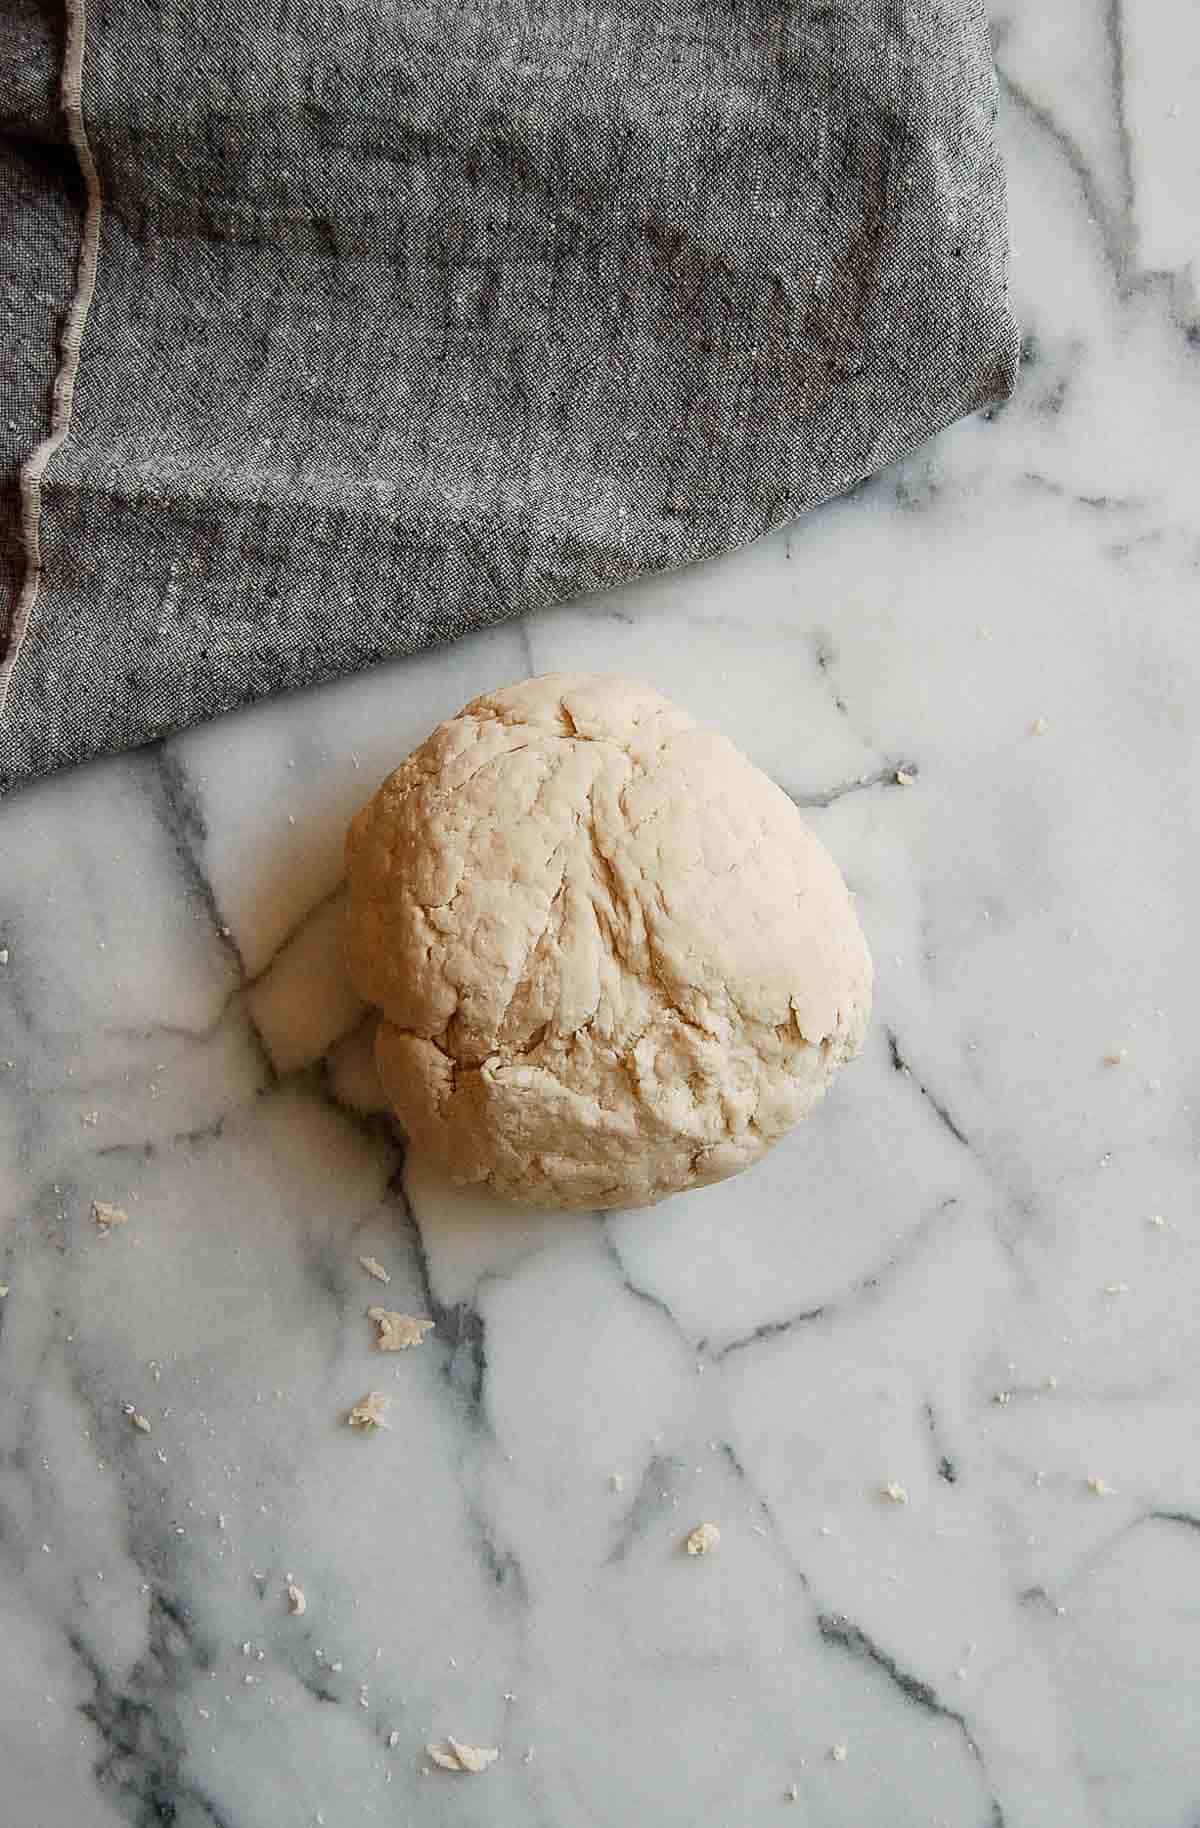
- Swap your paddle attachment for a dough hook and mix on low speed for two minutes, until the dough is very smooth, but stiff and just slightly tacky. (If the dough is too tacky, just add a small sprinkling of flour and resume kneading. But try to keep the excess flour to a minimum for best results.)
- Place the dough into a lightly oiled bowl, seam side, cover it with a damp towel, and allow the dough to rise to double its size, about 2.5 - 3 hours. (Alternatively, you can cover the bowl with plastic wrap, and refrigerate it for at least one hour, or for however long you want until you’re ready to make your individual dough balls.
- Once your dough has risen, it’s time to shape them. (If you’re proofing the bagels overnight, note that this step should be done before you go to bed!) Line a baking sheet with a slipmat or a lightly oiled sheet of parchment paper. Remove the dough from the bowl and divide it into 8 equal pieces.
- Create individual dough balls by rolling each piece of dough along a clean work surface with your hand. Avoid using flour here as you want the dough to grip the surface, making it easier to form a tight ball.
- Once you’ve formed your dough balls, you have two options for shaping them. Option 1: begin rolling each one out into a long rope, about 8 inches long. (Rolling the dough into ropes will require a bit of muscle, but it’s worth it in the end!) Using your fingers, roll the ends of the rope slightly thinner than the middle.Place one end of the dough rope between your thumb and your forefinger, and wrap the rest of the dough rope around your hand, overlapping the two ends. Squeeze the ends together slightly, then roll the edge on the counter to create a well-sealed dough ring. Repeat with all 8 pieces.Option 2: press your thumb into the center of the dough ball and slowly rotate to form a small center circle. Personally, I find this option to be much easier.
- Place all the bagels onto the prepared baking tray, brush with a neutral oil, and cover with plastic wrap before placing the baking sheet into the refrigerator overnight.
- Remove the bagels from the refrigerator 90 minutes prior to when you want to bake them.
- 30 minutes prior to baking, heat the oven to 500 degrees.
- Fill a large pot with water (the water should be about 4 inches deep), cover it with a lid, and bring to a boil. Add a teaspoon of salt to the water and 1 teaspoon of baking soda, then reduce the heat with the lid on.
- Use the float test to make sure your bagels are ready to boil. Place one into a cold bowl of water. If it sinks, and doesn’t float, place it back on the baking sheet, wait 15 minutes, and try again. Once the bagel floats to the surface, they’re ready to be boiled.
- Gently place each bagel into the simmering water, being careful not to crowd the pot. (You can do this in batches if they don’t all fit at once.) Using a slotted spoon, flip each bagel over after 1 minute. Boil for an additional 30 seconds, then remove each bagel and return it to the lined baking sheet.
- Generously sprinkle each bagel with coarse sea salt.
- Place the baking sheet in the oven and reduce the heat to 450 degrees. Bake the salt bagels for 8 minutes, then rotate the sheet in the oven. Bake until the salt bagels are golden brown, an additional 8-12 minutes.
- Remove the salt bagels from the oven and transfer them to a cooling rack. Allow to rest for 30 minutes prior to serving.
Notes
- You can make the bagel rings by rolling the dough into a strand then wrapping it around your hand and forming a seal. Alternatively, you may make the dough ball, then punch your finger through the middle to make a ring.
- Use the float test to make sure the bagels are ready for boiling. Place a bagel ring into a bowl of cold water. If it floats, they're ready to boil. If not, wait 15 minutes and try again.
- You can make these bagels after creating the bagel rings, or, if it's more convenient you can refrigerate the bagel rings overnight, then bake them in the morning.
- If baking in the morning, be sure to remove the dough rings from the refrigerator 90 minutes before baking them.



Comments
No Comments