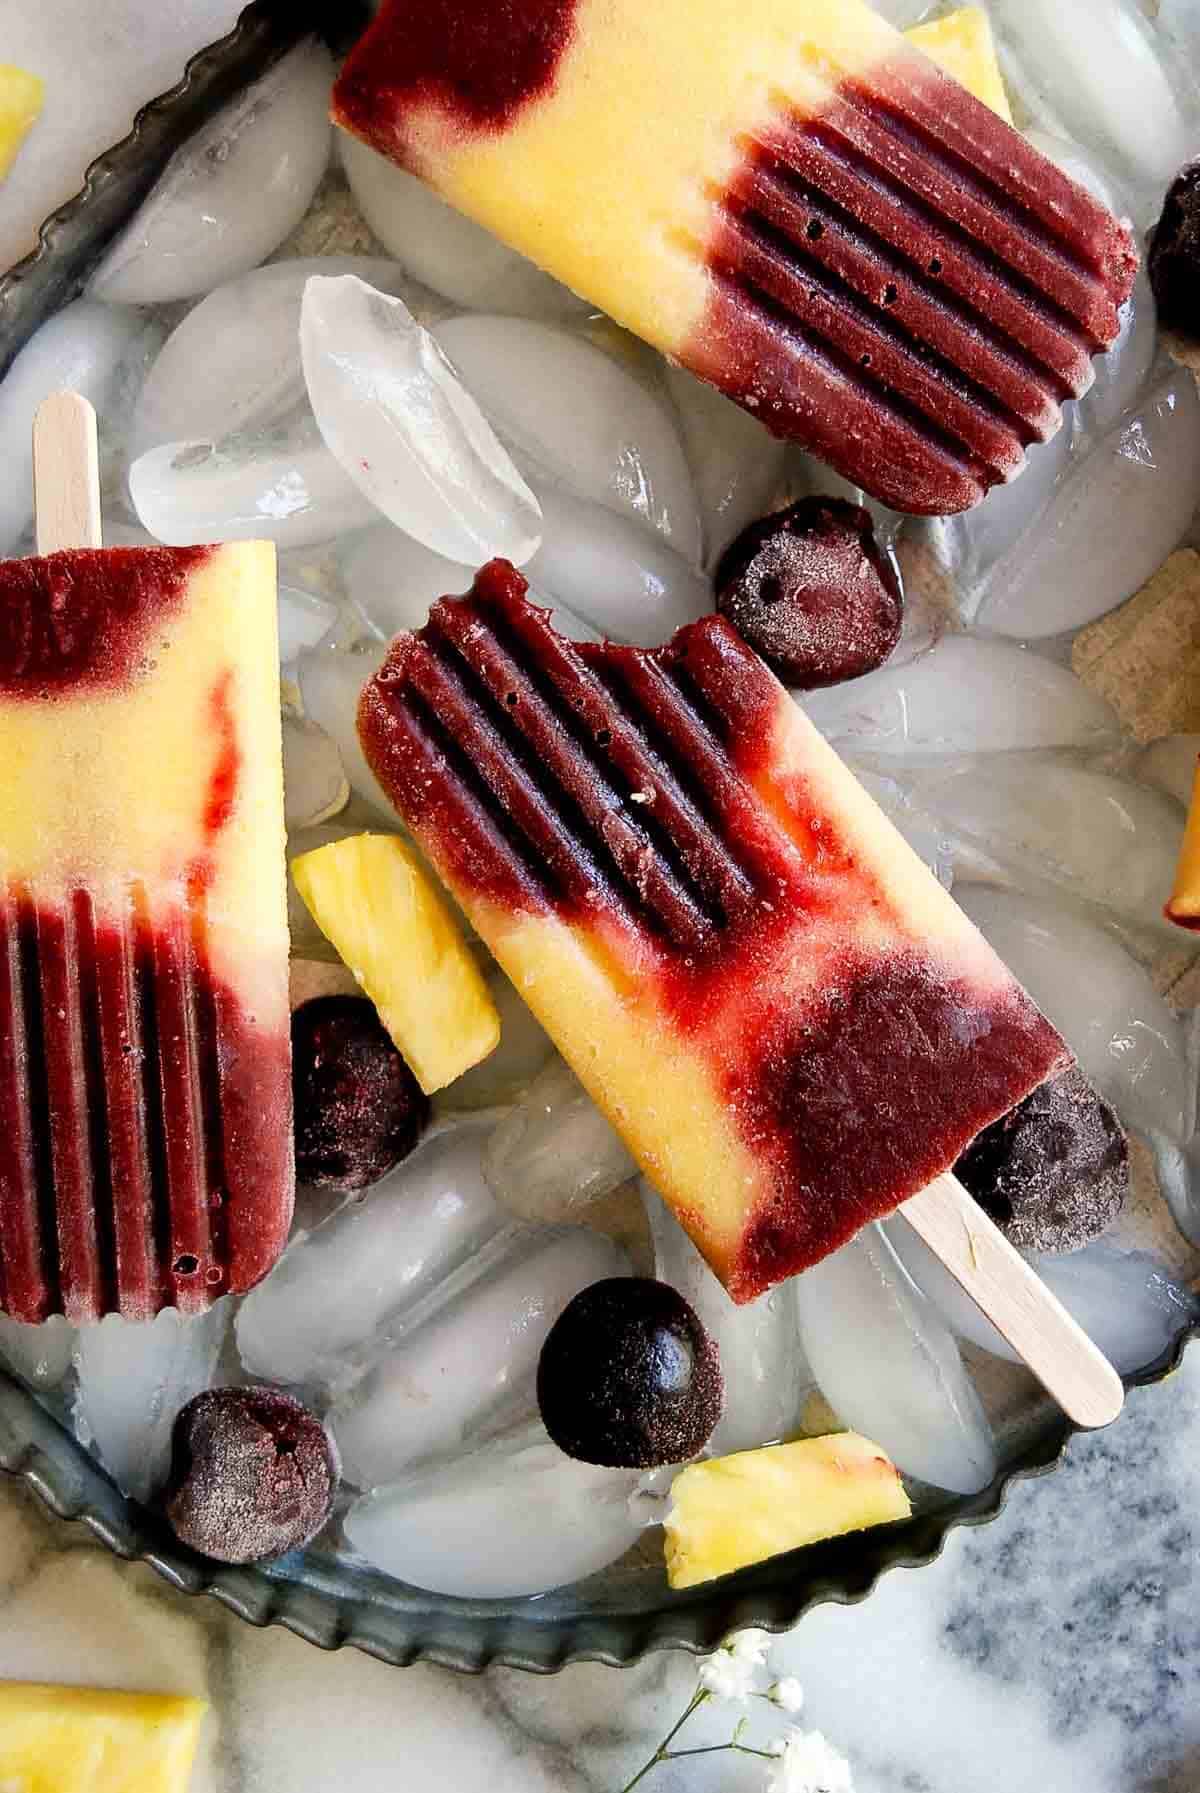
Easy, Homemade Cherry Pineapple Popsicles are the perfect healthy treat for summer! Made with just 4 ingredients, these homemade fruit popsicles made with pineapple and frozen cherries are a low-sugar treat everyone will love!
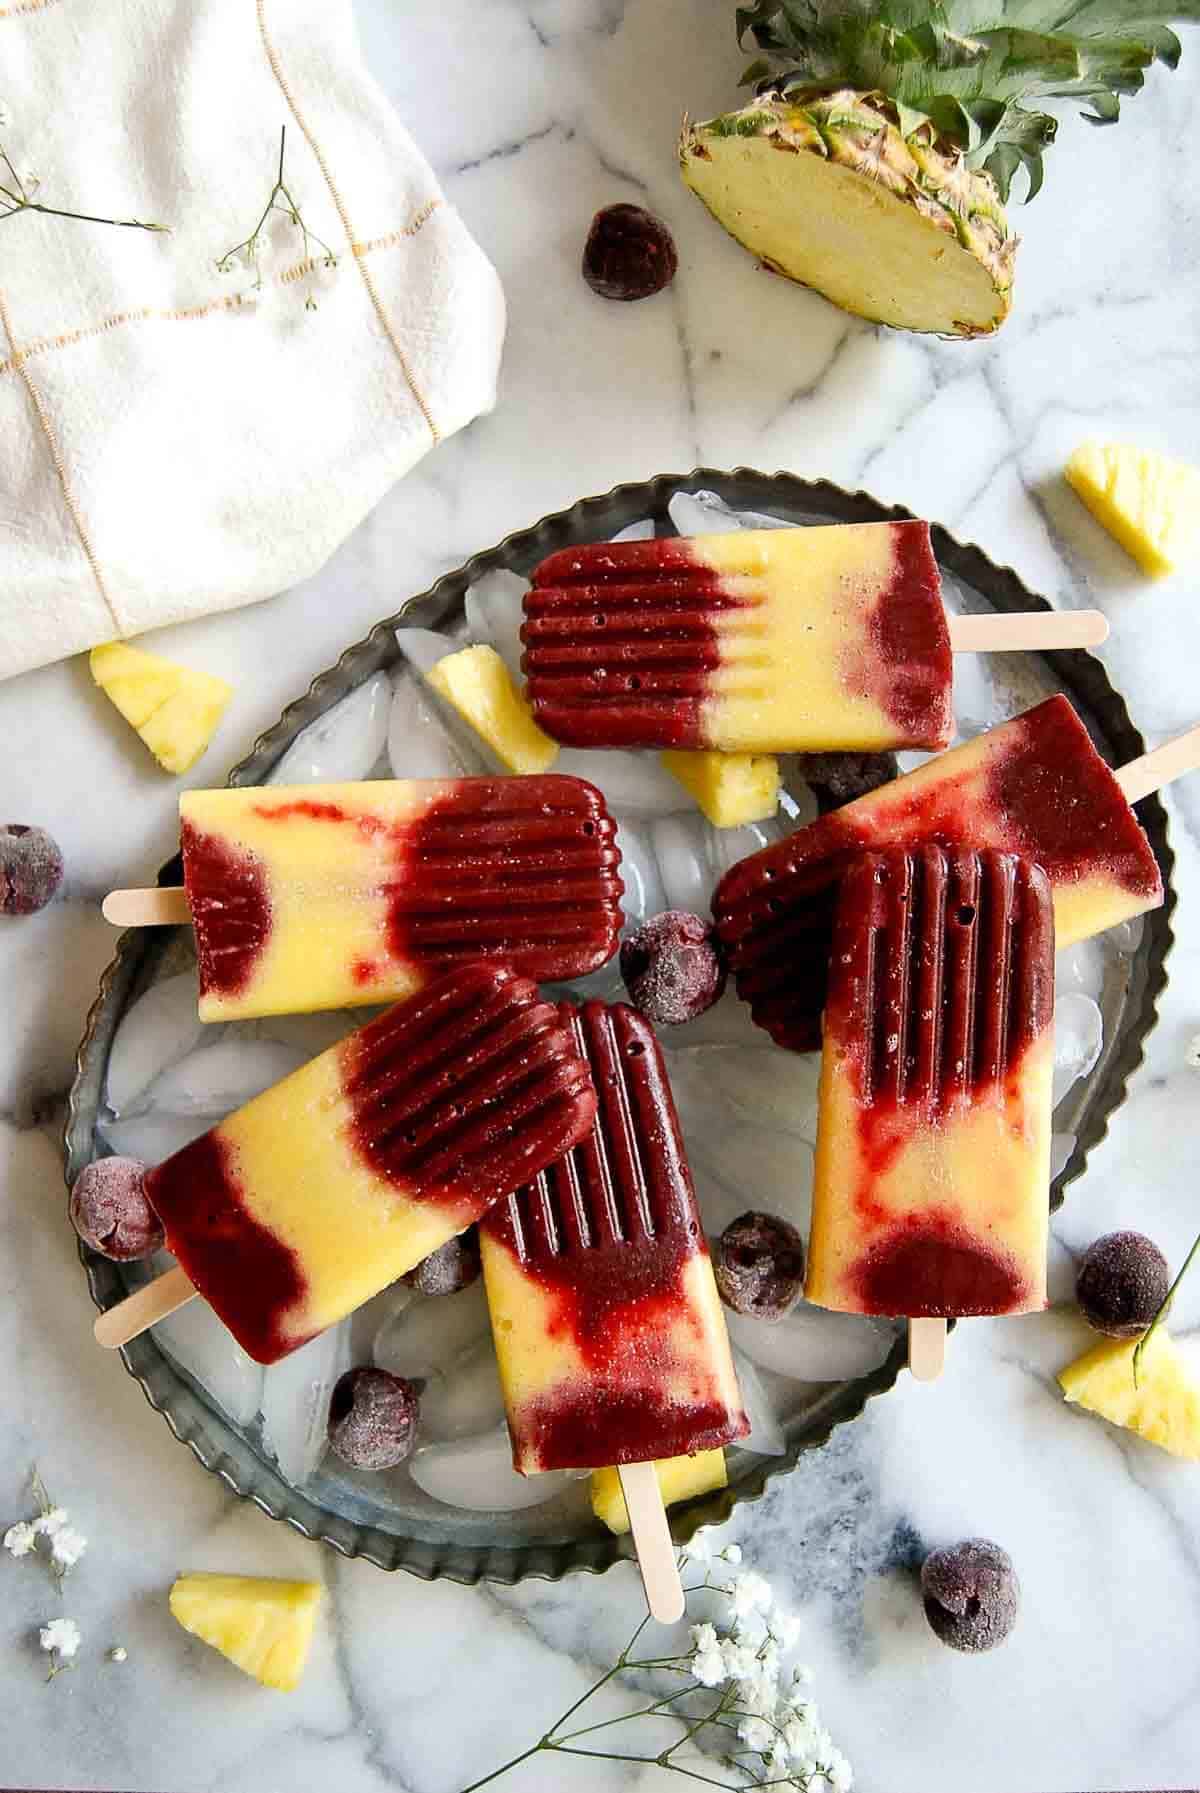
It’s finally summer! My kids just got out of school and I think we’re all ready to jump into this season with both feet! These homemade cherry pineapple popsicles are the perfect way to celebrate summer and are so much healthier than the red and yellow popsicles you find in your grocer’s freezer. We love these since they’re easy to make, low-sugar, and DELICIOUS! Also, they’re a perfect snack when you come home from the pool and are looking for something light and refreshing.
Why this recipe works
- You can make these with fresh or frozen fruit! I used a combination since that’s what was available at the store, but you can swap out fresh or frozen cherries and pineapples, depending on what’s in season and when you make these. This is great since it means you can make them any time of year!
- Only 4 ingredients! These are super simple to make and you only need 4 ingredients for these pineapple cherry popsicles. The hardest part is waiting for them to freeze!
- Healthy and good for you. I don’t know about you, but my kids are always begging me to buy popsicles at the store. And while there are some healthy options, many varieties include not-so-great-for-you ingredients, like high fructose corn syrup, dye, and other unhealthy sweeteners. I love these since I know they’re mostly fruit, and are a low-sugar treat that I don’t feel bad about giving to my kids.
- They’re FUN! Popsicles are the essence of summer and these cherry pineapple popsicles are so beautiful to look at, not to mention delicious to eat.
Ingredients
There are only 4 simple ingredients in this easy frozen ice pop recipe.
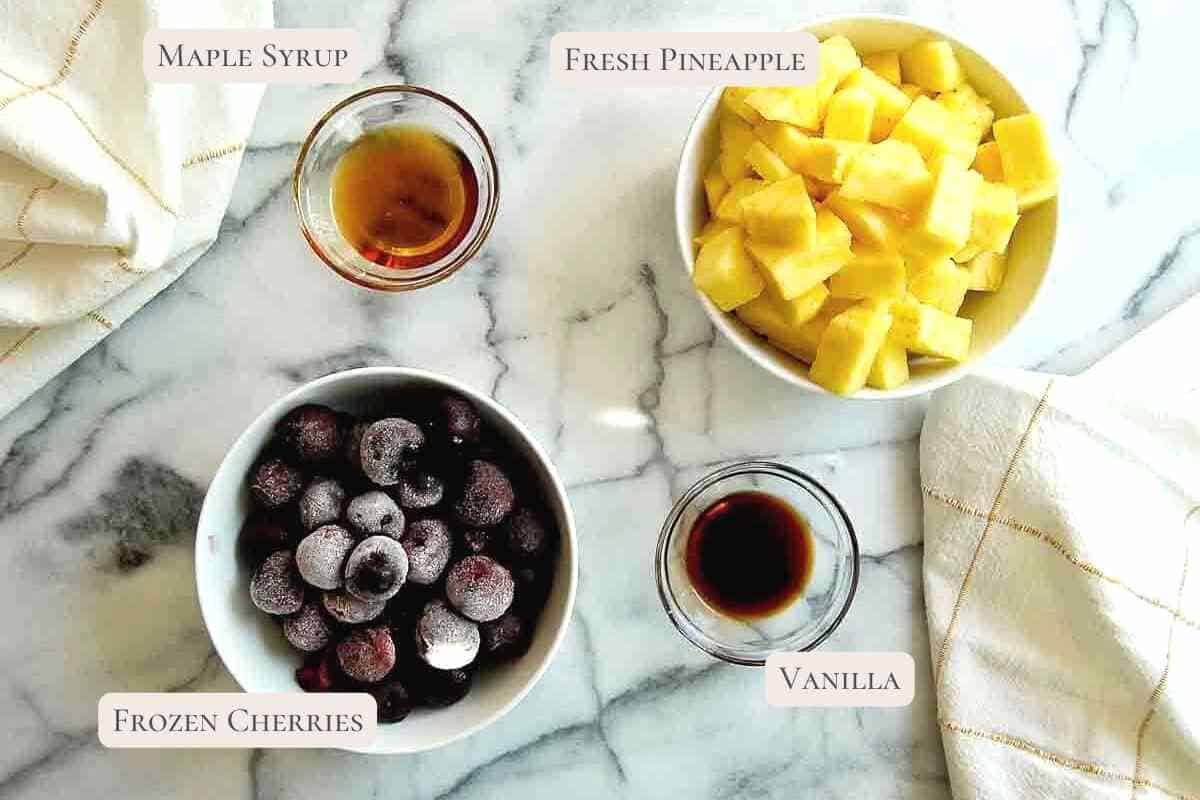
- Pineapple. I used fresh pineapple here which worked great. It’s very fibrous so when you blend it with the maple syrup and makes for a nice, thick texture.
- Frozen cherries. I used frozen cherries here since it meant I didn’t have to pit them, and they were easy to find in my grocery store. But, you could use fresh cherries too if you have the patience to pit them and they’re in season.
- Maple syrup. The maple syrup adds just a touch of extra sweetness to these cherry pineapple popsicles. I love it since it’s a natural sweetener and it’s great if you need these to be vegan!
- Vanilla extract. Gives these cherry popsicles a light, floral caramel hint to them that pairs really well with the cherry and pineapple flavors.
Substitutions
- Pineapple. I love using fresh pineapple here as it creates a super creamy texture. Frozen pineapple would also work great. Some recipes use canned pineapple, which can turn make the texture of the pineapple portion of the pops turn out a bit thin. However, if canned pineapple is what you have, it’s fine to use it, just know that the texture will be a bit thinner when blended, and may end up making for a harder/icier popsicle.
- Cherries. I used frozen cherries here since I didn’t have fresh and they worked great, with the bonus that I didn’t have to wash and pit the cherries. But if fresh cherries are in season, those will work just as well. (Just be sure to get a cherry pitter to make pit removal a bit easier!)
- Sweeteners. If you don’t have maple syrup or don’t want to use it, you could use any number of sweeteners - honey, granulated sugar, or even a simple syrup would work well. Just note that the sugar levels might increase a bit. And, if you use honey, the popsicles obviously will no longer be vegan.
How To Make Homemade Cherry Pineapple Popsicles
These homemade fruit popsicles couldn’t be easier to make!
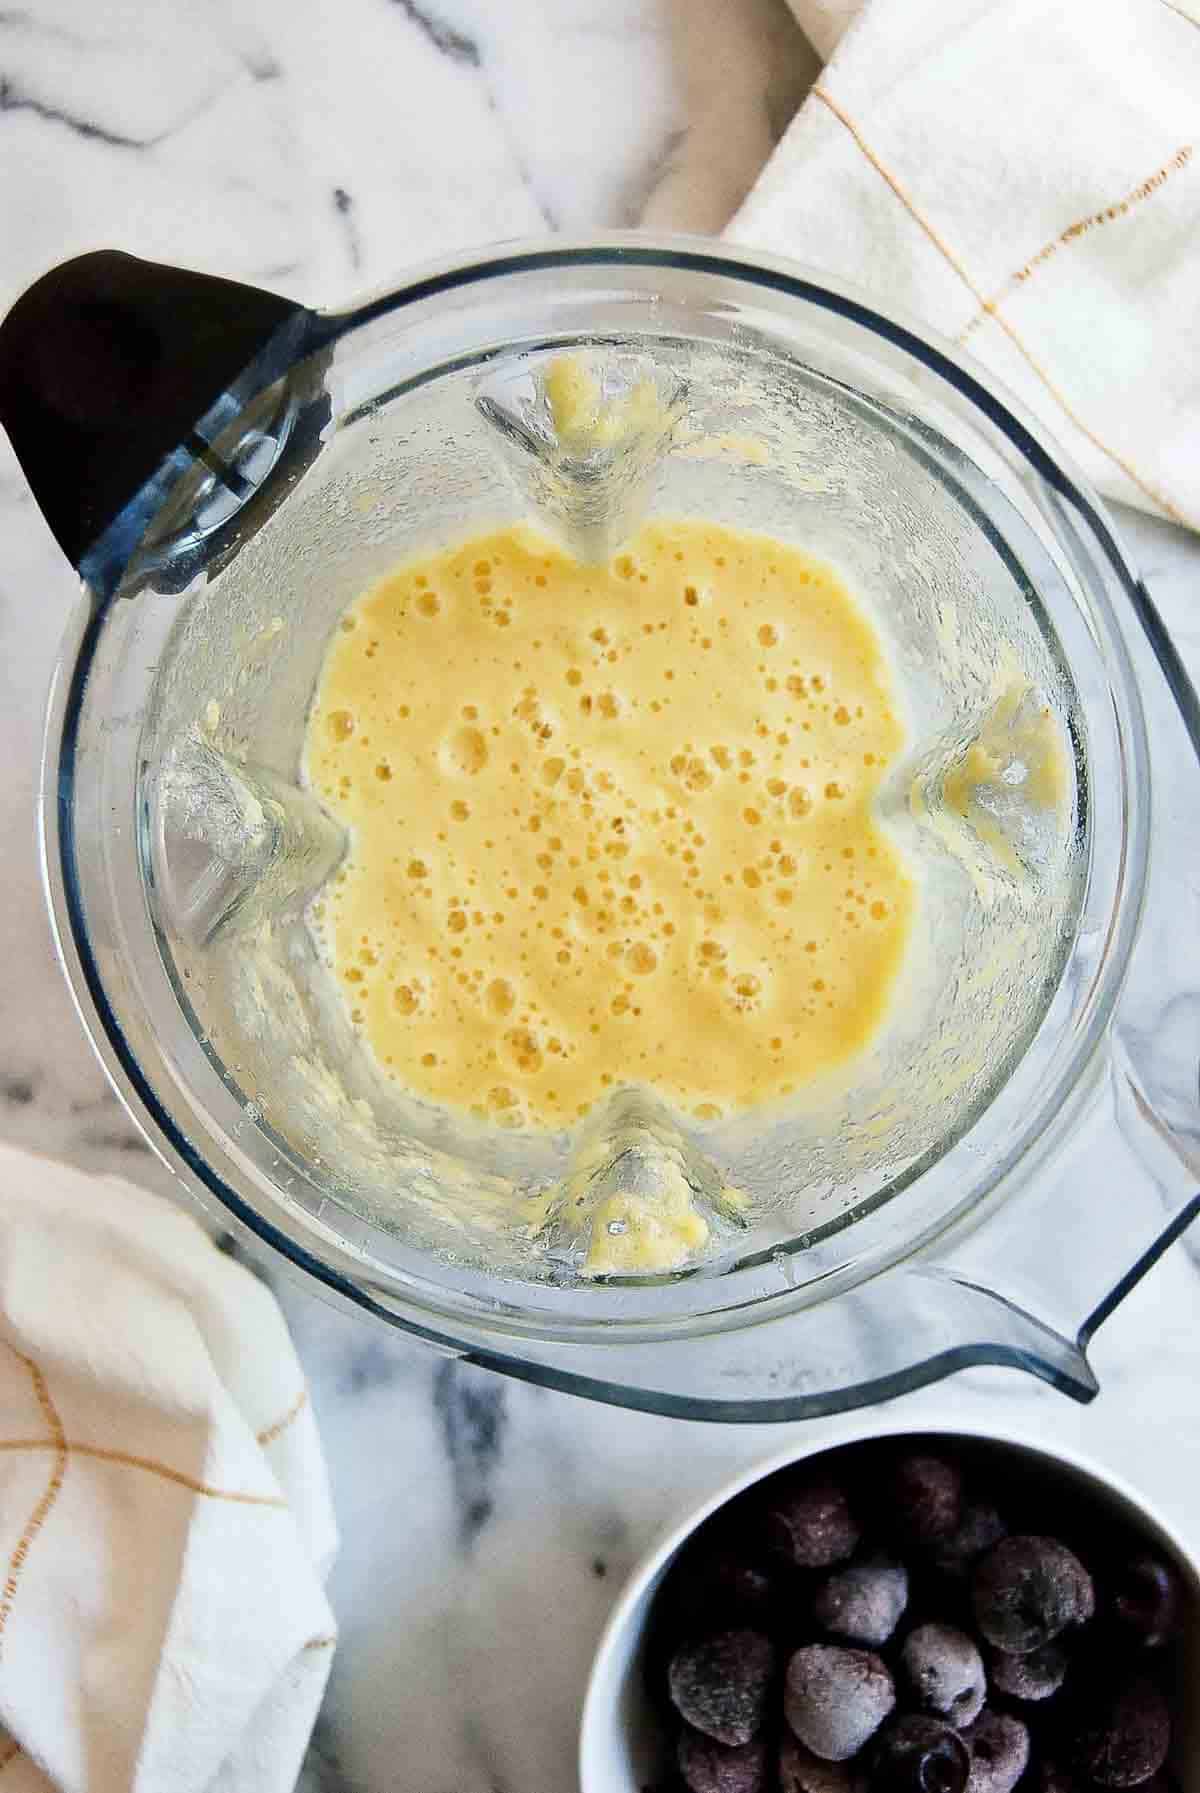
- Blend the pineapple. Start by adding the pineapple chunks, half the maple syrup, and half the vanilla to a blender or food processor. Blend until the fruit is very smooth. Pour into a container or pitcher and set aside.
- Blend the cherries. Rinse the blender or food processor, then add in the frozen cherries, the rest of the maple syrup, and the rest of the vanilla. Blend everything until the mixture is smooth.
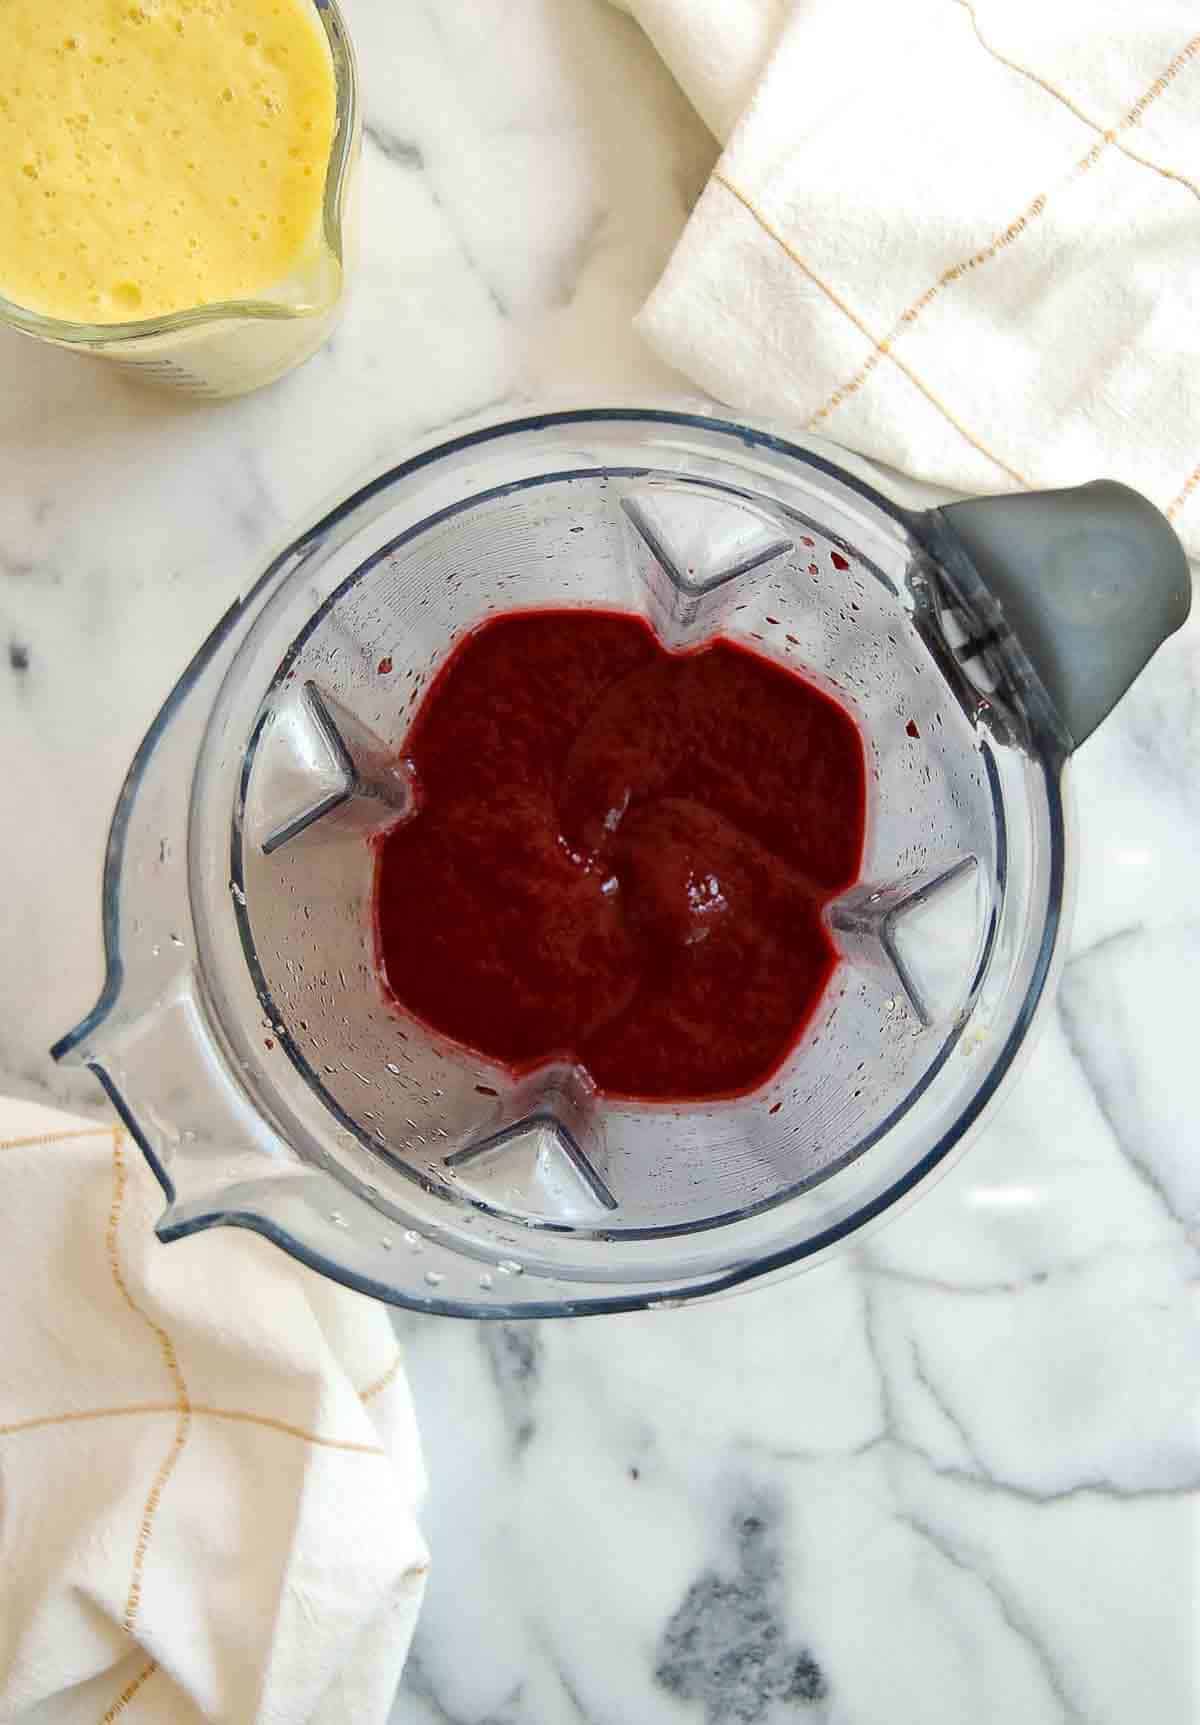
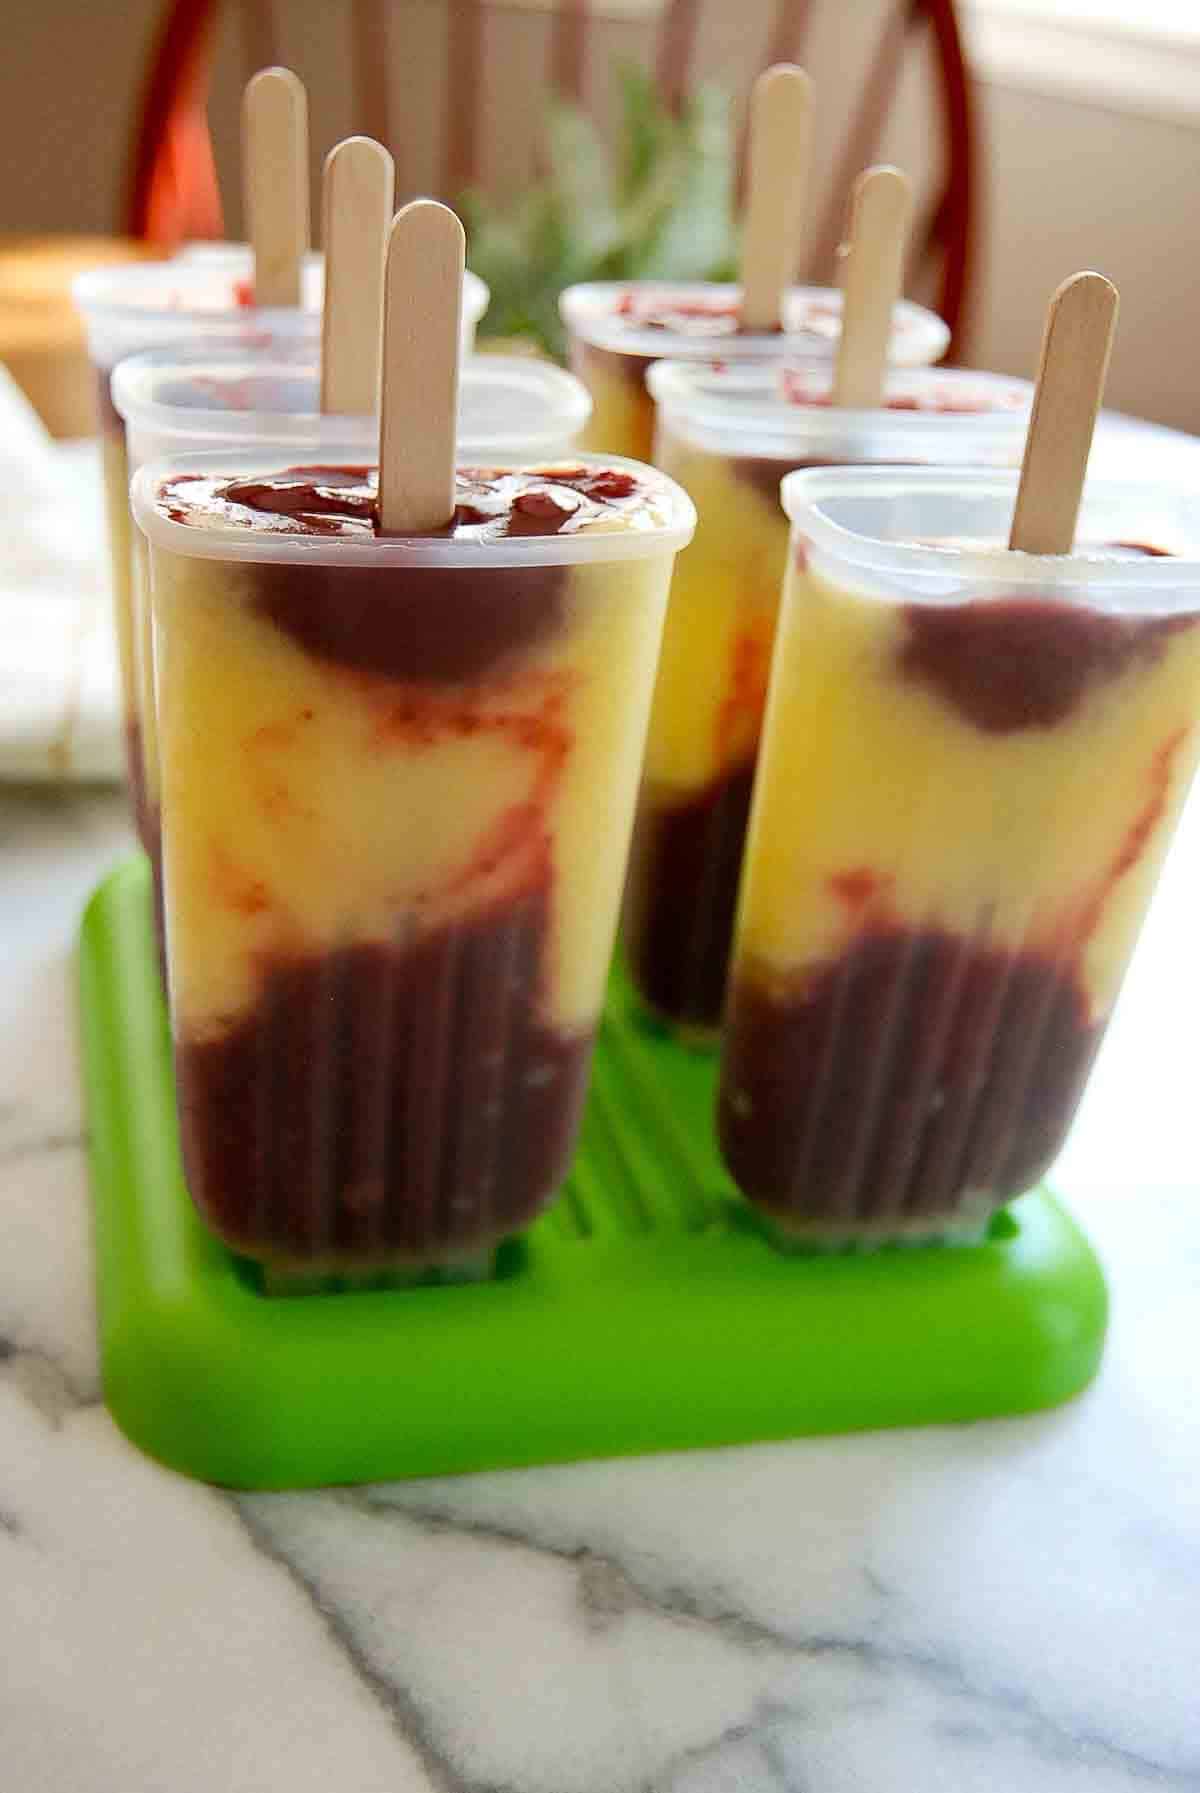
- Add to molds. Using a pitcher, slowly add a little bit of the pineapple mixture to the bottom of the molds to form your first layer. Repeat with the cherry mixture, then alternate with the pineapple/cherry mixtures until the molds are full.
- Insert the popsicle sticks. The mixture should be thick enough that you can insert the sticks right away, then freeze. However, if you find that the sticks are sinking a bit, you can always freeze for about 20 minutes to let the mixture thicken a bit and then insert the popsicle sticks.
- Freeze. Allow the cherry pineapple popsicles to freeze for about 2 hours before enjoying them.
How To Store This Delicious Frozen Treat
Cherry pineapple popsicles are easy to store! Simply store them in the popsicle molds, in the freezer. Many molds have lids, which will help prevent the popsicles from becoming icy on the bottoms. These frozen ice pops should keep in the freezer for 1-2 months, but are best enjoyed within the first couple of weeks after making them.
Tips
- Choose high-quality ingredients. Since the cherries and popsicles are the main ingredients here, choose good, in-season fruit, or high-quality frozen brands. You get out what you put into these frozen pops so choose your fruit well.
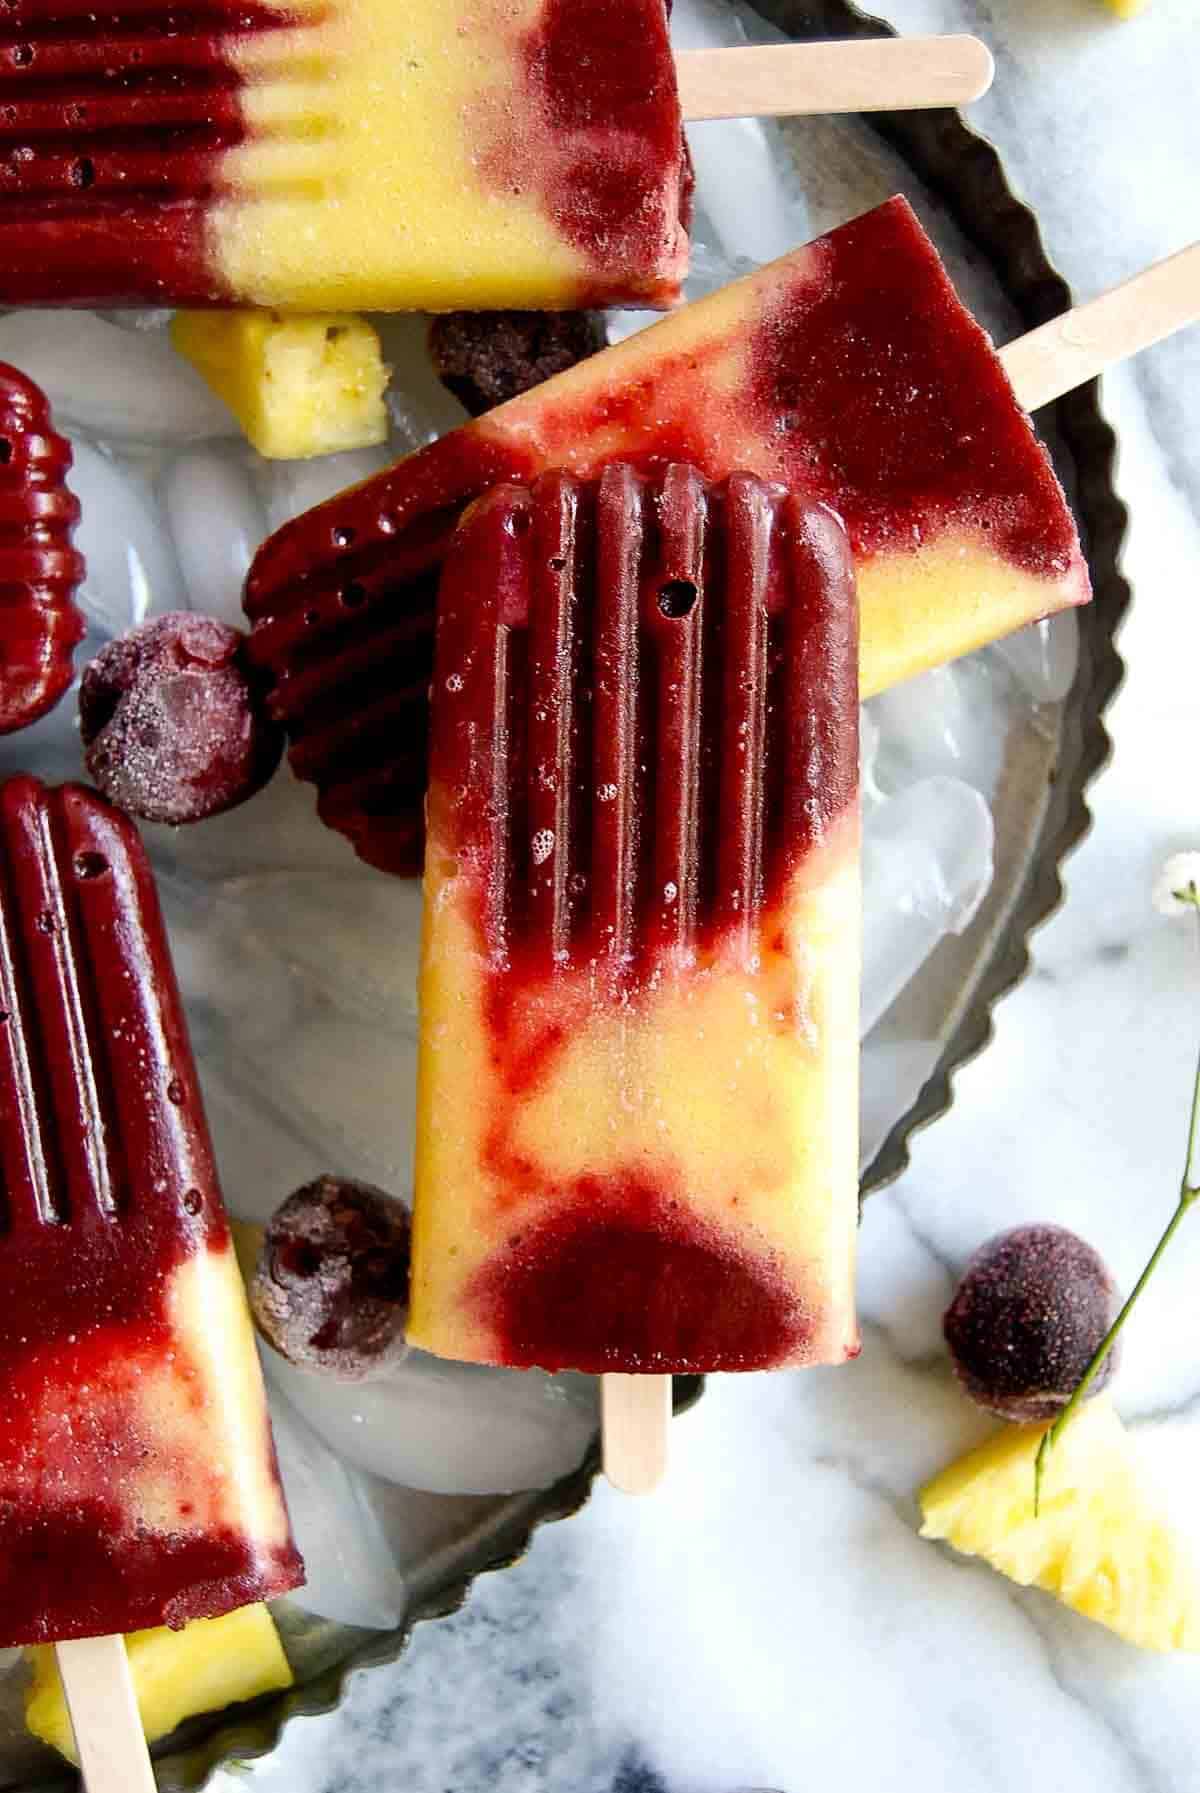
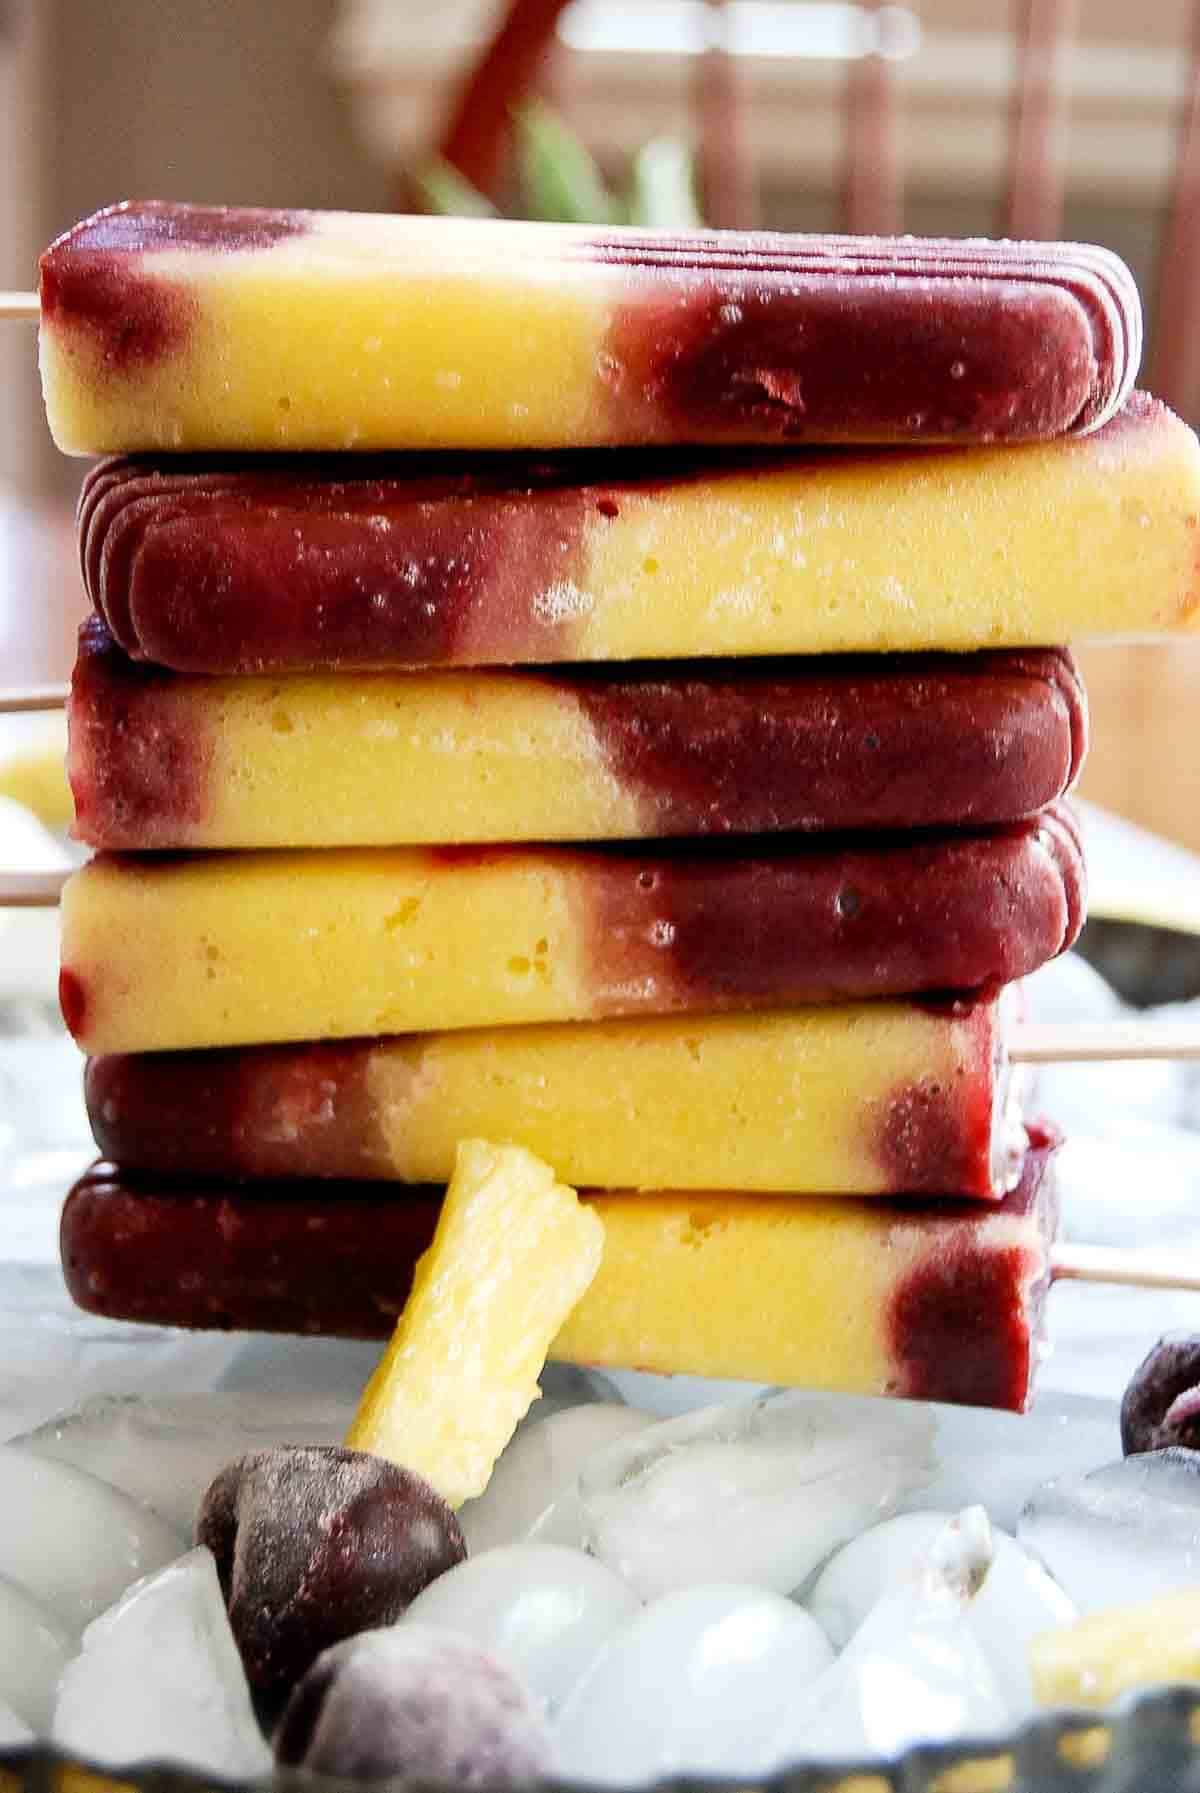
- Layer or swirl the flavors. One of the best things about these cherry pineapple popsicles (apart from the taste!) is that they look so beautiful. A layered look is easy to create by simply alternating the pineapple and cherry mixtures. But you can also create a beautiful swirled look by adding both of the flavors to your popsicle mold and swirling them together with a popsicle stick or long straw.
- Popsicle molds. I love my popsicle molds since they’re super sturdy, come with sticks and lids included, and have a stand that keeps them upright in the freezer. Silicon molds are also an option as they make it slightly easier to remove the popsicles. However, they can lose their shape over time.
- Sticks. Even though my popsicle mold kit came with sticks, I chose to use wooden ones here since I think they look a little nicer. Whatever stick you choose, make sure you don’t forget to add it to the popsicles before you freeze them!
- Make sure to create space in your freezer for these before you start! There’s nothing worse than whipping up a batch, opening the freezer door, and realizing there’s not a good spot for them.
How to Un-mold the popsicles
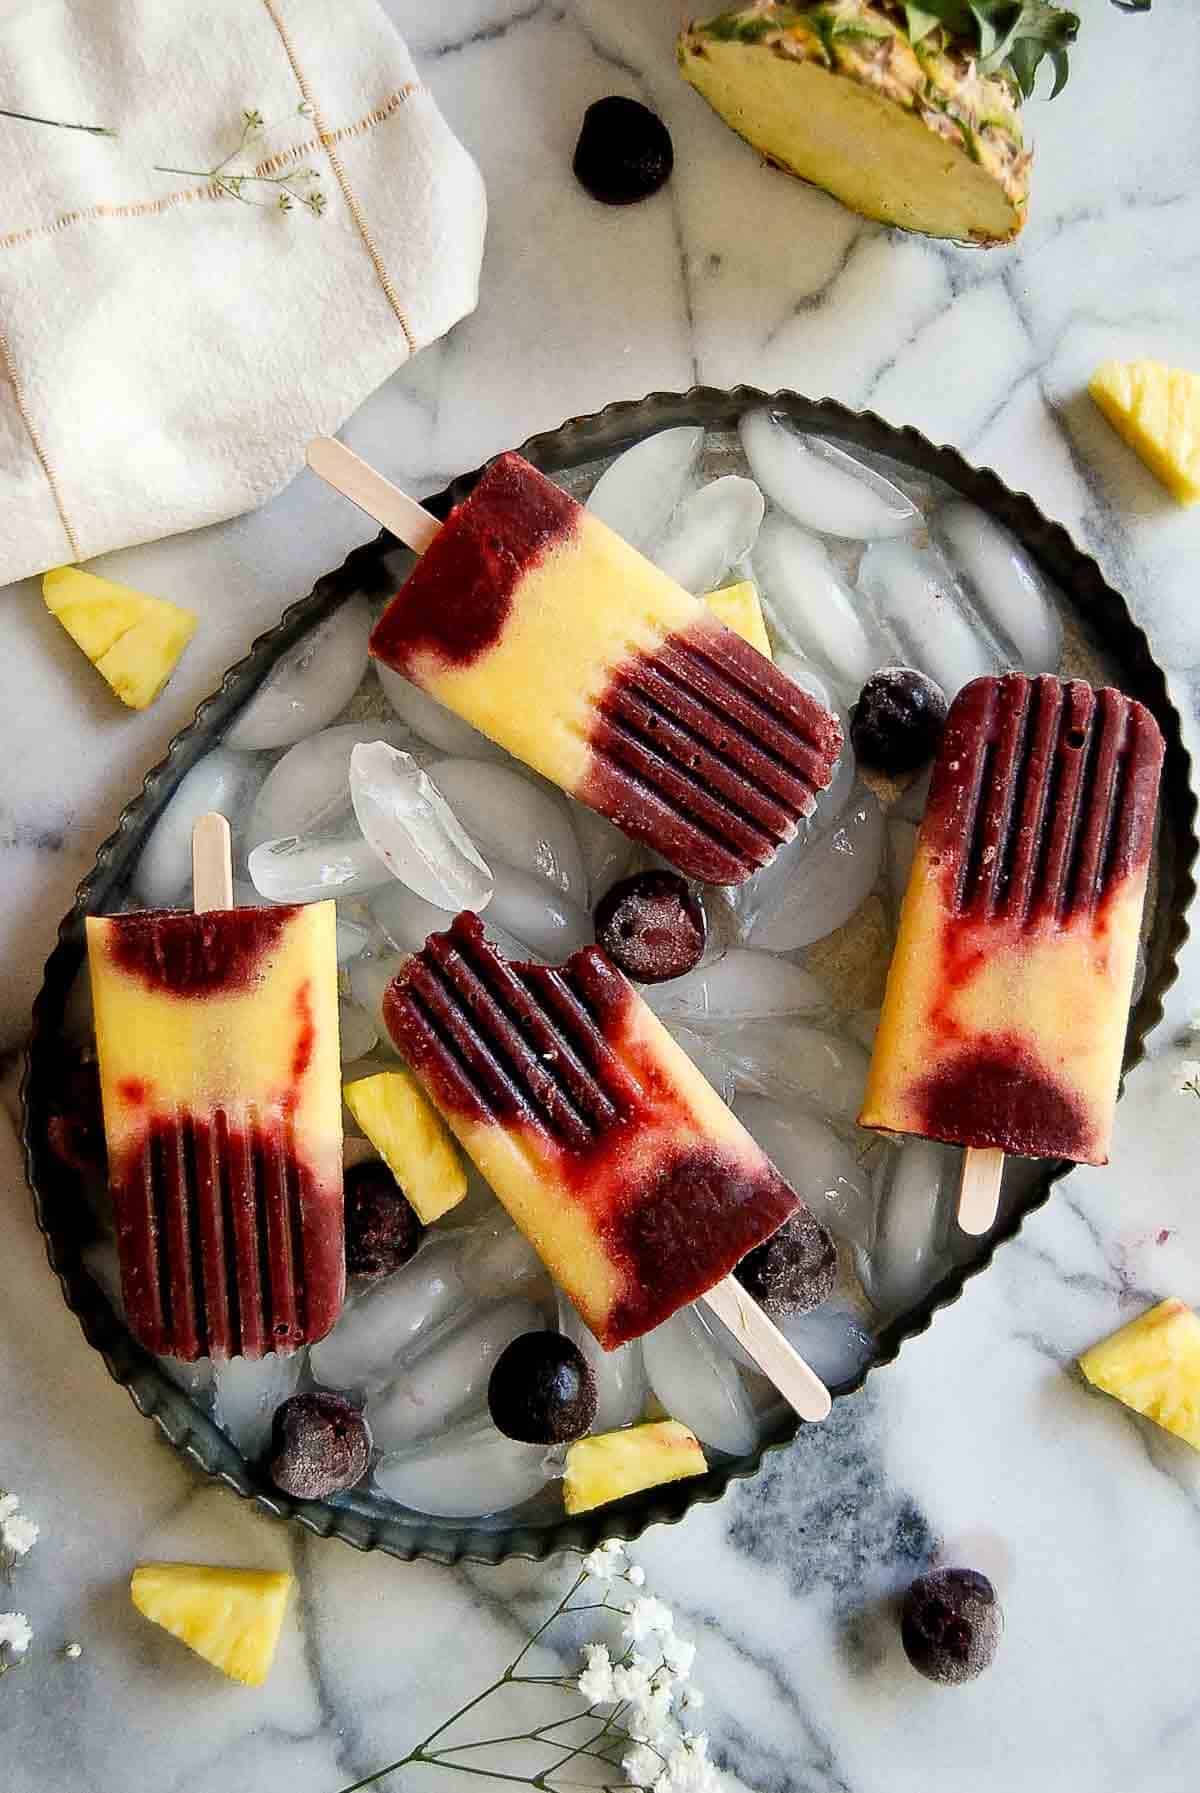
If you’ve ever tried to get a popsicle out of a mold, you’ll know this is not an easy task. Heat is your friend here, and there are a couple of ways to easily un-mold your cherry pineapple popsicles when you’re ready to eat them:
- Run the popsicle mold under warm water. Holding the popsicle mold under warm water for 30 seconds or so will help melt the outer portion of the popsicle just enough to allow you to slide the frozen pop out of the mold. (Just be sure not to run the water directly onto the popsicle!)
- Allow it to sit at room temperature. Similarly, setting the popsicle out on the counter for about 5-10 minutes will allow the outer portion to melt slightly, making removal easier.
If you make these Homemade Cherry Pineapple Popsicles, let me know what you think in the comments! And don't forget to tag me @frontrangefed on Instagram so I can see your masterpiece!
More Easy Summer Treats
- Blackberry Creamsicles
- Sweet Peach Ice Cream
- Easy Peach Cobbler
- S'mores Rice Krispie Treats With Graham Crackers
- Easy Peanut Butter Blondies
Recipe
Homemade Cherry Pineapple Popsicles (Low-Sugar)
Ingredients
- 2 cups chopped pineapple
- 2 cups frozen cherries
- 1 ½ tablespoon maple syrup (diveded)
- ½ teaspoon real vanilla extract (divided)
Instructions
- Prepare the Pineapple Mixture. In a blender or food processor, add the pineapple chunks, half of the maple syrup, and half of the vanilla extract. Blend until the fruit is smooth and well combined. Transfer the pineapple mixture to a container or pitcher and set it aside.
- Prepare the Cherry Mixture. Rinse the blender or food processor to remove any residue. Add the frozen cherries, the remaining maple syrup, and the remaining vanilla extract. Blend until the mixture is smooth and evenly blended.
- Layer the Popsicles. Using a pitcher or spoon, pour a small amount of the pineapple mixture into the bottom of each popsicle mold to create the first layer. Follow with a layer of the cherry mixture, and continue alternating between the pineapple and cherry mixtures until the molds are full. (Feel free to swap the order of the fruit layers around if you’d like!)
- Insert Popsicle Sticks. Insert popsicle sticks into each mold. The mixture should be thick enough to hold the sticks upright. If needed, you can freeze the molds for about 20 minutes before inserting the sticks to allow the mixture to thicken slightly.
- Freeze the Popsicles. Place the popsicle molds in the freezer and allow them to freeze for approximately 2 hours, or until they are completely solid.
- Enjoy. Once the popsicles are fully frozen, remove them from the molds by running warm water over the bottom of the molds for a few seconds. Enjoy your refreshing cherry pineapple popsicles!


Belinda
These look amazing! Can't wait to try them this summer!!